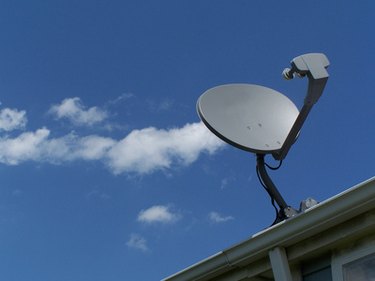
Increasing the range of wireless Internet provides convenience, productivity and potential monetary savings. Using an old satellite dish to fashion a DIY Wi-Fi antenna is an excellent way to do this. Turning a satellite dish into a Wi-Fi antenna can be both economical and efficient, because there is no signal loss using USB cable connections as compared to coaxial cable. The result is far stronger signal strength and range in connecting to Wi-Fi hot spots and public access points.
A New Use for the Satellite Dish
Video of the Day
Step 1
Use a Phillips screwdriver to remove the screws that secure the LNB unit (the antenna part) to the extension arm of the satellite dish, and remove the LNB unit from the extension arm. There is no need to disconnect any coaxial cable, as the Wi-Fi antenna uses USB cable instead.
Video of the Day
Step 2
Replace the LNB unit with a wireless USB Wi-Fi adapter, and secure the adapter with nylon cable ties to the end of the extension arm of the dish assembly.
Step 3
Plug a USB cable onto the USB end of the Wi-Fi adapter, and connect the other end of the USB cable to a computer (if Wi-Fi enabled), or modem or router (if not Wi-Fi enabled). Use any available USB port on a laptop computer. Depending upon the length of cable to the computer or router from the satellite dish, a USB cable extension can be used with no loss of signal strength.
Step 4
Position the dish at the proper point outside. Your signal strength boost with the dish as the reflective surface should exceed 15dB, which is five times stronger than a USB Wi-Fi adapter alone. Generally point the dish in the direction of known Wi-Fi hot spots, whose signal strength will be visible on the computer as wireless connections that are found and within range.
Step 5
Insert the adapter software CD into a CD drive to install the Wi-Fi software if the computer does not automatically find available Wi-Fi networks. USB adapters come with a software CD, but drivers can also be downloaded from the Internet. The various Wireless Network Setup Wizards in Windows XP, Vista, or Windows 7 will take you through the process to set up this wireless connection.
Step 6
Connect to available public access or local Wi-Fi networks by clicking on the available access points that display the strongest signal. The computer automatically locates available Wi-Fi networks.