How to Store Security Camera Footage Locally: SD, NVR, or NAS
This guide explains how to store security camera footage locally using microSD, NVR, or NAS, and how to configure whichever you choose to reliably record, retain, and retrieve footage without a monthly subscription. By the end, you'll know which setup fits your camera count and technical comfort level, what the critical failure points are before you buy anything, and what to do this week to get a working system in place.
Pick your tier before reading further:
- 1–3 cameras: microSD as your baseline
- 4–8 same-brand cameras: PoE NVR
- 8+ cameras or mixed brands: NAS
- Not sure if your cameras support open protocols: read the compatibility gate below before anything else
Cloud subscriptions run $3 to $15 per camera per month, adding up to roughly $600 to $1,800 over five years for a four-camera home, SmartSMSSolutions reported earlier this year. That's a real number, but it's not the strongest argument for going local. That argument arrived in January 2026, when a major Cloudflare disruption knocked out cloud-dependent camera access for hours across multiple regions, Homeowners.cloud reported at the time exactly the kind of incident when homeowners most need footage.
A homeowner in Portland lost access to their vendor cloud during that multi-hour outage. Because they had already enabled microSD recording and were replicating camera streams nightly to a local NAS, they used the local recorder's web UI to pull the key clips, copied them to an encrypted portable drive, and the outage was irrelevant. That's the goal: local as your foundation, cloud as an optional enhancement.
Privacy is the other argument. Cloud footage lives on vendor servers, where the camera company, its employees, contractors, or law enforcement can potentially access it. With local storage, only people with physical or network access to your hardware can reach the footage or only you, if it's encrypted, SmartSMSSolutions explains. "Local" alone doesn't guarantee privacy; this guide covers the steps to make it actually private.
This guide is organized in three tiers. Read to the end of your tier, but skim the compatibility gate first regardless of which path you take.
| Tier | Setup | Effort |
|---|---|---|
| Simple | MicroSD in each camera | Under an hour |
| Standard | PoE NVR with microSD buffer | Half a day |
| Advanced | NAS with surveillance software | A weekend |
Before you buy or configure anything: the compatibility gate
Video of the Day
This is where most local storage plans fail before they start.
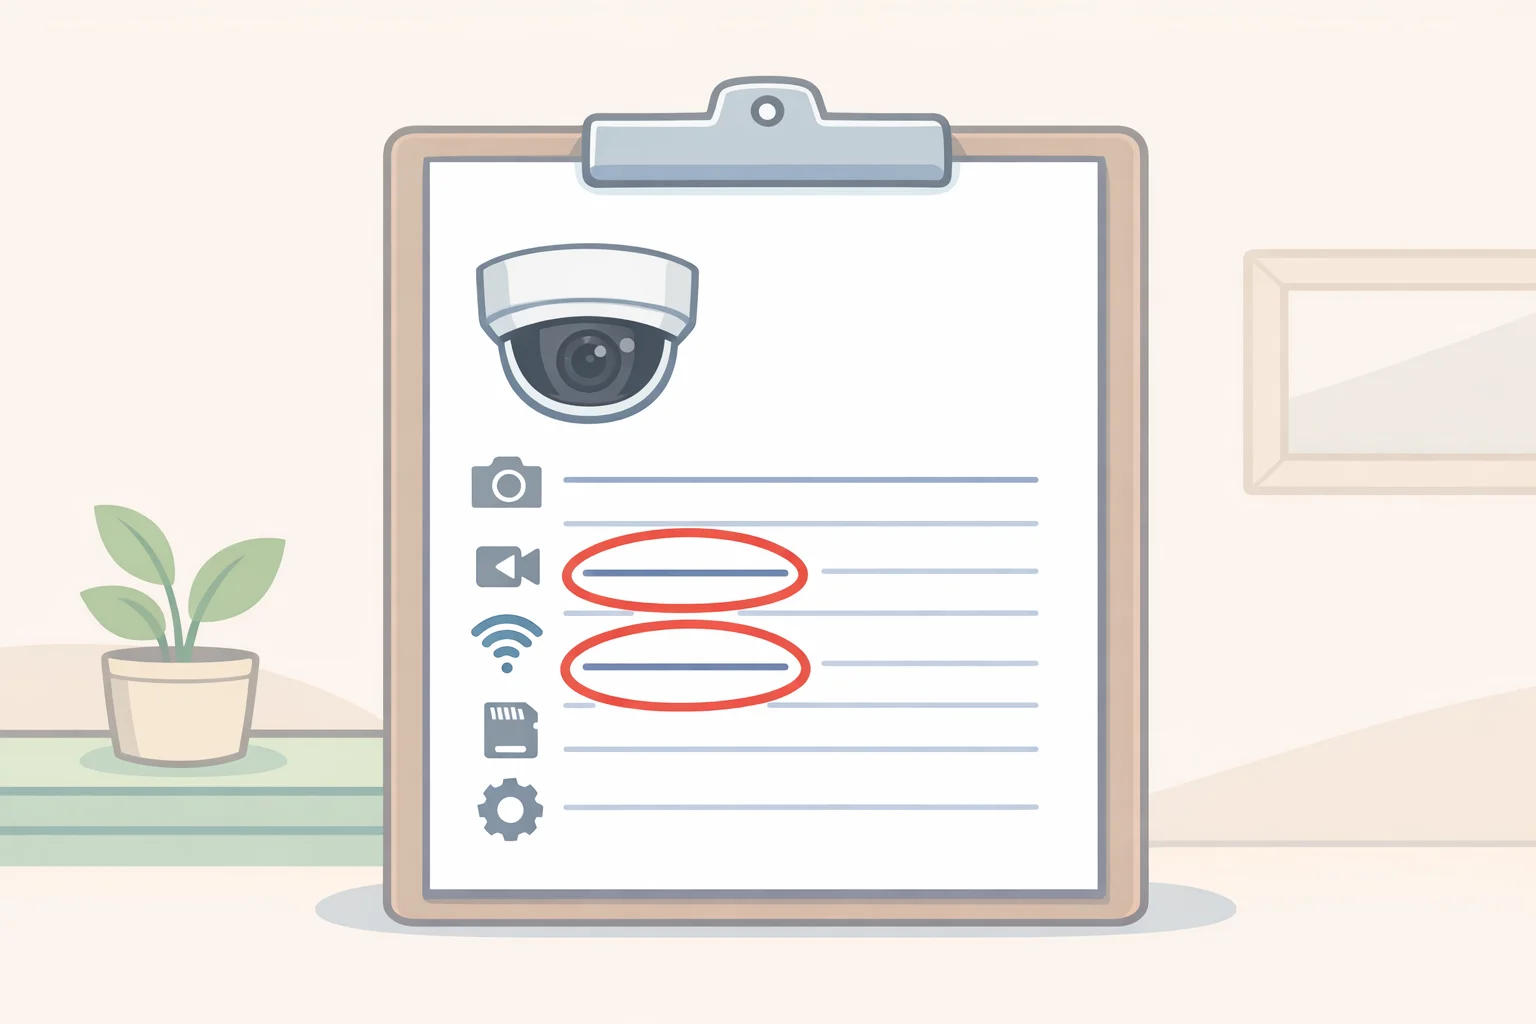
Check for RTSP or ONVIF support not in the app, in the spec sheet. Any NVR or NAS workflow requires cameras that transmit video using open protocols. RTSP (Real-Time Streaming Protocol) is the standard for continuous recording; it provides a persistent video URL the recorder connects to. ONVIF Profile S adds automatic device discovery and configuration on top of RTSP. A camera that supports neither cannot feed a local recorder, regardless of what the marketing copy says, Rack 2 Reality explained last December. Find the technical spec sheet not the product listing and look for those two terms specifically.
Ring, Nest, and Arlo use proprietary protocols locked to their cloud services and don't expose RTSP streams, SelfHosting.sh confirmed. They cannot be integrated into a self-hosted NVR or NAS workflow. Some cloud-first cameras offer limited local options, but support varies by model and generation verify against your specific device's spec sheet rather than assuming. For a household that wants a simple local buffer but is fine keeping Ring for notifications, enabling whatever local recording the hardware supports is a reasonable choice. For a household that wants a unified local archive across all cameras on an open platform, hardware replacement is the honest path.
Assign static IPs before you do anything else. RTSP streams rely on fixed IP addresses. If your router assigns a new IP to a camera after a reboot, recording breaks silently: no alert, no error, just a gap you'll only notice when you need the footage. Log into your router and set a DHCP reservation for every camera, the NVR, and the NAS, Rack 2 Reality advises. Five minutes of work, and it prevents the single most common failure mode across all three tiers.
Video of the Day
Which setup is right for you
Before diving into configuration, the decision itself:
- Choose microSD if you have one to three cameras, want the cheapest fallback, and can tolerate managing each camera independently.
- Choose a PoE NVR if you have four to eight same-brand cameras and want one box that records everything without ongoing management overhead.
- Choose a NAS if you mix brands, want retention beyond a few weeks, or already manage home-server gear and want surveillance to slot in alongside it.
These aren't ranked by quality they're ranked by complexity. The right one is the one you'll actually maintain.
Step 1: Choose your local storage for security cameras
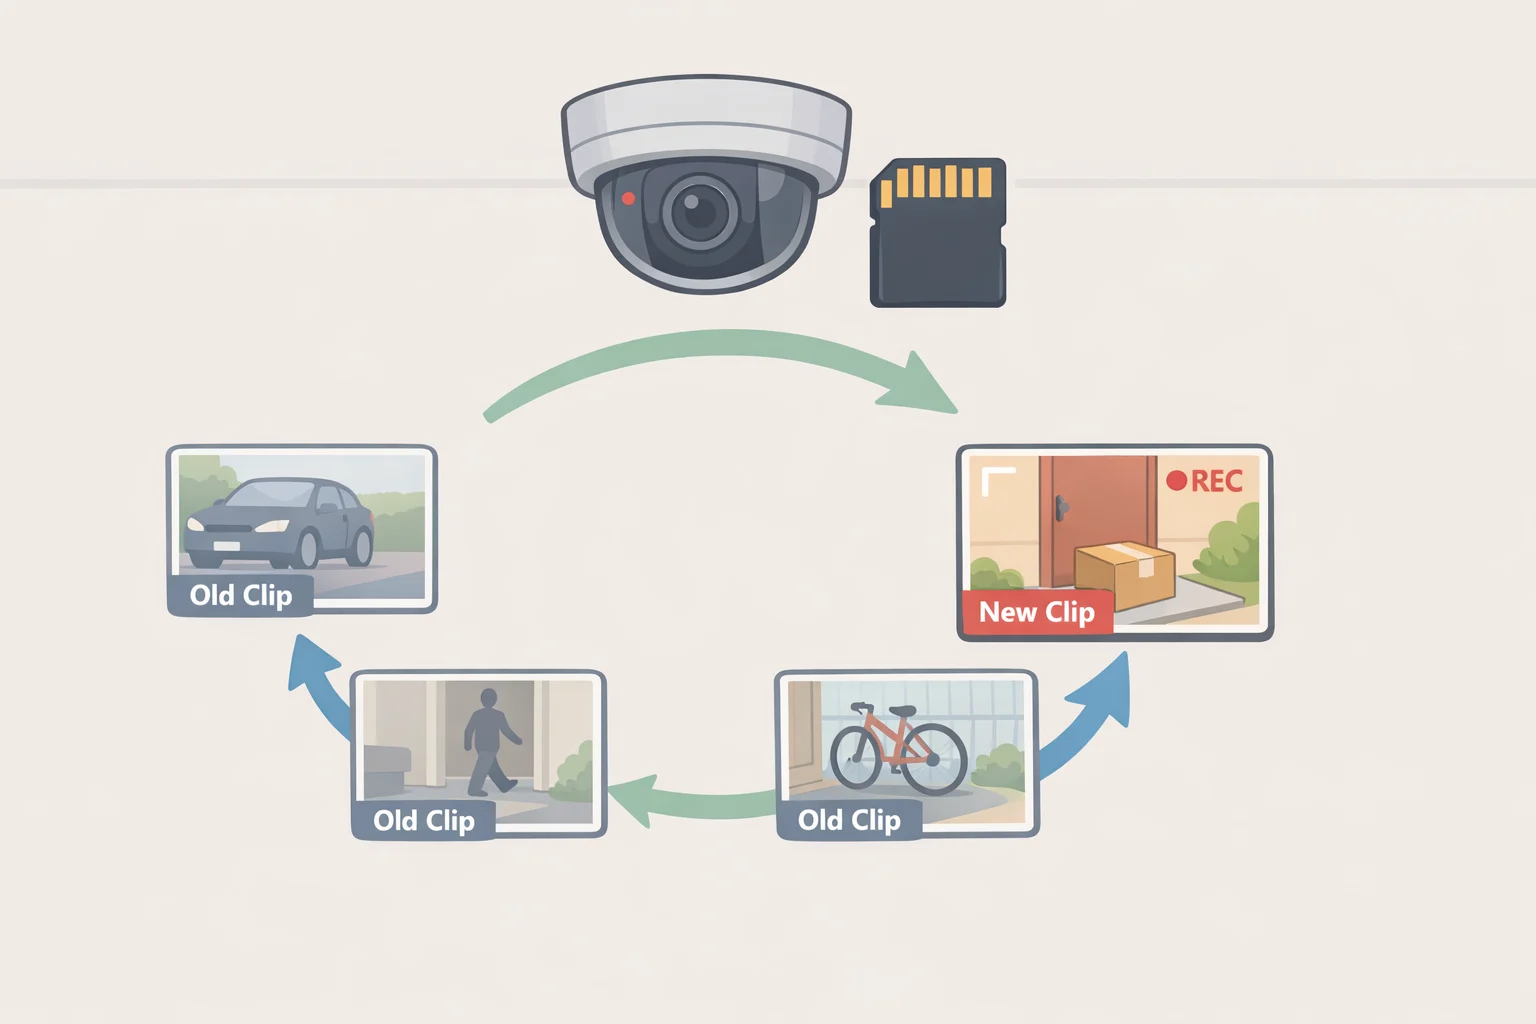
"Supports local storage" can mean anything from a few hours of clips on a $20 card to weeks of multi-camera footage on a RAID-protected server with nightly encrypted exports, SmartCamOnline noted this past June. Camera count, brand mix, and how much complexity you're prepared to manage are what determine the right call.
Tier 1: microSD (1 to 3 cameras, any brand)
A microSD card slots inside the camera and records in a continuous loop, overwriting the oldest footage when full. A 128GB high-endurance card at 1080p variable bitrate holds several days of continuous video or roughly two weeks of motion-triggered clips, Home Security Camera Guru reports. Endurance-rated cards run $20 to $60 for 128–256GB, Homeowners.cloud confirmed. Enabling microSD is worth doing as a baseline layer in virtually every setup, even if you add centralized storage later it gives each camera a local recording buffer that keeps working if the network goes down.
Each camera manages its own card independently. No centralized search, no RAID, no retention alerts. When a card fails or fills, the camera silently overwrites the oldest footage, and that gap may be precisely the window you needed, Home Security Camera Guru points out. If the camera is stolen, the card goes with it. Treat microSD as the first layer, not the full system.
⚠️ Use only cards labeled "high endurance" or "surveillance grade." Standard cards aren't rated for continuous write cycles and will fail faster than expected.
Tier 2: PoE NVR (4 to 8 cameras, same brand)
A network video recorder is a dedicated box that records all connected cameras to internal hard drives. PoE NVRs run power and data over a single Ethernet cable one Cat6 run per camera, no batteries, no Wi-Fi congestion. A four-camera PoE NVR kit with a 4TB drive typically runs $260 to $460 as a one-time purchase, compared with $600 to $1,800 in cloud subscriptions over five years for the same setup, Home Security Camera Guru calculated.
NVRs work best within a single brand ecosystem. Cross-brand compatibility is limited and typically unreliable. They're also purpose-built for video only no additional applications run alongside surveillance. For most same-brand households, that focus is a feature, not a limitation. Pair an NVR with microSD in each camera so that if the NVR loses power or its drive fills, the cameras keep recording locally.
Tier 3: NAS (8+ cameras, or mixed brands)
A network-attached storage device is a small general-purpose server. It doesn't record video by itself it becomes a recorder only when three conditions are met: cameras use open protocols (RTSP or ONVIF), the network provides stable IP addressing and consistent throughput, and surveillance software is installed to receive and index the incoming streams, Rack 2 Reality explains. Software like Synology Surveillance Station, QNAP QVR Pro, or Frigate handles stream negotiation, storage indexing, and retention enforcement. Without it, the NAS is just a hard drive.
The tradeoff for that complexity: a NAS handles cameras from multiple brands, supports longer retention windows, includes RAID for drive redundancy, and can run other applications home automation, encrypted backups, media servers alongside surveillance. An entry-level four-bay NAS capable of handling surveillance workloads starts around $500 before drives; add surveillance-grade HDDs in a RAID configuration and the initial investment typically exceeds $800, Home Security Camera Guru notes. It also draws 20 to 40 watts continuously, an ongoing electricity cost worth including in any five-year comparison.
One stream-configuration note for NVR and NAS setups: configure your recorder to pull the main stream (full resolution) for recording and the sub stream (lower resolution) for live viewing and AI-based object detection. Running object detection on the main stream wastes processing resources without improving detection accuracy, SelfHosting.sh advises. Most NVR and NAS surveillance software supports dual-stream configuration natively.
Step 2: Size your storage and configure retention
With an architecture chosen and IPs fixed, the next question is how much storage you actually need. Most homeowners either over-buy capacity or under-plan retention. Both create problems.
Estimate daily storage consumption first
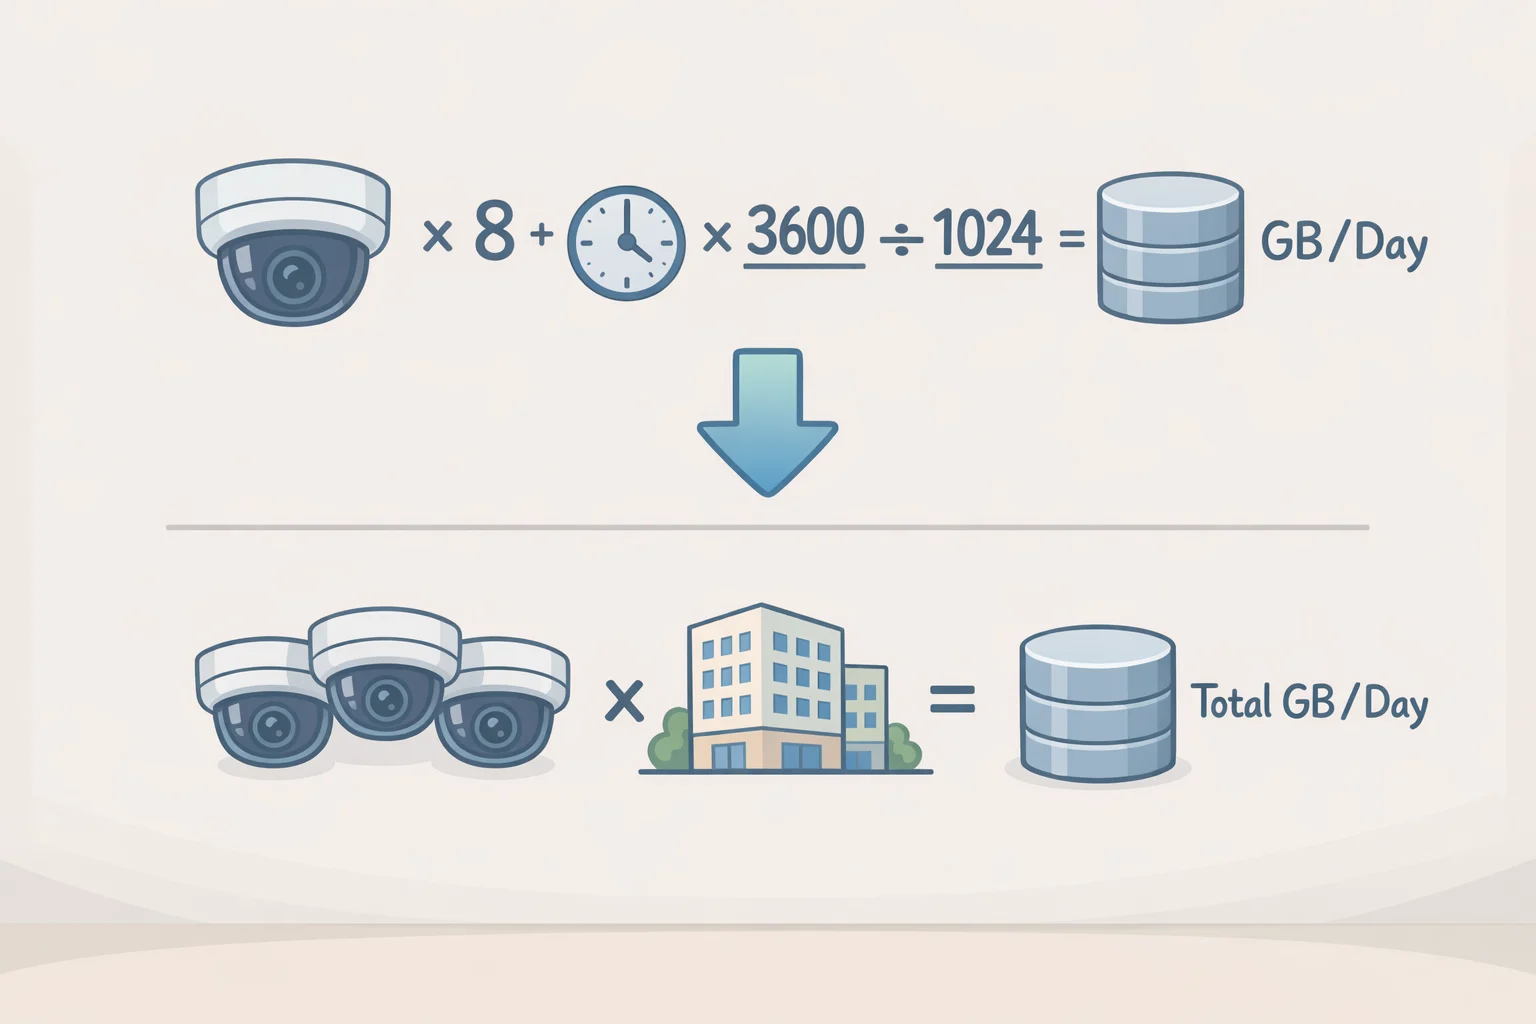
Use this formula: GB per day ≈ camera bitrate in Mbps × 10.5. A 1080p camera on variable bitrate averaging 2 Mbps produces roughly 21GB per day (2 × 10.5). Four cameras at that rate consume about 84GB per day under continuous recording, Homeowners.cloud calculates. Switching from continuous to motion-triggered recording reduces consumption by 50 to 80 percent in typical residential environments, depending on scene activity, Home Security Camera Guru reports. For most homes, event-only is the right default on most cameras, with continuous recording reserved for the one or two highest-priority views.
Retention planning by tier
The figures below are rule-of-thumb estimates derived from the storage formula above. Actual retention will vary based on bitrate settings, scene activity, and resolution.
| Setup | Typical storage | Approximate retention at event-only |
|---|---|---|
| 1 camera, 128GB microSD | 128GB | 10–14 days |
| 1 camera, 256GB microSD | 256GB | 20–28 days |
| 4 cameras, 4TB NVR | 4TB | 10–12 days continuous / 30–50 days event-only |
| 4 cameras, 8TB NVR | 8TB | 20–25 days continuous / 60–90 days event-only |
| 8 cameras, NAS with 2×8TB RAID 1 | ~8TB usable | 10+ days continuous / 30–45 days event-only |
Use surveillance-rated drives, not desktop drives
For NVRs and NAS setups, use drives rated explicitly for surveillance or NAS workloads WD Red Plus, Seagate IronWolf, or purpose-built surveillance HDDs. Standard desktop drives aren't designed for 24/7 write cycles and will degrade faster than their capacity ratings suggest. Surveillance-rated drives are typically rated for up to 180TB written per year, Home Security Camera Guru reports a workload specification that consumer drives simply don't carry.
Understand what RAID does and doesn't do
If your NVR or NAS supports RAID, enable it. But be clear about what it protects against. RAID 1 or RAID 5 keeps recording running if one drive fails. It does not protect against accidental deletion, software corruption, a stolen recorder, or a bad export. RAID is not a backup, Homeowners.cloud is direct about this. Pair it with scheduled exports to a separate drive.
Set up scheduled exports
Weekly, export flagged event clips from your recorder to an encrypted external drive stored somewhere other than next to the recorder. For NVR users, many interfaces support manual or scheduled clip export. For NAS users, configure a weekly encrypted rsync job that moves recent flagged events to an external drive or a second internal volume. Rotate one external drive offsite a fireproof lockbox or a trusted location so that a break-in that takes the recorder doesn't also take the only copy of footage from the same incident, Homeowners.cloud recommends.
Protect against power loss
An abrupt power failure during active recording can corrupt the most recently written files. Plug your NVR or NAS into an uninterruptible power supply. This matters most for NAS setups with write-back SSD caching, where recent writes haven't yet been committed to disk, but it's sound practice for any centralized recorder, Homeowners.cloud notes.
Step 3: Lock down the system and verify footage is actually recoverable
Minimum security checklist (applicable to all tiers)
- Set a strong, unique admin password on every camera, NVR, and NAS this single setting prevents the vast majority of unauthorized access attempts, SmartSMSSolutions confirms
- Disable UPnP and remote administration on all cameras
- Enable local encryption where the camera or recorder software offers it
- Encrypt all external exports most NAS systems include built-in encryption; VeraCrypt works for external drives if yours does not
- Use a VPN for remote access to your own footage rather than opening inbound ports; Tailscale installs on your server and phone in minutes, provides end-to-end encrypted remote access, and is free for personal use, SelfHosting.sh notes
- Keep firmware updated on cameras, NVR, and NAS prioritize security patches
Advanced hardening (NVR and NAS users who want full network isolation)
Place your NVR or NAS on a separate VLAN isolated from the rest of your home devices. Many IP cameras make periodic outbound connections to manufacturer cloud servers. A camera VLAN with no internet egress blocks that traffic while still allowing cameras to stream to the recorder locally, SelfHosting.sh explains. This step requires basic familiarity with your router's firewall and VLAN configuration. Start with the minimum checklist above and add network isolation as a follow-up if privacy is a priority.
Test retrieval quarterly this is not optional
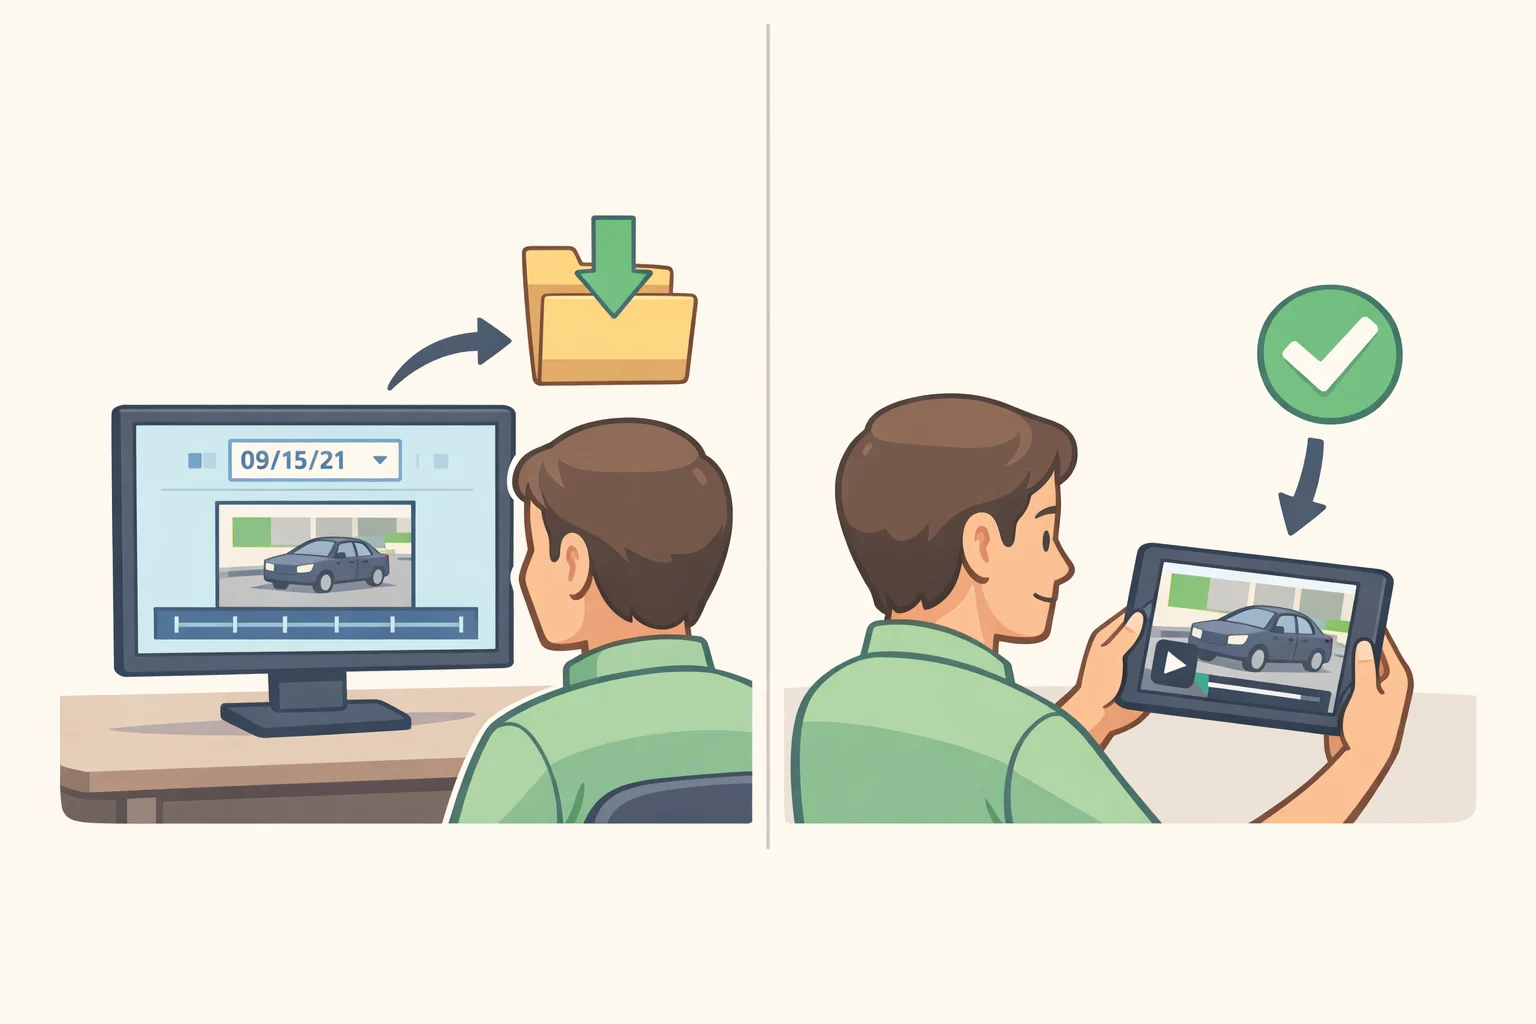
A system is not configured until retrieval works, SmartCamOnline is clear about this. Quarterly, open each active storage layer microSD, NVR, NAS navigate to a specific date and time, locate a clip, export it, and play it back on a separate device. Confirm the video opens correctly and that timestamps are intact. This sequence surfaces the most common failure mode: footage that appears to be recording but can't be located or exported when you need it.
Semi-annually, check microSD and HDD health using SMART data or manufacturer diagnostics, and replace media approaching its rated write endurance limit. Schedule both reviews before high-activity periods holiday package season and travel are useful anchors, SmartCamOnline suggests.
⚠️ A backup you haven't tested is not a backup.
What to do this week
Enable microSD recording on every camera that supports it, set it to event-only with circular overwrite, and schedule a weekly export of flagged clips to an external drive. That costs $20 to $60 per camera and takes under an hour. Do this regardless of whether you plan to add centralized storage later the microSD layer is what kept that Portland homeowner's footage intact when the Cloudflare outage hit in January.
If you have four or more cameras, identify RTSP-compatible NVR kits from your camera manufacturer and price them against your current or projected cloud subscription cost. Self-hosted NVR setups replace $150 to $250 per year in cloud subscriptions and typically pay for themselves within two years, SelfHosting.sh points out and ownership of the footage and hardware shifts entirely to you.
Set a calendar reminder to test footage retrieval 90 days from today. Not to check that recording is running to actually export a clip and play it back on a separate device. That test will tell you more about whether your system works than any configuration screen will, SmartCamOnline notes.
The cloud remains useful for remote notifications and as an optional offsite redundancy layer. The goal isn't to eliminate it it's to stop treating it as the primary place your footage lives. When cloud access fails, local storage is what you'll rely on.