
With Microsoft Word 2013, it's quite easy to insert a picture to use as a background for any document. To add a background picture to a single page, with full control over its tone, color and transparency, use the Insert Picture option. If you want the same image to appear on every page as a semi-transparent watermark, use the Watermark option under the Design tab.
Manually Inserting Background Images
Video of the Day
Step 1

Launch your Word document and go to the page where you want the picture to appear. Click the "Insert Menu" and then select "Pictures" to get an image from your computer or "Online Pictures" to get an image online, including royalty-free images from the Office.com Clip Art Gallery.
Video of the Day
Step 2
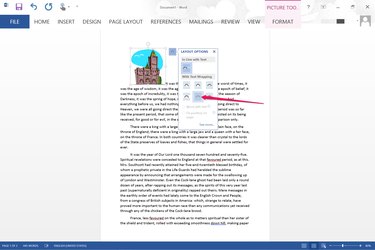
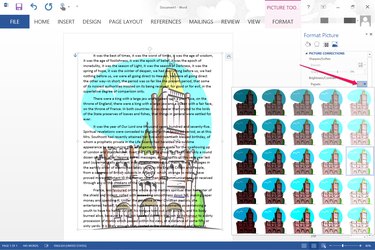
Click the "Layout Options" icon located beside your newly-inserted image. Select the "Behind Text" option.
Step 3
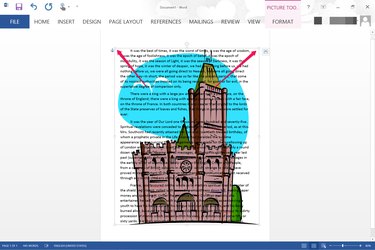
Resize the image as needed by dragging the square "Handles" on its border. Dragging a corner "Handle" keeps the picture's aspect ratio intact.
Step 4
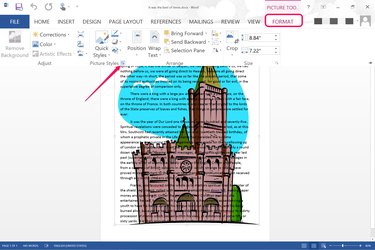
Click the "Format" menu, then the small "Dialog Box Launcher" beside Picture Styles. The Picture Styles dialog box opens on the right of your document.
Step 5
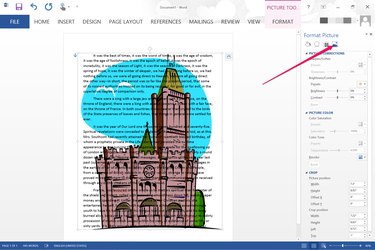
Select the "Picture" icon in the Format Picture menu. Expand the Picture Corrections, Picture Color and Crop sections by clicking the Arrow icon beside each title.
Step 6
Adjust the brightness and contrast, color saturation and tone, or crop the image as desired. Clicking the "Presets" menu in the Picture Corrections section, or the "Recolor" menu in the Picture Color section give you a variety of preset image settings to choose.
Step 7
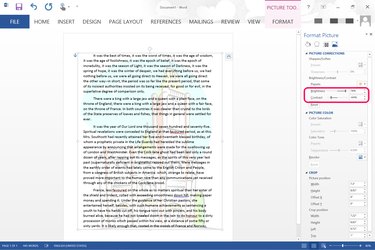
Adjust the brightness and contrast as necessary after selecting any preset to tweak the image's appearance. Make sure the image is bright enough that the text in front of it is clearly legible.
Adding a Watermark
Step 1
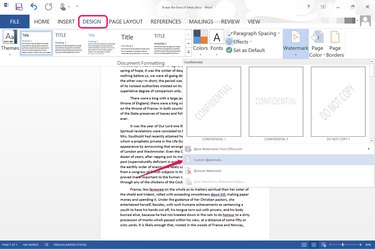
Launch your Word document. Click the "Design" tab, select "Watermark" and click the "Custom Watermark" option.
Step 2
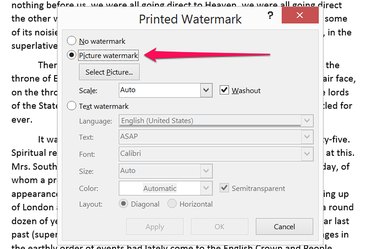
Click the "Picture Watermark" option and then click the "Select Picture" button. You can select from pictures on your computer or pictures online, including royalty-free Office.com Clip Art pictures.
Step 3
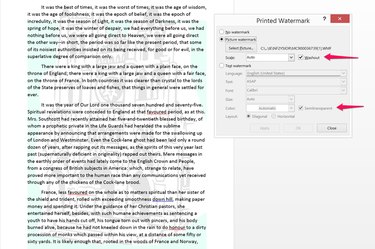
Click the "Washout" and "Semitransparent" check boxes to select them if they aren't checked already. Click "OK." The selected image is added to every page in your document as a watermark.