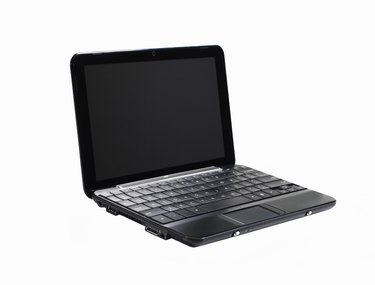
Wireless printing has many advantages over wired printing. Wireless printing reduces wire clutter because it does not use any wires, as the name implies. Wireless printing allows you to connect an unlimited number of computers to the printer. And you can connect computers that you would not be able to connect otherwise, because they are in locations such as other floors, rooms or buildings, to the printer.
Step 1
Check to see if your Toshiba laptop supports wireless technology (802.11). If your Toshiba laptop does not have a wireless adapter built in, you have to buy one. Wireless adapters are relatively inexpensive, and you can buy them at any major electronics retailer. You can also buy them online.
Video of the Day
Step 2
Click the "Start" button and select "Control Panel." Select "Printers and Other Hardware." Click on "Add Printer." A new window appears called "Add Printer Wizard." Click "Next" to choose a printer connection.
Step 3
The installation wizard asks you what kind of printer you want to install. Choose "A network printer, or a printer attached to another computer." A list should appear with your printers name on it. If your printer is not on the list, check to see if it is turned on. Select your printer and click "Next." Review the changes you have made and click "Finish" to apply the changes. Test the connection by printing a page.
Video of the Day