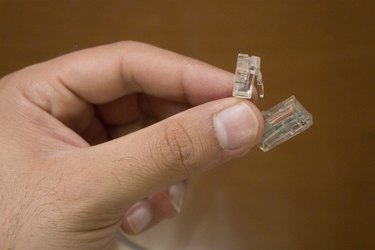
Although RJ-45 and RJ-11 connectors are generally not compatible, there may be occasions when you can convert a cable with RJ-45 connectors to an RJ-11 jack. RJ-45 connectors are usually attached to a CAT-5 or Cate-5e cable with eight wires, commonly used in computer networking. RJ-11 is usually used with analog telephone cable and has four wires. If you need to use a length of cable with RJ-45 connectors in an RJ-11 application, you can purchase an adapter. However, trying to convert an RJ-11 to an RJ-45 adapter is ill-advised, since there aren't enough wires and telephone wire isn't designed to accommodate the digital signals used in network cables.
Using Adapter
Video of the Day
Step 1
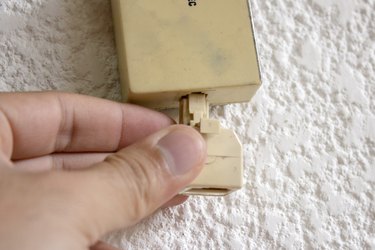
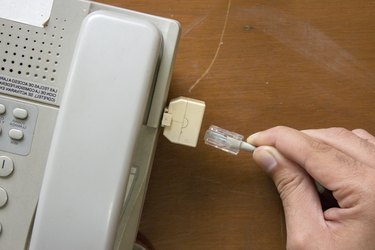
Plug the male end of the adapter into the RJ-11 outlet, such as a phone connection.
Video of the Day
Step 2
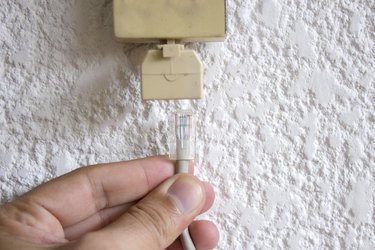
Plug one end of the RJ-45 cable into the adapter.
Step 3
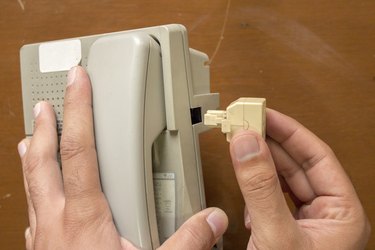
Run the RJ-45 cable to the device you want to connect to the outlet. Plug another adapter into the RJ-45 outlet on the device.
Step 4
Plug the other end of the RJ-45 cable into the adapter connected to the device.
Replace Connectors
Step 1
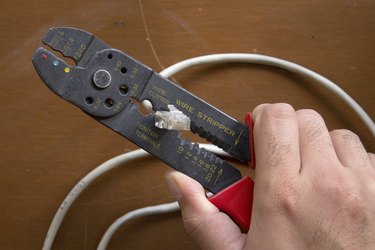
Use a pair of wire cutters to cut the RJ-45 connector off the end of the cable.
Step 2
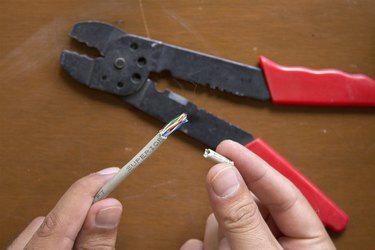
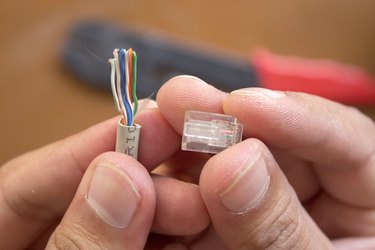
Strip approximately 1 inch of the outer cable insulation to reveal four pairs of inner wires. Be careful not to accidentally nick the insulation on the inner wires.
Step 3
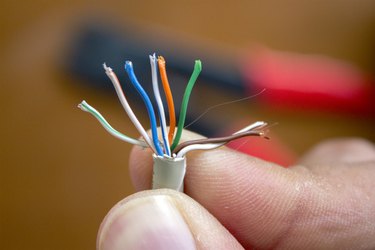
Untwist the four pairs of wires and arrange them from left to right starting with the white-and-green wire, followed by the white-and-orange wire, the solid blue wire, the white-and-blue wire, the solid orange wire and the solid green wire. Carefully cut off the solid brown and the white-and-brown wires so they're flush with the outer insulation.
Step 4
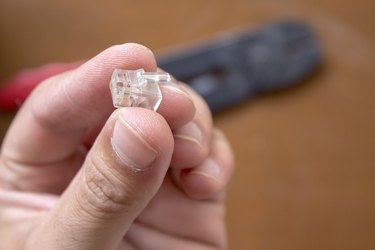
Hold the RJ-11 connector in your left hand with the plastic locking tab on the bottom.
Step 5
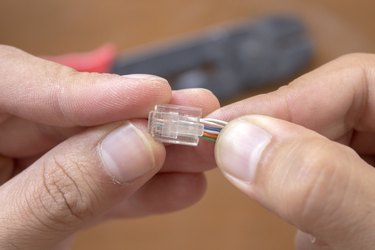
Insert the white-and-green wire into the hole in the connector closest to the left side. This is called "position one." Continue inserting the wires in order from left to right until all six wires are in place. The wire closest to the right side should be the solid green wire.
Step 6
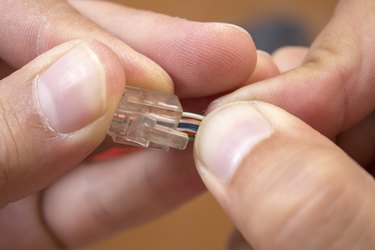
Slide all the wires as far as possible into the connector so the insulation is flush with the rear of the connector. This is important since the unterminated wires must remain twisted, which helps to minimize signal interference.
Step 7

Insert the connector into the crimping tool and squeeze until the connector clicks together.
Step 8
Trim off any excess wire protruding through the front of the connector. Repeat the entire procedure for the other end of the cable.
- Structured Wiring How To; CATx Stripping and Terminating - Chapter 1; Bob Catanzarite
- Tech FAQ: RJ-11
- LAN Shack: How to Wire a Phone Jack (Voice or Telephone RJ-11 thru RJ-14)
- Home Phone Wiring: Background Information on Jack Standards
- Harvard University: How Do I Tell the Difference Between Phone Cable and Ethernet Cable?