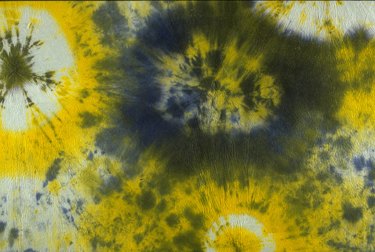
Tie-dyed fabric features intricate patterns produced by gathering the cloth, tying it with string, thread or rubber bands, and dipping it in coloring agents. Although these techniques produce a limitless range of designs, typical patterns show concentric rings of hues with loosely jagged boundaries. Adobe Illustrator's tools can save you the time and patience you'd need to draw these kinds of natural irregularities from scratch in artwork that simulates tie dye's explosive bursts of color.
Step 1
Activate the Ellipse tool in the Adobe Illustrator toolbox. Hold down the "Shift" key, and click and drag on an unused portion of your document artboard to draw a large circle. For example, in a portrait-mode, letter-sized file, draw a circle roughly 5 inches in diameter.
Video of the Day
Step 2
Open the Window menu and choose "Transform" to bring up the Transform panel if it is not already visible. Set the point of origin of the transform proxy to the center dot in its square arrangement of dots. Click on the link icon between the width and height measurement fields so both width and height will scale together proportionately. Change either the width or the height to 3 inches, and hold down the "Alt" key -- the "Option" key on a Mac -- while you press the "Return" key. This creates a concentric duplicate of your original circle. Create another copy, this time 2 inches in diameter.
Step 3
Open the Window menu and choose "Stroke" to bring up the Stroke panel if it is not already visible. Activate the Selection tool from the Adobe Illustrator toolbox and marquee around your circles to select them. Enter "48" in the Stroke panel's Weight field to apply a 48-point stroke to all three circles at once. Open the Object menu, locate its Path submenu and choose "Outline Stroke" to convert your strokes into solid shapes.
Step 4
Select the Crystallize tool, nested under the Warp tool in the Adobe Illustrator toolbox. Push gently on your converted circles with the tool, working your way around their perimeters to change smooth contours into irregularly spiked detail.
Step 5
Open the Window menu and choose "Swatches" to bring up the Swatches panel if it is not already visible. Switch back to the Selection tool and click on an unused area of your artboard to deselect all your artwork. Select the outermost converted circle and apply one of the colors from your Swatches panel to it. Select the next circle and color it a different shade, then reapply the first color you used to the center circle.
Video of the Day