
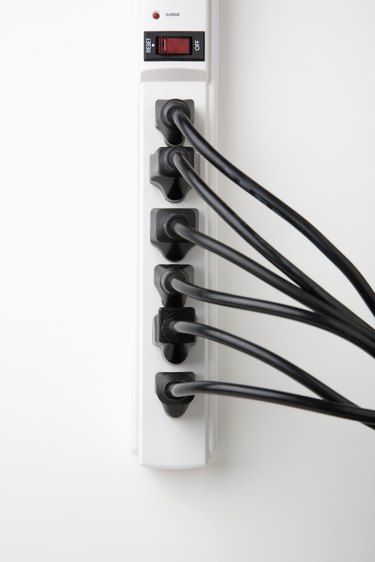
Useful devices, power strips add outlets where they are needed. They offer protection against electric surges that can damage sensitive devices. With improvements in technology, power strips have become more sophisticated and with that sophistication comes a higher price tag. Power strips sometimes develop problems over time. Use a few household tools and simple steps to fix a power strip rather than replacing it.
Step 1
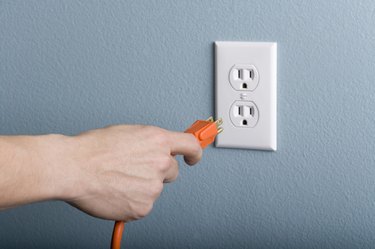
Unplug the power strip from the wall socket. The voltage going through the power strip is 120 volt, enough to cause serious injury should contact be made with the current running through it.
Video of the Day
Step 2
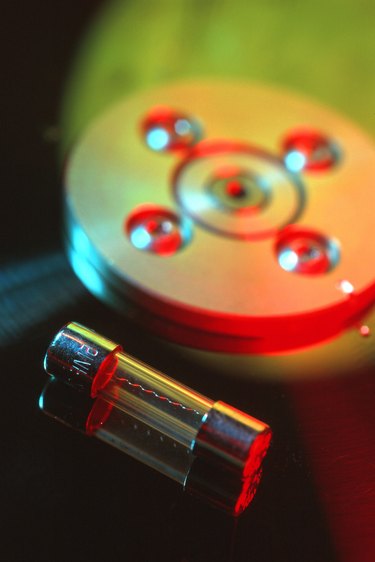
Check the fuse or circuit breaker. Most power strips have some sort of surge protection in the form of a fuse or circuit breaker. If the strip has a fuse, turn the fuse's cap counter clockwise and remove the fuse. Hold the fuse up to the light. If the metal strip inside of the fuse is broken, do not replace it until you check the wiring. If the strip has a breaker, push the reset button.
Step 3
Inspect the power cord. Because power strips are normally used near areas of high traffic, the cord can become damaged. Look for cuts and crimps in the cord's wiring. If there is any shielding missing from the cord, wrap the affected area with electrician's tape. Start and end the tape wrap ½-inch from above and below the damaged area.
Step 4
Open the power strip. Most power strips have two set screws on their bottom side that hold the casing together. Use a Phillips screwdriver to loosen the screws. When you remove the screws, place them in a plastic bag for safe keeping. Gently remove the power strip's bottom panel.
Step 5
Check the wiring. Because the plug's sockets are open, moisture can enter the device's interior. Examine the wiring for damaged shielding, corrosion and loose connections.
Step 6
Clean the wire's connection points. Corrosion can create a barrier that impedes the flow of electricity through the power strip. Dip a cotton swab into rubbing alcohol. Squeeze off the excess alcohol. Rub the tip of the swab across the soldered terminals or connection points until the corrosion is removed. Allow five minutes for the alcohol to evaporate before continuing.
Step 7
Repair the damaged shielding. For shielding damage, wrap a small piece of electrician's tape around the damaged area.
Step 8
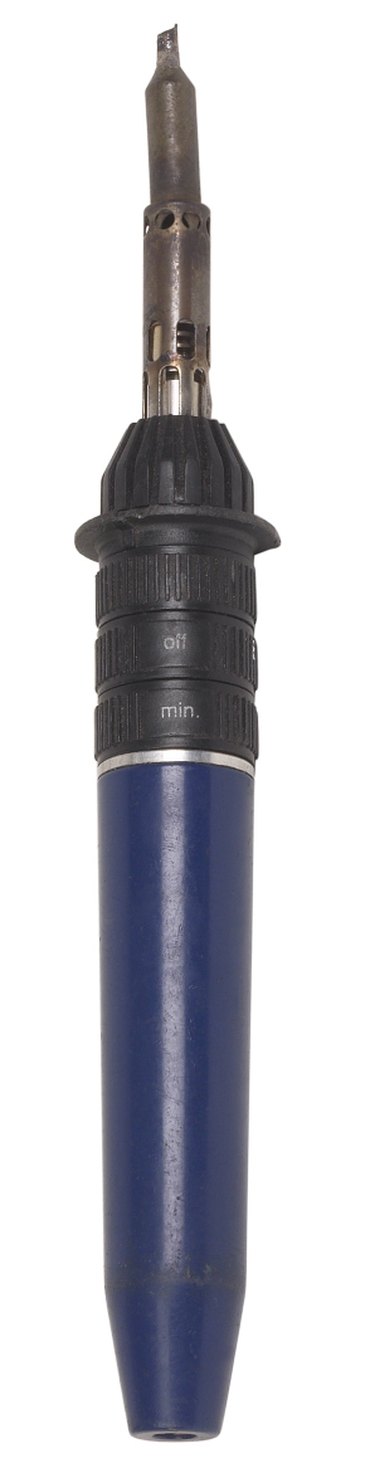
Solder the wiring. For loose wiring, use a soldering iron to solder the wire to the connection point or terminal. Turn the soldering iron on, and allow it to warm up for five minutes. Apply soldering flux to the loose wire and its connection point. Place the soldering iron on the wire and connection point for one minute. Place solder into the gap between the wire and its connection point. After the solder has spread, remove the soldering iron.
Step 9
Reassemble the case and plug the power strip back in. Test the strip by plugging an electronic device into one jack at a time.
Video of the Day