Formatting a hard drive in Linux using GParted is no more difficult than formatting a hard drive in Windows. As an alternative to the command line, GParted is a free graphical user interface utility that ensures you choose the right parameters as you format and partition your external hard drive for use in Linux, Windows or Mac OS X. After your drive is formatted, you can begin using it to store data.
Step 1
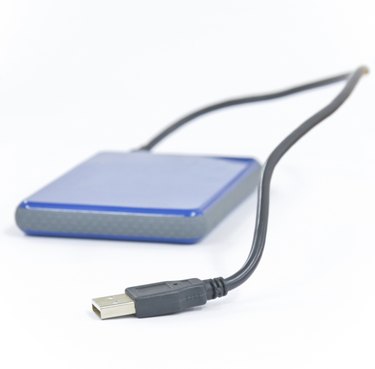
Connect your hard drive to the computer using a USB connection.
Video of the Day
Step 2
Install GParted. From the command line, type "sudo apt-get install gparted".
Step 3
Launch GParted. From the command line, type "sudo gparted".
Step 4
Choose "Devices" from the GParted menu and select the device you connected. You can tell which one is correct by checking the disk size shown in parentheses.
Step 5
Select the partition, click the "Partition" menu and choose "Unmount." If a partition is mounted, a directory is listed in the Mount Point column.
Step 6
Choose "Create Partition Table…" from the Device menu. You are warned that this deletes all data on the disk. Click "Apply."
Step 7
Select the unallocated space and click "New" to open the Create New Partition dialog.
Step 8
Choose the size of your partition. If you want to create a single partition for the entire disk, which is recommended, enter in the "Maximum Size" value for the "New Size" field.
Step 9
Choose "Primary Partition" for "Create as."
Step 10
Choose an option for "File system." If you will be using the hard drive exclusively on Linux systems, choose ext2, ext3 or ext4 , since these file systems are only readable by Linux. If you are not sure which to choose, choose ext4. If you want to use the hard drive on Mac OS X or Windows systems as well, choose FAT32.
Step 11
Type a name for your partition into the Label field.
Step 12
Click "Add" to return to the main GParted screen. Your disk is not yet formatted -- you still have a chance to make changes, such as splitting your hard drive into multiple partitions or choosing different parameters.
Step 13
Cclick "Apply" when you are finished. GParted warns you that all data will be lost. Click "Apply" and GParted formats your drive.
Step 14
Wait until the pending operations are applied. This could take a few minutes or longer, depending on the size of the drive.
Step 15
Click "Close" when the operation is complete. Your drive is ready to use.
Video of the Day