To create a customized number line in Word 2013, use a Scatter Chart template and then delete everything except the line and select the numbers that you want to appear.
Step 1: Create an XY Scatter Chart
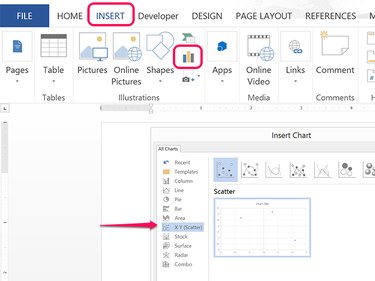
Click Word's Insert tab and then click the Charts icon. Select the XY (Scatter) chart in the left menu and click OK.
Video of the Day
Step 2: Delete the Data
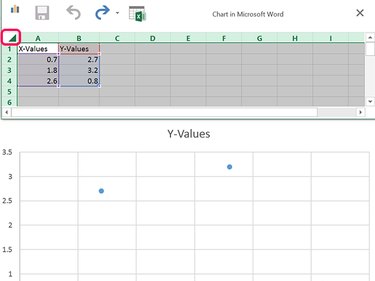
Click the upper-left corner of the table where the row number and column headers intersect to select the entire table contents. Press Delete to remove them.
Step 3: Remove Chart Elements
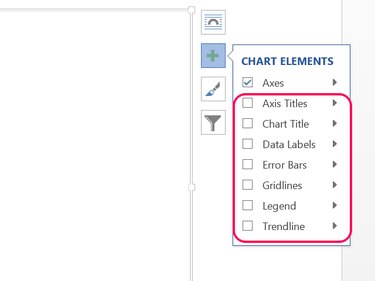
Click the Chart Elements icon on the right side of the chart. Clear all the Check Boxes except the Axes.
Step 4: Delete the Vertical or Horizontal Axis
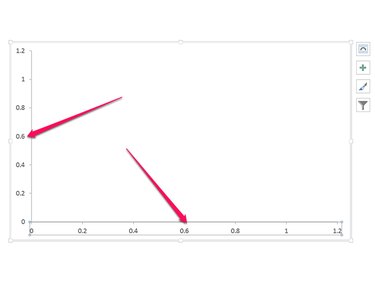
Click a number in the vertical axis and press Delete to remove it. Alternatively, you can delete the horizontal axis if you want to leave the vertical line. Double-click a number in the remaining axis to open the Format Axis menu.
Step 5: Change the Numbers in the Line

Enter a Minimum and a Maximum number for the number line, such as -10 and 10. These numbers set the leftmost and rightmost numbers in the line. Enter the units you want labeled in the Major text field. To have ruler marks appear between these labels, enter a value in the Minor text field.
Step 6: Reduce the Size of the Empty Chart
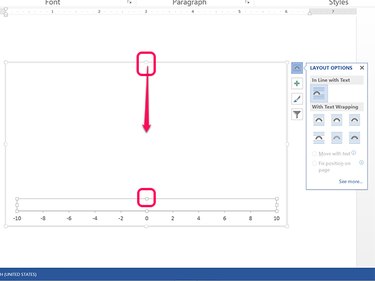
Click the Layout Options icon to select how text should appear around the chart. Inside the chart are two bounding boxes: one for the chart itself that you deleted and one for the entire illustration. Drag the anchor at the top center of each bounding box down so the chart won't take up unnecessary space.
Step 7: Change the Line's Style
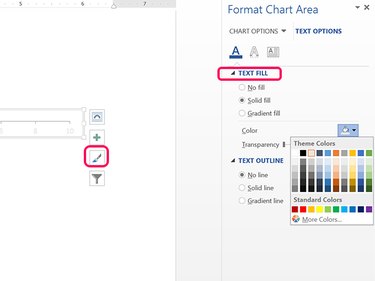
Click a number in the number line. You can choose a style from the Styles icon beside the number line to change the line and the number appearance. To change only the text color, use the Text Fill and Text Outline options in the right menu.
Video of the Day