Targus manufactures two types of wireless devices: mice and keyboards. The term "wireless" refers to devices that use Radio Frequency (RF) to connect to a system. This requires a RF base that plugs into a USB port on the computer, and a RF device, which is the mouse or keyboard. Targus also offers Bluetooth devices as well, which work similarly, but use Bluetooth technology rather than RF. The Targus devices are plug-and-play, which means they do not require a hardware driver in order to function. However, to get the full features of the wireless devices, a software driver must be installed.
Step 1
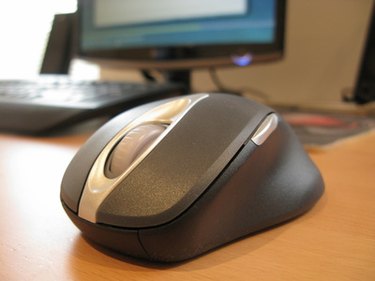
Open the battery cover of the wireless device and insert the batteries. The battery cover on a Targus wireless keyboard is on the underside of the keyboard, near the top. For a mouse, push the notch on the back of the mouse, then lift the cover up.
Video of the Day
Step 2
Insert the USB receiver for the Targus Wireless device into an open USB 2.0 port on the computer.
Step 3
Download the software driver from www.targus.com. Search for the product number of the Targus Wireless device, then click on the "Download" tab under the product description. Click on the driver to download it.
Step 4
Install the software driver by double-clicking on the downloaded file, then following the prompts to finish the installation.
Video of the Day