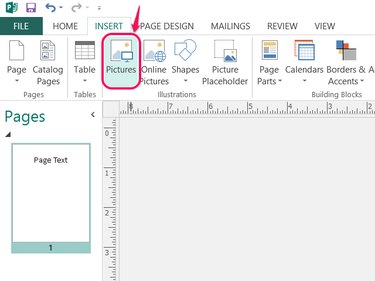
Adding a background image to your Publisher 2013 creation helps to grab attention, but if you don't fade the image by applying transparency, it'll overwhelm the actual content of your publication. To start, insert a picture with the Pictures button in the Insert tab, and then use one of two methods to fit the image: Either use the Apply to Background option or resize and position the image manually for more precise control.
Apply to Background Method
Video of the Day
Step 1
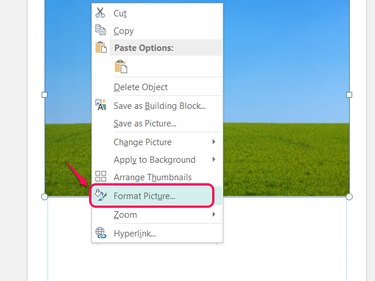
Right-click the image and choose Format Picture.
Video of the Day
Step 2
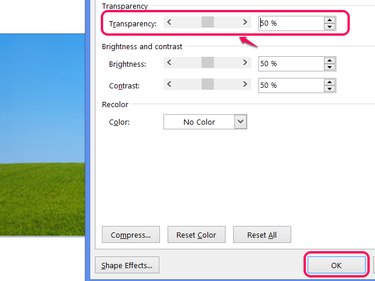
Drag the Transparency slider, use the arrows or type a number to set the image's transparency. The more transparent the image, the easier it is to read text over your background. Click OK to fade the image.
Step 3
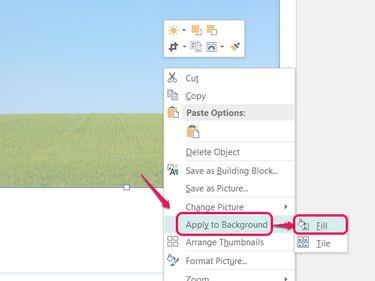
Right-click the image, choose Apply to Background and pick Fill to fill the page's background with the faded image.
Step 4
Select the original picture, which now sits on top of the background, and press Del to delete it, retaining the faded background image.
Manual Method
Step 1
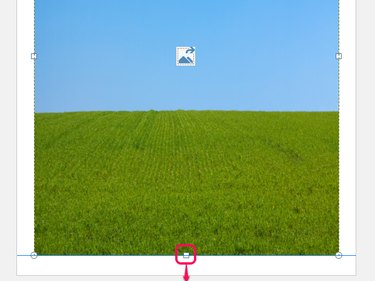
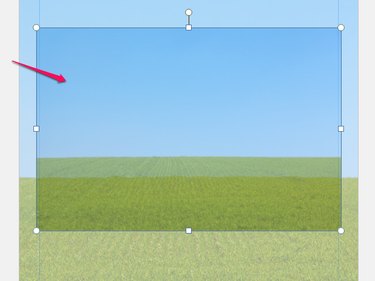
Drag a picture after inserting it to position it. Drag the handles on its border to stretch and resize it. Resize the image either to fill the entire page to the border lines, or to fill the desired portion of the page.
Step 2
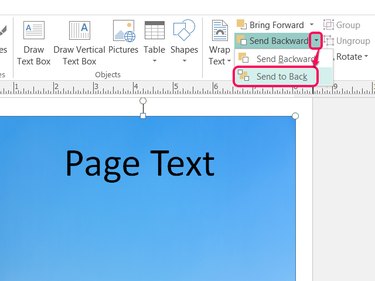
Open the drop-down menu on the Send Backward button on the Home tab and choose Send to Back to move the image behind all other items on the page. If you insert the image prior to designing the rest of the publication, you won't need this step.
Step 3
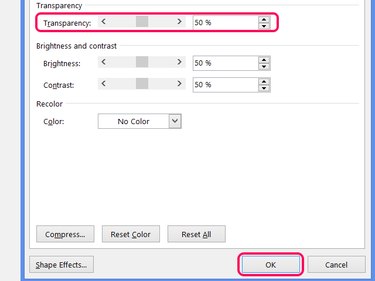
Right-click the image and choose Format Picture. Move the Transparency slider or enter a number to set the level of fading. You won't see the change take effect until you press OK.