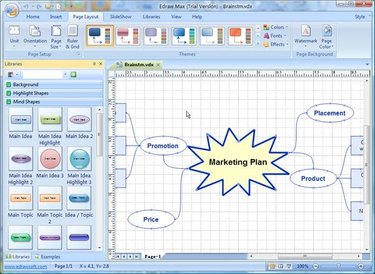
Microsoft Visio allows businesses to communicate their ideas through organizational visual imagery. Microsoft Visio aids in better understanding of complex resources by using flowcharts, database modules, software diagrams and workflow diagrams. Microsoft Visio is filled with templates and sample diagrams to allow a new user to acclimate quickly into the Microsoft Visio environment. Microsoft Visio incorporates databases to link data to diagrams, allowing trends and analysis to be reviewed quickly and efficiently.
Step 1
Start the Microsoft Visio application.
Video of the Day
Step 2
Click "File" in the top left corner of the application. A drop-down menu will appear.
Step 3
Click "New." A submenu will appear.
Step 4
Point to "Flowchart." Click "Mind Mapping Diagram." This creates the drawing area to create your Mind Map. In the center of the drawing area is the Central Theme Box. The Central Theme Box represents the main thought, goal, or purpose of the Mind Map.
Step 5
Drag an auto-size box to the drawing area to add keywords. This is found in the Mind Mapping Diagram Shapes stencil. Type text into the box while the box is selected. The box will resize, as needed, to fit the text entered.
Step 6
By grabbing the "Branch handle" you can connect the central theme box to an auto-sized box. Several autoboxes may be connected to help isolate idea patterns.
Step 7
Click "File." On the drop-down menu, click "Save As." In the Save As window,, choose a palce to save the Mind Map. Enter the name of the Mind Map in the "File Name" box. Click "OK" to save and exit the Save As window.
Video of the Day