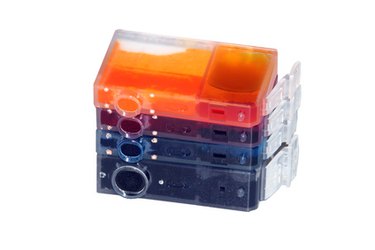
HP 8600 printers, also known as the HP Officejet Pro K8600 or Pro K8600dn, are inkjet printers that use four individual large, high-capacity HP #88 ink cartridges--one black and one each for cyan, magenta and yellow--for printing. The ink nozzles, from time to time, can clog, resulting in blank spots and spaces that include missing dots, lines or partially non-printed characters. Additionally, print heads may not work because of dirty electrical contacts.
Ink Clog Removal
Video of the Day
Step 1
Press and hold the "Power" button on your HP 8600 printer.
Video of the Day
Step 2
Push the "Cancel" button twice and then press the "Resume" button once.
Step 3
Release the "Power" button to begin the electronic printhead cleaning process.
Electrical Contacts Cleaning
Step 1
Lay three or four stacked pieces of paper on the surface in front of your HP 8600 printer and open the printer cover. If the carriage doesn't automatically move to the far left of the printer, push and hold the "Resume" button until it does. Unplug your printer once the carriage has moved to the far left.
Step 2
Grasp and lift up on the printhead latch and lift the handle on the firstprint head. Pull the printhead out of the printer.
Step 3
Hold the printhead carefully in one hand over the paper in front of the printer without touching the nozzles. Wipe the copper-colored square electrical contacts on the printhead gently with a lint-free microfiber cloth, lens-cleaning cloth or soft, coffee filter.
Step 4
Set the printhead on the paper with the ink nozzles facing up.
Step 5
Repeat Step 3 and Step 4 for each printhead.
Step 6
Rub the electrical contacts inside the printer gently with your lint-free cloth or filter.
Step 7
Plug in your printer and push the "Power" button.
Step 8
Insert a printhead back into its color-matched housing—pressing it firmly into the slot to make sure that the electrical contacts on the printhead touch the contacts inside the printer. Pull down the printhead latch over the print head and push down firmly to secure the printhead in place. Repeat with each printhead, and close the cover when finished.