The VTech line of phones are in use all over the country in homes and offices. The VTech series of cordless phones are popular for home use due to a built-in screen that features caller ID as well as a menu system to change the settings for the phone. Using the display screen, owners of the VTech cordless phone can enjoy a programmable directory that can quickly bring up numbers of your 20 closest friends, family and coworkers with the push of a button. Programing the directory on the VTech cordless phone is a quick process and easy to complete.
Step 1
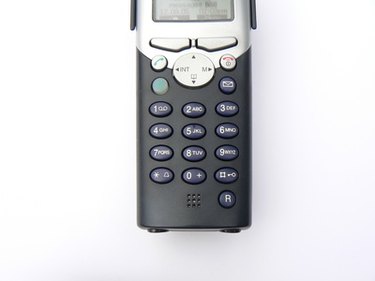
Pick up the VTech cordless phone from the base. When the handset is not in use, press the "Prog" button, which will access the programmable directory. Using this directory, you can store up to 20 contacts and enter names that are up to 14 characters long, change the date and time and set your ringer.
Video of the Day
Step 2
Press the "Select" button when you have reached the directory menu. Doing this will bring up the "Enter Name" prompt where you can program the name you want to appear for this contact in your directory. Use the number pad to enter the name, making note of the characters that appear on each number. Push the number once for the first letter, twice for the second and so on. Push the "Up" and "Down" navigation buttons to move left and right and the "Chan/Remove" button to delete a letter. When finished, press the "Select" button.
Step 3
Enter in the number you want to save for this contact on the "Enter Number" screen which appears after you program the name. Enter in all of the digits for the number, including the area code and country code if the number is long distance. The "Up" and "Down" buttons will move left and right in this field. When finished, press the "Select" button.
Step 4
Press "Up" to chose yes or "Down" to choose no when asked if you want a "Distinct Ring" for this contact. If you choose yes, you will be able to choose a ring with the "Up" and "Down" buttons and the "Select" button. Selecting "No" or choosing a distinct ring will save the contact to the directory and take you back to the directory menu. Press the "Select" button to program a new contact and repeat the process.
Step 5
Program the date and time. Press the "Prog" button to return to the programming menu. Press "Up" or "Down" until the "Date/Time" prompt appears, then press the "Select" button. This will bring up the date and time menu which will allow you to adjust these settings. Press "Up" or "Down" to select the current month then press "Select." Press "Up" or "Down" to select the current day, then press "Select." Program the time using the same method, pressing select when you have the correct hour and minute.
Step 6
Program the ringer. Press the "Prog" button again to enter the menu, and use the "Up" and "Down" buttons to move to "Ringer" and push select. In this menu, pressing "Up" and "Down" will cycle through rings. Press "Select" to save the one you like. Press "Prog" again and the "Up" or "Down" buttons to get to the "Ringer Vol" setting, and press "Select." Choose between "Off," "Low" or "Hi" using the "Up" and "Down" buttons, and press "Select" to save your choice.
Video of the Day