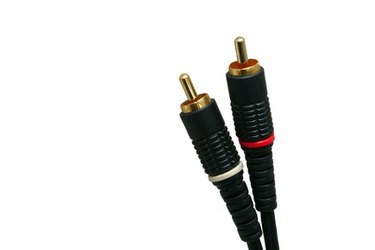
RCA audio and video cables can split, fray or short out over time. Splicing good sections of cable together is an efficient way to repair old cables and get them back in action. Splicing the wires in an RCA cable presents a challenge, because the two groups of wires inside are concentrically insulated, making it difficult to isolate and re-insulate each group after soldering.
Step 1
Cut the two ends of RCA cable you want to splice together so that both are clean cuts with no frayed wire.
Video of the Day
Step 2
Cut a 1 1/2-inch length of heat shrink and slip it over one end of the cable.
Step 3
Strip the outer insulation from both ends, exposing about 3/4 inch of the outer layer of wires. Gently gather those wires to one side so that the inner insulation is exposed.
Step 4
Strip the inner layer of insulation from both ends, exposing about 3/4 inch of the inner layer of wires. Gently separate those away from the outer layer of wires.
Step 5
Cut two one inch lengths of heat shrink and heat one very slightly with the lighter so that it is slightly smaller. Slip the smaller length of heat shrink inside the other one, then cut the two into four 1/4-inch lengths. Place one 1/4-inch length on each group of exposed wires in the cabling.
Step 6
Hand-crimp together like groups of wires: outer wires to outer wires and inner wires to inner wires. Make sure there's only between 3/4 and 1 inch of exposed wire after the crimping, as the heat shrink will only cover up to an inch.
Step 7
Solder together the crimps by holding the heated soldering tip to one side of the wires and then bringing the end of the rosin-core solder to the other side. The solder will melt and flow around the wires toward the soldering tip. Once it has done so, first pull the solder away, then the soldering gun, and allow the new joint to cool undisturbed for several seconds.
Step 8
Use the tweezers to pull the inner layers of heat shrink toward and over each solder joint. Make a continuous length of heat shrink by overlapping the individual 3/4-inch lengths as much as possible. Ideally, no wire should remain exposed.
Step 9
Heat the heat shrink over the wires with your lighter or butane torch to make a snug fit over the solder joints. Use electrical tape to cover up any slight exposure in the wires.
Step 10
Slip the larger heat shrink over the now-covered solder joints. Heat it with your lighter until it fits snugly over the spliced cable.
Video of the Day