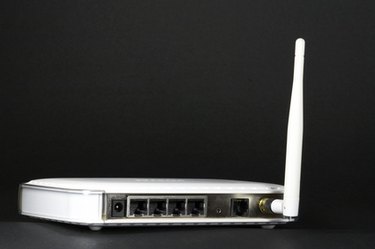
Wireless Internet, or Wi-Fi, connections are a common way to allow several computers to access the internet through a single wireless router. Although Wi-Fi networks have many advantages over standard wired connections, they often suffer from weak or unstable signals that can cause fluctuating connection speeds and sometimes intermittent connectivity. If your wireless signal strength is low and you periodically lose your Internet connection, there are several steps you can take to strengthen your signal.
Step 1
Remove possible sources of wireless interference. Wi-Fi networks work by sending radio signals at a given frequency that can be interrupted if other electronic devices are nearby that emit signals of their own. Possible culprits of interference are microwaves, vacuums, other wireless devices and cordless phones.
Video of the Day
Step 2
Position your router and computer to reduce physical obstructions. By placing your computer close to the router with few physical objects between them, your signal strength will be stronger.
Step 3
Upgrade your wireless adapter card's drivers. You can normally download driver updates from the manufacturer of your card or computer. Check your card type by clicking "Start," "Control Panel," "Administrative Tools," "Computer Management," "Device Manager," and then locating your card under "Network Adapters." To install a driver, simply open the driver setup.exe file that you wish to download and follow the setup instructions.
Step 4
Use a wireless repeater to extend your router's range. A wireless repeater is an extra device that you can place between your router and a computer that is outside the router's optimal range; the repeater will strengthen the signal as if the router were placed closer to the computer.
Step 5
Set a new wireless channel. Log into your router by typing its IP address into the address bar of a browser and enter your user name and password (to find your IP, click "Start," then "Run"; type "command," press the Enter key, type "ipconfig," press Enter, and record the number next to "Default Gateway."). Once you are logged into your router, navigate the administrative menus and look for a field to change your wireless channel. If you cannot find the proper menu, consult your router's manual. After you have changed the channel, save the changes before exiting your router.
Video of the Day