To trace around objects in Microsoft Publisher, including objects inside a photo, use the Scribble tool, located in the Shapes options. The process is the same in Publisher 2010 and 2013. Unless you're an expert at freehand drawing, it's often easier to trace using multiple strokes, rather than trying to complete the trace with a single line.
Step 1
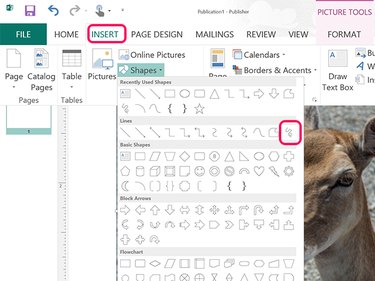
Go to the Publisher page containing an image. Click the Insert tab, select Shapes and then click the Scribble icon, located at the end of the Lines section.
Video of the Day
Step 2

Trace the cursor around the object. When you release the mouse button, a line appears where you traced and the Drawing Tools' Format ribbon opens.
Step 3
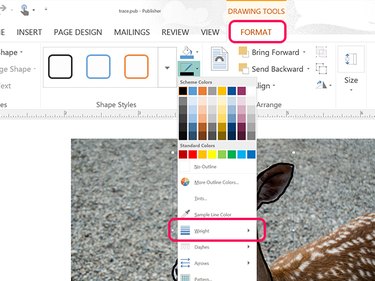
Click the Shape Outline icon in the Drawing Tools' Format ribbon. Select a color and click the Weight option in the drop-down menu to specify a line thickness.
Step 4

Draw additional lines as needed by selecting the Scribble shape from the Insert ribbon's Shape icon. Each time you release the mouse button, you have to again select the Scribble shape to continue your tracing.
Step 5

Click the image you traced if you no longer need it and press the Delete key.
Group multiple lines so you can move them or copy them to another page. Drag the cursor over the lines you traced to select them. Click the Home tab, then the Arrange icon and then select Group.
Video of the Day