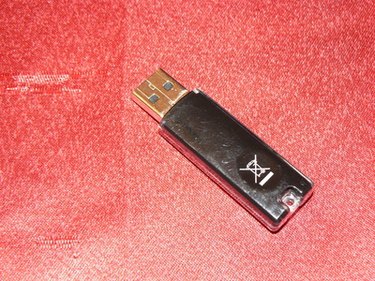
Hidden partitions on hard drives and USB flash drives store files, recovery and utility software. Many personal computer manufacturers use a hidden partition for the recovery software and no longer ship software CDs. Some people use hidden partitions to store files, which contain sensitive, illegal or private data. Since most USB flash drives are marked with the drive size, you can check for differences between this marking and the capacity reported for the drive. Any significant disparity may indicate the presence of a hidden partition.
Step 1
Log on to the computer as an administrative user. Click the "Start" button. Select "Control Panel."
Video of the Day
Step 2
Double-click the "Administrative Tools" icon. Open "Computer Management."
Step 3
Click on the "+" beside "Storage." Select "Disk Management." The hidden partitions do not have drive letter assignments and are shown in the "Disk 1" or "Disk 2" areas. The "Disk 0" area is usually used by your boot drive or the C:/ drive. A read-only partition on a flash drive may show up in the "CD-ROM" area.
Step 4
Right-click on the hidden partition. Choose "Change Drive Letter and Paths." Click "Add." Select a drive letter to use. Click "OK."
Step 5
Click on the red "X" in the upper right corner of the "Computer Management" window to close it.
Step 6
Double-click on "My Computer" on the desktop. Double-click on the drive letter you selected in Step 4 to open the drive and view the files.
Video of the Day