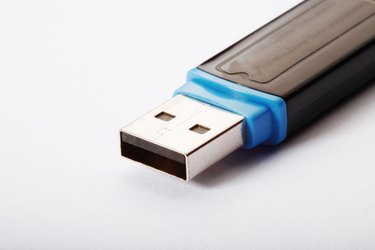
Flash drives are extremely handy portable storage devices for computer data. It's difficult to imagine life without them now. What's more, some manufacturers have begun to make media players with USB ports, and more and more people use computers as home entertainment centers. This means we have a new purpose for flash drives: storing our media files, such as DVDs. For now, it isn't practical to store full DVDs on flash drives due to space constraints, so the DVDs will first have to be ripped to a computer and compressed.
Step 1
Make sure you have the right to copy and save to your computer the DVD in question. Some DVDs may be illegal to copy at all, and are likely to have encryption to prevent consumers from copying them.
Video of the Day
Step 2
Find a good program to use to rip the DVD onto your computer's hard drive. A few examples are DVD Decrypter, DVD Shrink, VLC Media Player, DVDFab and Handbrake for Macs.
Step 3
Open the selected program and use it to rip the DVD onto your computer. Some of these programs will encode the file straight to the compressed file format of your choice, such as .avi or .mp4, but others, like DVD Decrypter and DVD Shrink, will create a folder named VIDEO_TS with multiple uncompressed video files ending in a .vob extension, which will require another program to encode into a more compressed and portable format.
Step 4
If needed, download and install a video file type conversion program, such as AutoGK from autogk.me.uk, and use the program to encode the .vob file that is the full feature movie (there will be menus, special features, and more ripped into the VIDEO_TS folder--in short, any separate video that was on the DVD will be separate in the folder) created by a program like DVD Decrypter or DVD Shrink into a more desirable, compressed video format.
Step 5
Insert the USB flash drive of choice into an open USB port of the computer, allowing it to load as normal.
Step 6
Open the USB flash drive folder and move all the ripped DVD files onto the drive. You now have a fully functional movie library that can fit easily into your pocket.
Video of the Day