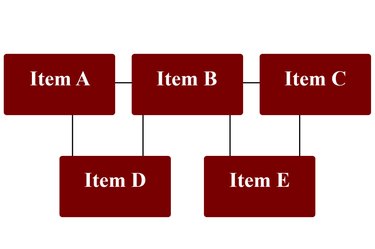
Whether you need to draw an organization chart, an infographic or a flow chart, Adobe Photoshop CC has everything you need. Add you own images to a chart or use any of the shapes already supplied to create visual representations for your audience. Begin with the objects and labels first. Once you have those in place, add arrows or lines to connect them.
Drawing a Basic Diagram
Video of the Day
Step 1
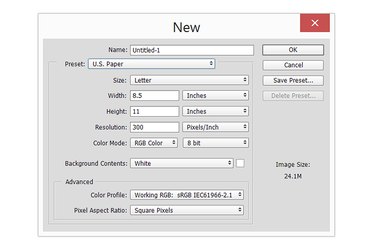
Launch Photoshop and select an appropriate size for your diagram. If you're printing it, select "U.S. Paper" from the Preset menu. If you want a landscape canvas instead of portrait, just switch the "8.5" and "11" values in the Height and Width fields before clicking "OK."
Video of the Day
Step 2
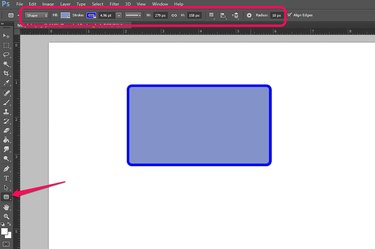
Select a shape from the Toolbox to serve as the background for your diagram labels, such as the Rectangle Tool, Rounded Rectangle Tool or Ellipse Tool. If you don't see the shape you want, click and hold the shape that is visible to reveal the others in a drop-down menu. Drag the cursor over the canvas to draw the shape, then use the menus in the Option bar to specify a fill color, stroke color and line weight.
Step 3
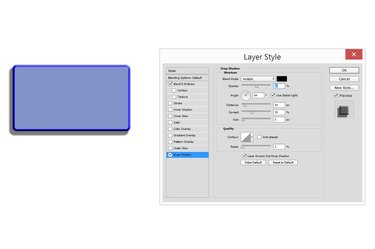
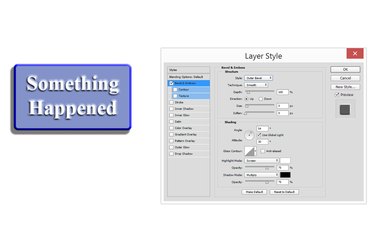
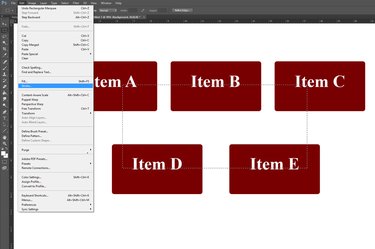
Select "Layer Styles" from the Layer menu and select one or more styles to apply to your shape. Add a Drop Shadow style to make the shape appear to float on the screen. To add a bevel around the shape's border, select "Bevel & Emboss" and select "Inner Bevel" from the Style menu.
Step 4
Select the "Text Tool" from the Toolbox and then click the shape you drew. The text box automatically fits to the size of your shape. Enter your text for the label, then highlight it and adjust the font, font size and color as desired using the options in the Options bar.
Step 5
Group the text box and background shape together to make them easier to move. Select the Text layer and the Shape layer in the Layers panel by Ctrl-clicking them and then select "Group Layers" from the Layers menu. To move both layers together, select the folder. Dragging the folder onto the "New Layer" icon at the bottom of the Layers panel copies the text and the background shape. To edit either layer separately, open the folder and select the appropriate layer.
Step 6
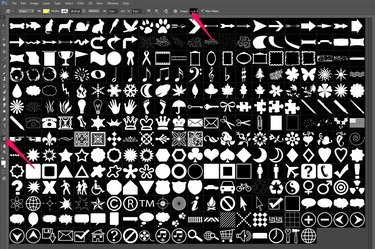
Click the "Custom Shape Tool" in the Toolbox, then click the "Shapes" menu on the right side of the Options bar. The Shapes menu includes several different arrows, speech bubbles and other shapes you can use for your diagram. Click an arrow and then drag the cursor over the canvas to draw it. Once it's drawn, you can format it and apply Layer Styles to it, just as you would any other shape.
Step 7

Select "Free Transform" from the "Edit menu to resize or rotate the arrow as needed. Holding down the "Shift" key while dragging the corner of the arrow will constrain its aspect ratio. To rotate the shape, hover the cursor outside of the corner until the cursor becomes a curved arrow and then drag it.
Step 8
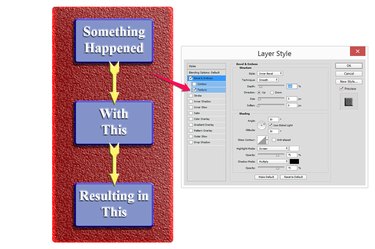
Add a background shape to your diagram if desired. To make the background visually interesting, try adding an inner bevel to it and then select the "Texture" option in the left menu of the Layer Style window, beneath "Bevel & Emboss."
Drawing Lines in a Diagram
Step 1
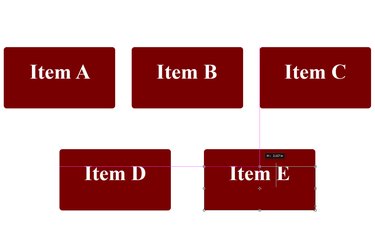
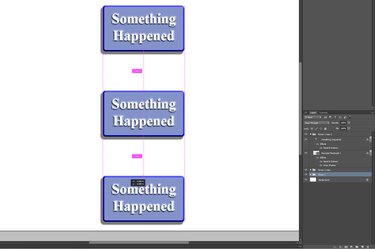
Add labels, photos, shapes or any other objects you need for your diagram. Put them in the position you want. Note that Photoshop displays alignment guides when you move objects, making it easy to space them evenly apart.
Step 2
Add a new layer to the canvas by clicking the "New Layer" button at the bottom of the Layer panel. Select the "Rectangular Marquee Tool" in the Toolbox to add straight, square lines to the diagram. Drag the tool across the canvas, then select "Stroke" from the Edit menu.
Step 3
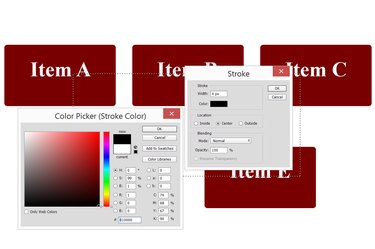
Enter a width, in pixels, for the thickness of the line in the Stroke window. Click the "Color" icon and select a color for the line, then click "OK" to close each window. The marquee tool is now a rectangle.
Step 4

Select the "Eraser Tool" to erase the parts of the rectangle you don't need. Repeat this process with the Rectangular Marquee Tool to draw as many lines as you need.
Step 5
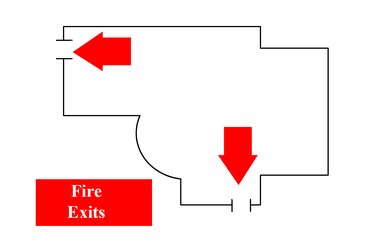
Combine rectangles and ovals into a single shape by holding down the "Shift" key when drawing with any of the marquee tools. Each time you add a new shape, it automatically combines with those already present, so you can draw floor plans, street intersections or any other shapes you might need in a diagram.