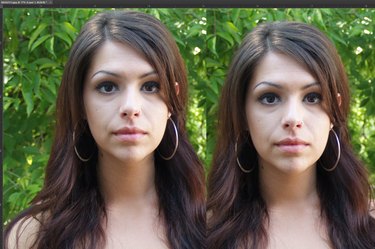
Whether you want to make yourself an extra inch taller, or you're creating some kind of exotic, giraffe-alien-human hybrid, you can lengthen a neck to any size you need in Photoshop CC 2014. For best results, select a high-definition photo. Stretching the neck is actually the easy part in this process. Making sure the background and especially the face aren't distorted as well does require some patience and care.
Step 1
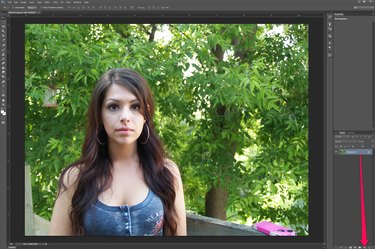
Open your photo in Photoshop. Duplicate the photo's layer -- the "Background" layer if it's a JPG -- by dragging it onto the "New Layer" button at the bottom of the Layers panel.
Video of the Day
Step 2
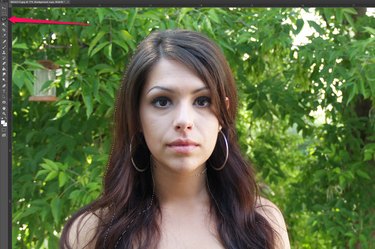
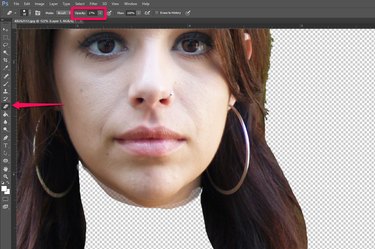
Select the "Lasso Tool" from the Toolbox and drag it around the model's face and hair. It's okay if you get some of the neck below the chin. If you miss a spot, select the "Magic Wand Tool" from the Toolbox, hold down the "Shift" key and click on the spot you missed.
Step 3
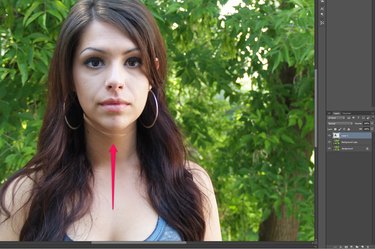
Press "Ctrl-C" to copy the head and "Ctrl-V" to paste it onto the image as a new layer. Press the "Up Arrow" key to nudge the head up to your desired position.
Step 4
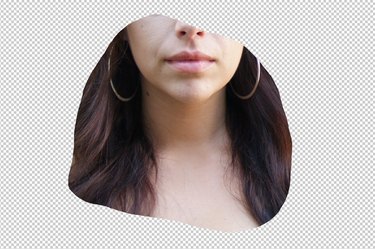
Select the "Background Copy" layer and trace a wide area around the neck, including the bottom of the face and top of the chest. Press "Ctrl-C" and "Ctrl-V" to copy and paste the selection into a new layer.
Step 5
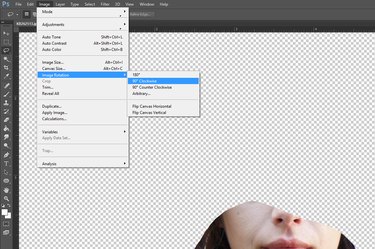
Select "Image Rotation" from the Image menu and then rotate the image 90 degrees clockwise. This prepares the neck for the Liquify Filter's Push Left Tool.
Step 6
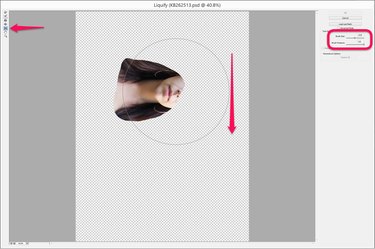
Click the "Filter" menu and select "Liquify." Select the "Push Left Tool" in the Liquify filter and adjust the brush so it's at least as wide as the neck is long. Center the tool over the face and drag it downward. This pushes the face to the right, stretching the neck. Use short strokes and repeat the process until the neck is as long as you want it to be. Of course, if you instead turned the image so that the face is on the right, drag the cursor upward to push the pixels to the right.
Step 7
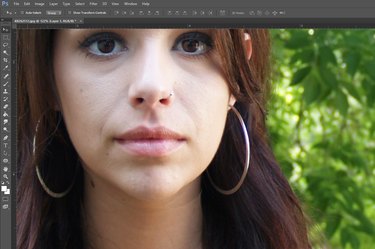
Select "Image Rotation" from the Image menu and rotate the image back 90-degrees counterclockwise. Zoom in on the model's neck and hair, examining it for any lines caused by the face layer overlapping the stretched neck layer.
Step 8
Select the "Eraser Tool" from the Toolbox and change its opacity in the Options bar to any amount between 10 and 20 percent. Drag the tool over the edge of the face layer. If needed, you can also use the "Smudge Tool" or "Blur Tool" to reduce any visible lines between layers on the neck or hair.
Step 9

Zoom in and out of the photo to ensure it looks realistic, making any changes as needed with the Eraser Tool, Smudge Tool or Blur Tool. Save the image with a new file name.
Video of the Day