Cropping a photo to a circle, an oval or a rounded rectangle is something you can do quite easily in Photoshop CC using a clipping mask. Once the image is clipped, save the file as a PNG image to retain a transparent background. If you prefer to highlight a circled area in a photo, try using the Elliptical Marquee tool with a feathered edge. This gives you the ability to fade the circled area into a solid color or a blurred background.
Circle-Based Clipping Masks
Video of the Day
Step 1
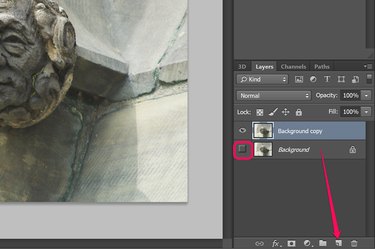
Open a photo. Drag the "Background" layer in the Layers panel onto the "New Layer" icon at the bottom. Click the "Eye" icon of the original Background layer to hide it from view. You now have an unlocked layer that you can edit without destroying the original.
Video of the Day
Step 2
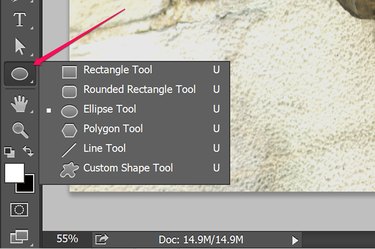
Click the "Ellipse Tool" in the Toolbox to create an oval or a circle. You can use any shape you wish to create a clipping mask. For example, select the "Rounded Rectangle Tool" to make rounded corners. You can even use a custom shape or type to create a clipping mask.
Step 3

Select any solid color as the Fill color in the Options bar. If you don't want a round frame around the cropped image, select "No Color" in the Stroke menu. Otherwise, select the color you want for a border and specify its thickness.
Drag the cursor over the canvas, holding down the "Shift" key to draw a perfect circle.
Step 4
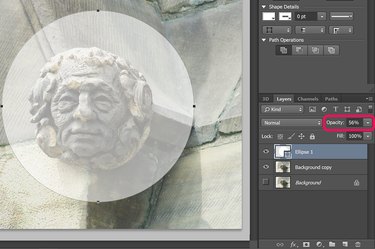
Click the "Opacity" menu in the Layers panel and reduce it to about 50 percent so you can see the image below the circle. You can now move and resize the circle as needed. Any area outside of the circle will be removed.
Step 5
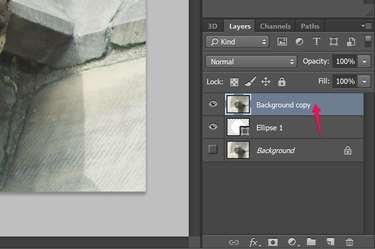
Change the circle's opacity back to 100 percent. Drag the "Background Copy" layer in the Layers panel above the Ellipse layer. It may seem counter-intuitive, but whenever you create a clipping mask, the layer you select is cut to fit the shape below it. Make sure the "Background Copy" layer is selected.
Step 6
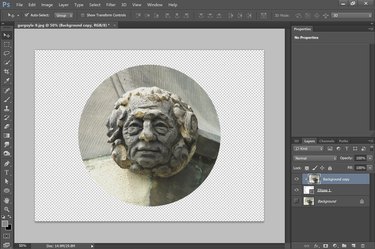
Click the "Layer" menu and select "Create Clipping Mask." Everything outside the circle is made invisible. The Layers panel displays a small down arrow on the Background Copy layer indicating that it has been clipped using the Ellipse layer.
To maintain a transparent background, select "Save As" or "Save for Web" from the File menu and save the photo as a PNG image.
Elliptical Marquee Techniques With Feathered Highlights
Step 1
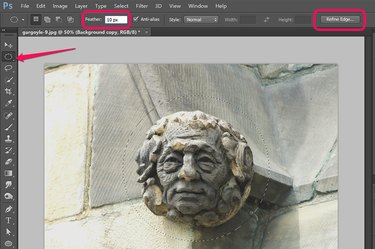
Create a duplicate of the photo's background layer as you did before creating a clipping mask. Select the "Elliptical Marquee" tool from the Toolbox and drag the cursor over the area you want to keep intact. To center the circle over a specific point, hold down the "Shift" and "Alt" keys and drag the cursor away from that point.
Create a soft edge to the circle by clicking the "Feather" menu in the Options bar. The larger the feather, the more the edge will be faded. For a preview of the feathering, click the "Refine Edges" button instead.
Step 2
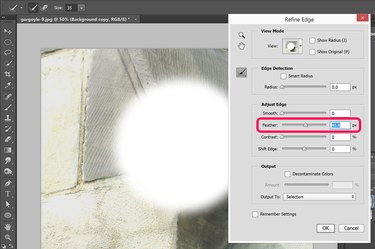
Drag the "Feather" slider to the right to increase the blurring of the circle's edge. The other settings aren't really useful for this tutorial, but you should feel free to explore them to use in other projects. Click "OK."
Step 3
Press "Ctrl-C" to copy the circled area, and then "Ctrl-V" to paste it into a new layer. Except for the new layer in the Layers panel, your photo should look unchanged at this point.
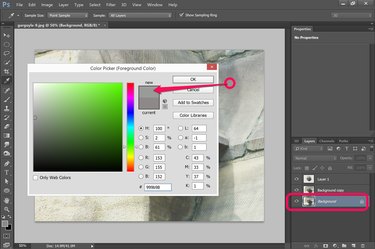
Select the "Background" layer in the Layers panel. Click the "Foreground Color" swatch in the Toolbox. Specify any color you wish to serve as a background for your cropped image. To match a color already in the photo, just click that color.
Select "Fill" from the Edit menu and press "Enter." This changes the Background to the Foreground color. This is one of the few processes you can apply to a locked layer.
Step 4

Select the "Background Copy" layer. Click the "Filter" menu, select "Blur Gallery" and then click "Iris Blur." Drag the center of the Iris Blur field to the center of your circled area and drag the anchors on the edges as needed to change its size. Drag the "Blur" slider to create the blur that is suitable for your image. Press "Enter."
Step 5
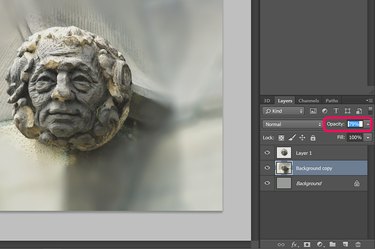
Click the "Opacity" menu in the Layers panel while the Background Copy layer is still selected. Drag the slider to the left to fade the blurred background into the colored layer below it. Note that the area you circled remains crisp and unaffected, since it's in its own layer.
Select "Save As" from the File menu to save your work with a new name so you don't write over the original photo.