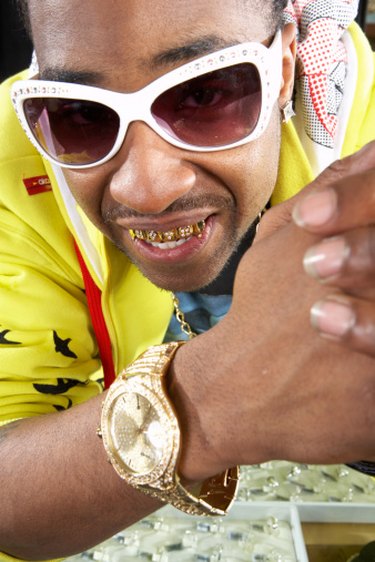
There are a several funny things you can do with digital photography these days, including adding gold or blackened teeth, or giving someone a haircut. It helps to start with a large, high-quality image with the person clearly visible in the photo you wish to edit. Once you have a suitable photo, let your imagination soar: The possibilities are endless.
Step 1
Select a graphics program. Free or inexpensive graphics and photo editing software is widely available. Download and install a program with the features you want to use.
Video of the Day
Step 2
Find a photo of someone with a gold tooth. The easiest way to add a gold tooth to a photograph is to copy it from an existing photo -- search the Internet or your photo archives for someone with a gold tooth that is fully visible. A clear image will be easier to copy and paste onto your photo.
Step 3
Use your graphics program's magic wand or lasso tool to select the gold tooth. Outline the entire tooth, then choose "Copy" from the program's Edit menu.
Step 4
Open your photo and use the zoom tool to enlarge the image until the person's mouth is as large as possible. This will make it easier to properly size and align the new gold tooth.
Step 5
Use the arrow tool on the tool palette to position the copied gold tooth over the real tooth. Use the "Paste" function on the Edit menu (or use Control + V on your keyboard) to paste the gold tooth onto your photo.
Step 6
Resize the gold tooth. Use the boxes at the corners of the image to enlarge or reduce the tooth to fit it over the person's original tooth. If the gold tooth is a different shape or larger than the person's real tooth, you can also crop the tooth to the right size and shape.
Step 7
Align the gold tooth with the real tooth. If needed, you can zoom in even closer to align the tooth as perfectly as you can. The better aligned the tooth is, the more authentic the altered photo will look when you zoom out.
Step 8
Add a grill, if desired, by repeating this editing process with any other exposed teeth in the photo. Save the photo after adding each gold tooth, so if you don't like the way it looks, you can revert to the previously saved image.
Video of the Day