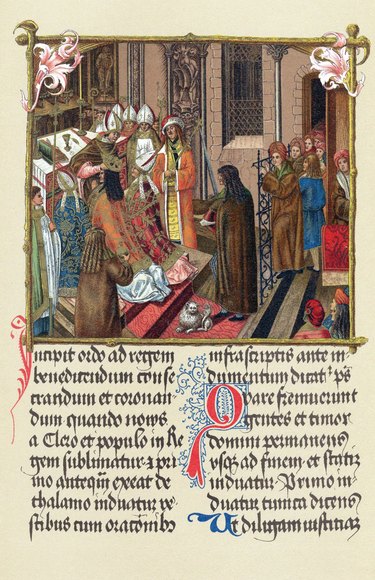
Paragraphs that begin with an enlarged, usually capitalized first letter the height of two, three or more lines of text use a design feature called a drop cap. This enhancement hearkens back to the days of illuminated lettering and ornately decorated manuscripts. Like most page-layout software, Adobe InDesign accommodates this graphic embellishment with options that eliminate the drudgery of enlarging one letter and repositioning it relative to the rest of the paragraph.
Step 1
Activate the "Type" tool in the Adobe InDesign toolbox. Click and drag on your document page to create a text frame.
Video of the Day
Step 2
Type, place or paste your desired text into the active text frame. Open the "Edit" menu and choose "Select All." Open the "Type" menu and select "Character" to display the Character panel if it isn't already open. Set the typeface, style, size and leading for your text.
Step 3
Open the "Type" menu and choose "Paragraph" to bring up the Paragraph panel if you haven't already displayed it. Open the fly-out menu at the top right corner of the panel and select the "Drop Caps and Nested Styles" option.
Step 4
Enter a value of three or more in the "Lines" field in the Drop Caps and Nested Styles dialog box to specify how many lines tall your drop cap will appear relative to the rest of your text.
Step 5
Enter "1" in the "Characters" field to restrict your drop-cap effect to the first letter of your text. Click on the "OK" button to apply your drop cap.
Video of the Day