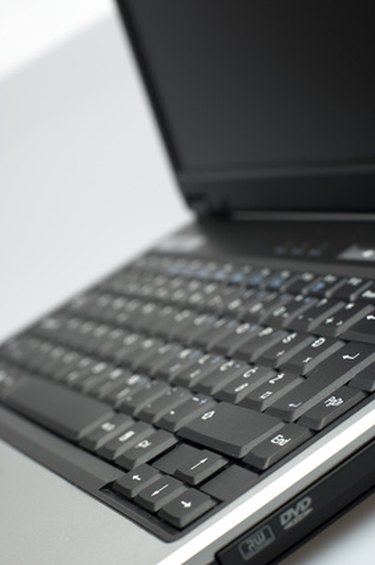
The print screen button is found on all standard keyboards, including Dell laptop keyboards. The print screen button is located on the top right side of the keyboard. On Dell laptops the print screen button shares the button with the Insert function. The insert function is the dominant function, so to make the print screen function work, you must use the function key while using the print screen. The process is a little tricky but once you get use to using the function key, you will be able to use print screen to copy the screen whenever needed.
Step 1
Arrange the screen to include the items you would like to copy with the print screen function.
Video of the Day
Step 2
Hold down the function button on the bottom left of the Dell laptop keyboard, labeled "FN" in blue.
Step 3
Continue holding the function button with one hand, and with the other hand press the "print screen" button. Release both buttons. The screen has now been copied and is ready to be pasted.
Video of the Day