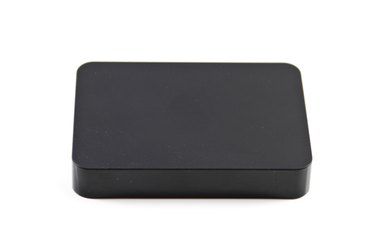
Several DVRs support the option of adding an external drive to expand recording capacity. Of the major providers, only DISH Network lets you actively control moving files back and forth between the DVR and the external drive. With other providers, you cannot control where recordings are stored.
DISH Network
Video of the Day
Step 1
Confirm that your DVR supports external hard drives. As of May 2014, the 612, 622, 722, 722k and 922 models supported them, as did the Hopper.
Video of the Day
Step 2
Connect your external hard drive to a power supply, then connect it to the DVR via USB cable. Read any warnings that appear on screen; in particular, you may see a warning that your drive will be wiped clean before you start using it.
Step 3
Contact DISH Network to activate the external drive. A fee may apply.
Step 4
Access your drive on the DVR by selecting "MENU", "MultiMedia" and "My Media" then either "Recordings Transfer" or "External Hard Drive." (Which appears depends on your model.) Select "Send to Device," then select the recording or recordings you want to transfer, then finally select "To Archive."