Although Canon and Adobe are separate and unrelated companies, they make hardware and software that can be very compatible in certain cases. One of those cases is the scanning of film negatives and slides. Any person with a Canon scanner and computer with Adobe's Photoshop software installed can integrate the two, as long as the scanner comes with a film guide device, adapting unit and other specific hardware that's standard with many of the company's higher-end scanning machines.
Step 1
Open the Adobe Photoshop application, then go to the menu that appears in the upper left-hand corner. Click the "File" button, and when the drop-down menu appears, find "Import" on the list and select it. When the next menu appears, find your scanner from the list of options presented and select it.
Video of the Day
Step 2
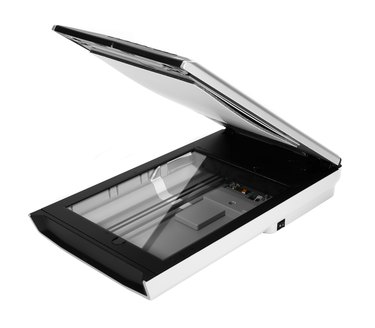
Find the removable film scanning device on the Canon scanner; it should be to the left of the glass scanning bed. Place the negative or strip of negatives into the scanner's film guide device, lining up the first negative with the first number on the guide. After that, place the scanner's film adapting unit hardware over the negatives to be scanned and place the negatives in the scanner.
Step 3
Go to Photoshop's "Select Source" menu. Choose "Color Negative Film," if the negatives being scanned are of color film, or "Black and White Negative Film," if the negatives are of black and white film. Next, under the "Color Mode" menu, choose whether you want to scan the negatives in color or in black and white. Color negatives can be scanned as black and white, if desired.
Step 4
Use the image software to pick the output resolution you want for the negatives. Choosing a higher resolution number results in greater image density and clarity, but can result in longer scanning times. Then select the number of negatives in the scanner and click "Scan" to start the scanning process. Once it has completed, the negatives will appear as an Adobe Photoshop file.
Video of the Day