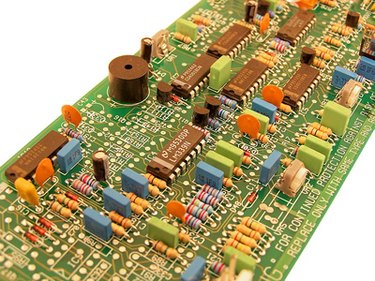
A capacitor is a circuit component that maintains voltage and discharges current over a matter of seconds when the voltage source is switched off. That's different from a resistor, which loses voltage virtually instantaneously compared to a capacitor. This feature of dissipating voltage slowly is called the "performance characteristic" of a capacitor. Bigger electronic capacitors are shown in the images but capacitors can be included inside a computer chip with other components. Never turn your computer on immediately after turning it off because you may put too much voltage over a capacitor and burn it out: then your computer won't function.
Testing a Capacitor
Video of the Day
Step 1
Set up your breadboard so that the long end faces you. Inspect the breadboard and find the letters A through J across the top and numbers 1 through 63 along the side. Place the battery connector on the battery.
Video of the Day
Step 2
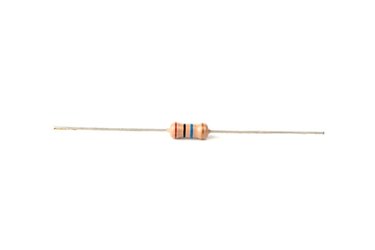
Use an electrolytic capacitor with a 50-volt rating with a capacitance of 1 microfarad. Find the ground lead of the capacitor by looking for a "-" marking. Place that lead in position J20 on your breadboard. Place the other lead in position J25.
Step 3
Measure the voltage decay of your capacitor. Place the black ground lead in position I20 to establish connectivity with the capacitor lead in J20. Note that continuity exists across each numbered row, including row 20. Turn your multimeter to VDC 20 (20 volts). Contact the black lead of the multimeter to the ground lead of the capacitor and the red lead to the other lead of the capacitor. Use alligator clips or hold them with your left hand.
Step 4
Apply voltage to the circuit by placing the red lead of the battery into I20. Read the voltage across the capacitor, which should be approximately 9 volts. Glance at your clock. Remove the read lead of the battery from I20 and check the discharge of the capacitor. Watch the voltage over the capacitor drop to 0 over the course of eight to nine seconds.
Step 5
Check continuity of the capacitor. Set the multimeter to the continuity check setting. Touch the black lead to the ground side of the capacitor and the red lead to the other side. If continuity exists (you'll hear a long beep), the capacitor is short-circuited and should be discarded.
Step 6
Set your multimeter to the highest ohms setting and apply it to the capacitor. Watch the meter approach 0 ohms and then start increasing. Keep the capacitor if it follows this general pattern.
Step 7
Use the voltage decay test and the continuity check as your determinative tests and use the ohms test as a rough check.
Step 8
Test a second electrolytic capacitor with a voltage rating of 63 volts and a capacitance of 6.8 microfarads. Construct a simple circuit with two resistors (each of 330 ohms resistance), the capacitor and a voltage source. Place one lead of resistor 1 in E63 and the other in E40. Place a lead of resistor 2 in D40 and the second lead in C25. Place the high lead of the capacitor in B25 and the ground (- or 0) in B23.
Step 9
Put the battery ground lead (black) in A23. Put the red battery lead in C63. Set your multimeter to 20V and attach your red lead to the high capacitor lead (B25) and your black lead to the capacitor's ground (B23). Remove the voltage source and watch the voltage decrease. Expect voltage discharge times ranging from one minute and 12 seconds to one minute and 17 seconds.
Step 10
Note that the capacitance rating is within 20 percent, and there is often some variation.