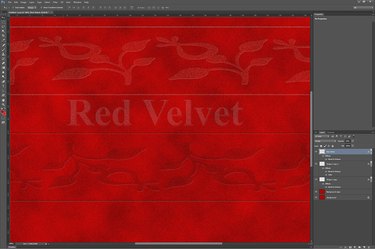
Creating a realistic velvet texture in Photoshop CC is something you can easily do yourself using an assortment of layer styles and filters. First, decide on a color and select a light and a dark shade for that color. If you want to create a luxurious red velvet, for example, use "FF0000" as the light red and A80101" as the dark red. Once the background is done, you can create realistic depth to the velvet by adding designs to it.
Creating a Velvet Background
Video of the Day
Step 1

Create a new file in Photoshop of any size, using the default file settings. Decide what color you want the velvet to be. You'll need a light shade and a dark shade for that color. Click the "Foreground Color" icon in the Toolbox and specify the light shade in the Color Picker. Click the "Background Color" icon in the Toolbox and set it as the dark shade.
Video of the Day
Step 2
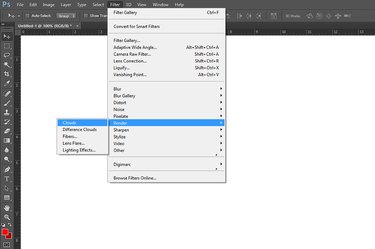
Select "Render" from the Filter menu and select "Clouds." The cloud effect that appears on the canvas uses the foreground and background colors you chose.
Step 3
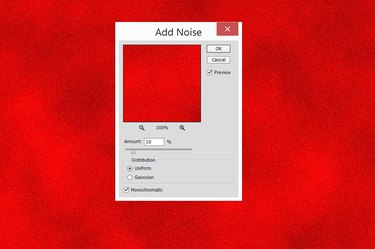
Click the "Filter" menu again, select "Noise," then "Add Noise." Set the Amount at "10" percent with a Uniform distribution. Select the "Monochromatic" option and click "OK." This adds a bit of texture to the velvet.
Step 4
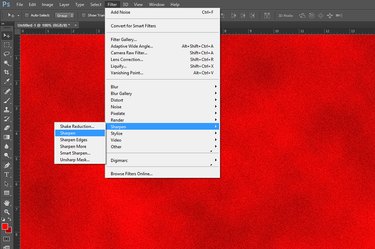
Select "Sharpen" from the Filter menu, then click "Sharpen" in the drop-down menu that opens. This condenses the pixels created by the Noise filter, refining the texture.
Step 5
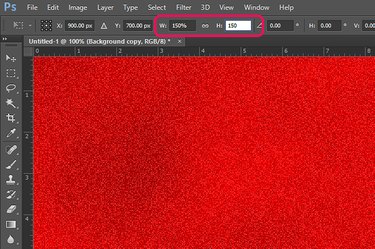
Drag the "Background" layer in the Layers panel onto the "New Layer" button to duplicate the layer. Select "Transform" from the Edit menu and click "Scale." Type "150" in both the Width and Height text fields in the Options bar and press "Enter" to expand this layer. Change the Blending Mode menu at the top of the Layers Panel from "Normal" to "Overlay."
Step 6
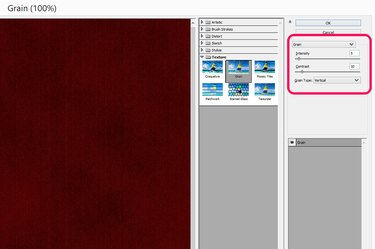
Select "Merge Visible" from the Layers menu, then copy the Background layer again by dragging it onto the "New Layer" icon in the Layers panel. Select "Filter Gallery" from the Filter menu, open the "Texture" folder and click the Grain icon. Set the Intensity at "5," the Contrast at "10" and select "Vertical" from the Grain Type menu. Click "OK."
Step 7

Click the "Opacity" menu in the Layers panel and change the opacity to "30" percent. If you want the velvet to appear darker, increase the opacity to 40 percent.
Adding Velvet Textures
Step 1
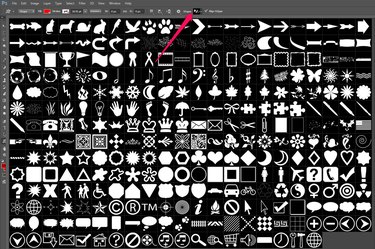
Add a new layer to your velvet background by clicking the "New Layer" button in the Layers panel. Type some text, draw lines, circles or rectangles, or add a custom shape using the Custom Shape Tool in the Toolbox. Set the "Fill" to the same color you used as the velvet's Foreground color. Apply the "Noise" and "Sharpen" filters from the Filter menu just as you did when creating the velvet background.
Step 2

Click the "Blending Mode" menu in the Layers panel and select "Divide." Reduce the layer's opacity to around 50 percent to fade the shape into the velvet background.
Step 3
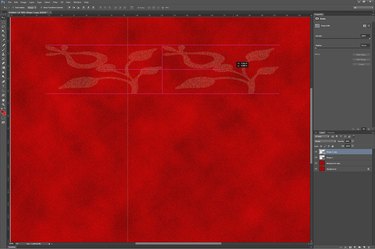
Use the "Selection Tool" in the Toolbox to select, copy and paste the shape as many times as needed to create a pattern. Alternatively, drag the shape's layer onto the "New Layer" button in the Layers panel. Note that as you move the copied shapes, guidelines appear on the canvas to help you position them as needed.
Step 4
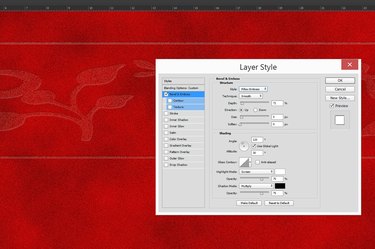
Add depth to the shapes by selecting "Layer Style" from the Layer menu and clicking "Bevel & Emboss." Begin with the "Pillow Emboss" option in the Style menu, using a "Smooth" technique. Adjust the Depth and Size values as desired.
Step 5

Select "Satin" in the Layer Style window to make the shapes darker than the velvet around them. Use the "Normal" blend mode and set the Opacity to anywhere between "70" and "80" percent. Make sure the "Invert" option is selected.