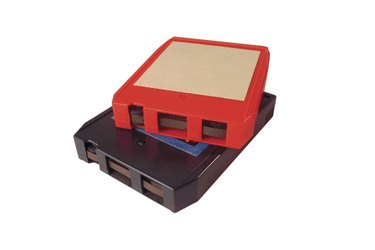
8-tracks are a technology that was used to record and listen to music during the 1960s and 1970s. Many people who own music recorded on these tapes have to enjoy it using this dated technology because they don't wish to purchase the same music twice. With today's technology, however, the music from old 8-tracks can be converted to the more modern compact disc, making it easier to enjoy the music from the old tapes.
Step 1
Plug the jacks of the RCA cable into the line-out jack sockets on the rear of the 8-track recorder. These jacks are black and white in color. Plug the mini-jack into the headphone socket of your laptop.
Video of the Day
Step 2
Open the music recording program and prepare to record a new track.
Step 3
Insert the 8-track tape that you wish to convert and rewind to the beginning. Press "record" on the music recording software and press "play" on the 8-track player. Save the recorded 8-track music to your computer as an audio file.
Step 4
Open your disc burning program. Drag the recorded 8-track file into the program. Go to "File" then "New Playlist." Click and drag the 8-track file into the playlist.
Step 5
Insert a blank CD-R into the computer's disc drive. Click on "Burn" in the playlist window to burn the playlist onto the disc.
Step 6
Insert the newly burned disc into a CD player and play it to ensure the process has been done properly.
Video of the Day