How to back up your website: 3 layers that actually work
This guide walks through building a layered website backup plan that survives the three main ways backups actually fail: the copies are incomplete, the copies are accessible to whoever attacked the site, or the copies have never been tested and turn out to be broken. By the end, you'll have a concrete plan for how to back up your website that you can start implementing today.
The confidence problem is real. Most organizations discover their backups are flawed not during a routine check, but in the middle of an active incident, when incomplete archives, slow restores, and broken dependencies become visible for the first time (HelpRansomware reported this pattern last month). The goal here is not to avoid that moment by luck but to prevent it by design.
One clarification before anything else: syncing and mirroring are not backups. A synced folder propagates deletions, corrupted files, and malware as quickly as it propagates good data. A real backup creates discrete restore points you can roll back to a version of the site from last Tuesday, or last month, before whatever went wrong (BlogVault explains the distinction well).
What a complete backup includes: Both the database (posts, users, orders, settings, plugin data) and all site files (themes, plugins, uploads, core files), plus configuration files and an exported DNS zone file. During recovery, a saved DNS zone file means re-importing records in minutes rather than rebuilding them by hand (BlogVault; Webhost365).
Start here: the fastest backup setup for most sites
Video of the Day
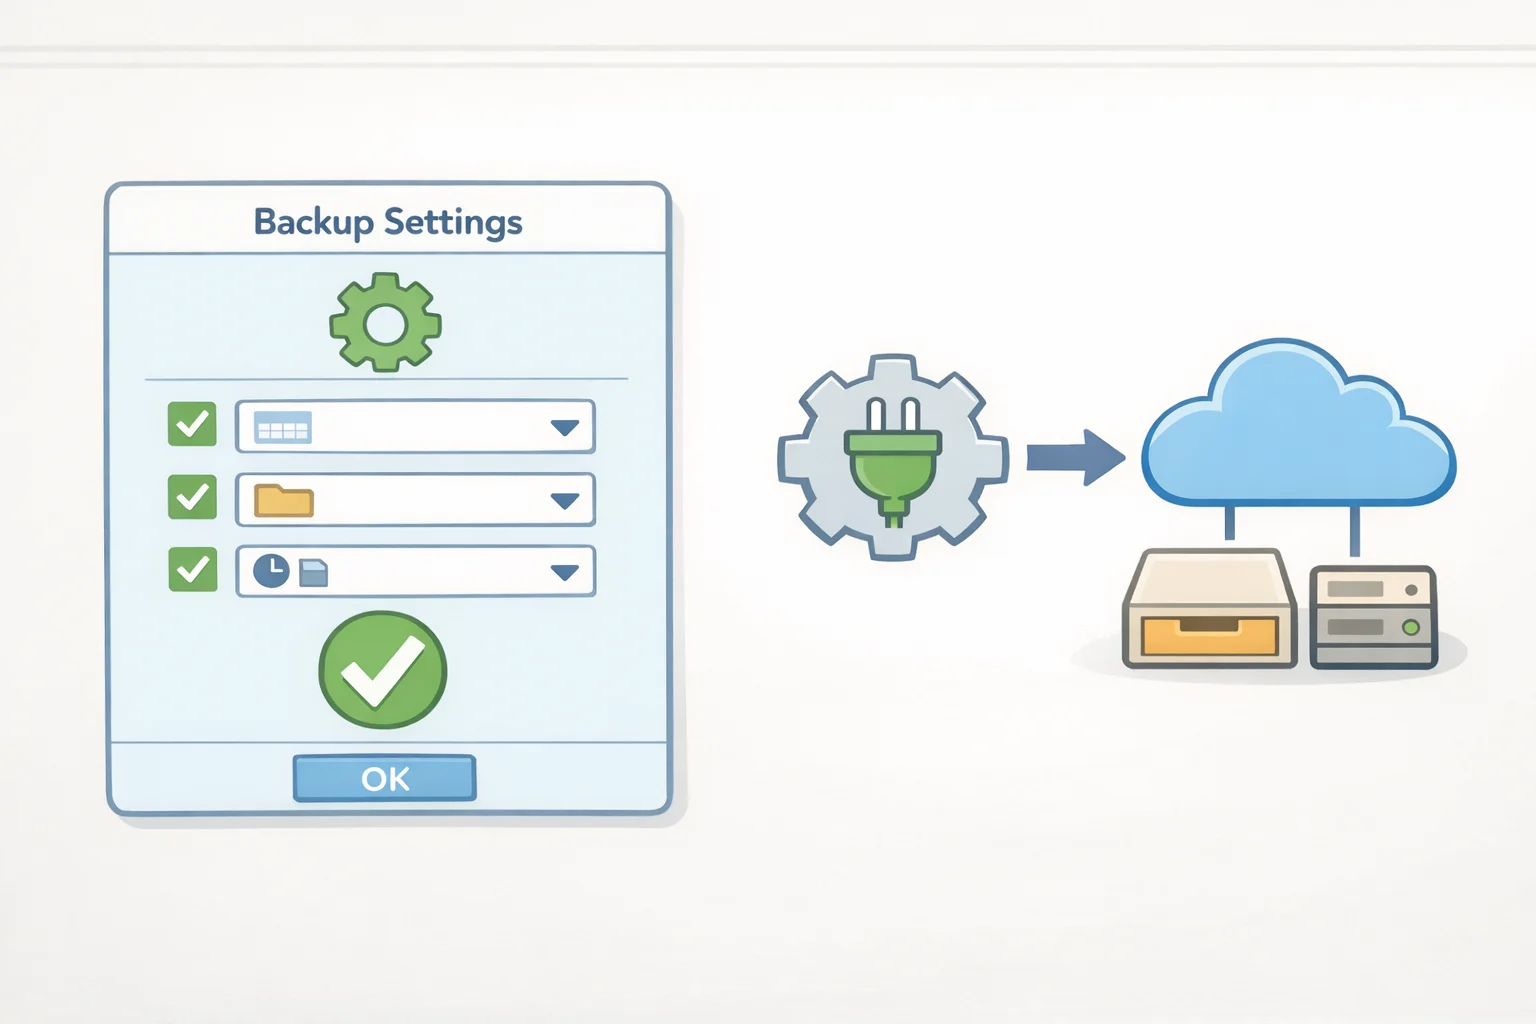
Before getting into the three layers, here's the minimum workable setup. Do these four things first, then read the rest to understand why each one matters and how to harden it:
- Log in to your hosting control panel and confirm automated backups are turned on
- Install a backup plugin and point it at a separate cloud storage account with object versioning enabled
- Download one full backup archive to an encrypted local drive this week, then repeat every week
- Restore to a staging environment once right now, before you need it
That's the baseline. Each step below explains what can go wrong with the simple version and how to close the gap.
Video of the Day
Website backup methods: which layers you actually need
The framework behind all of this is the 3-2-1 rule: three copies of your data, on two different storage systems, with one copy offsite. CISA endorses it, and every credible source on backup resilience treats it as the floor, not the ceiling (CISA; Webhost365). The three layers below implement it in order of complexity. Use them together each one covers a gap the previous one leaves open.
Layer 1: Your host's automated backups a useful base, not a complete answer
What it covers: Accidental deletions, failed updates, plugin conflicts, and server-level failures. No additional software required, nothing to configure beyond confirming it's on.
Step 1: Confirm automated backups are enabled. Log in to your hosting control panel and verify. Many managed WordPress hosts, including Kinsta, WP Engine, Pressable, Flywheel, Cloudways, SiteGround, and Hostinger Premium, take nightly snapshots at the hypervisor layer, outside the WordPress process entirely. That matters: a snapshot taken at that level cannot be tampered with from inside a compromised WordPress installation (Techearl).
Step 2: Set retention as long as the plan allows. Most hosts default to 14-30 days. That window is adequate for recovering from an accidental deletion or a bad update. It may not be adequate if the threat is a compromise that went undetected for months WordPress compromises are commonly discovered three to six months after initial access, which would predate most host retention windows (Techearl). Extend the window wherever the plan allows.
Step 3: Do one test restore now. Restore to a staging environment and confirm the site comes up clean. Restore is usually a one-click operation in the host dashboard but "usually" is not a substitute for having confirmed it yourself (Techearl).
Why this layer isn't enough on its own: Host backups are tied to the host. A host-level breach, a terminated account, or a long-dwell compromise that predates the retention window all eliminate this layer. Host snapshots also tend to focus on infrastructure recovery rather than granular file restoration, and most disappear if the hosting account itself is compromised or terminated (Webhost365). Layer 1 is the easiest starting point. It isn't the ending point.
Layer 2: A backup plugin sending copies to an isolated offsite destination
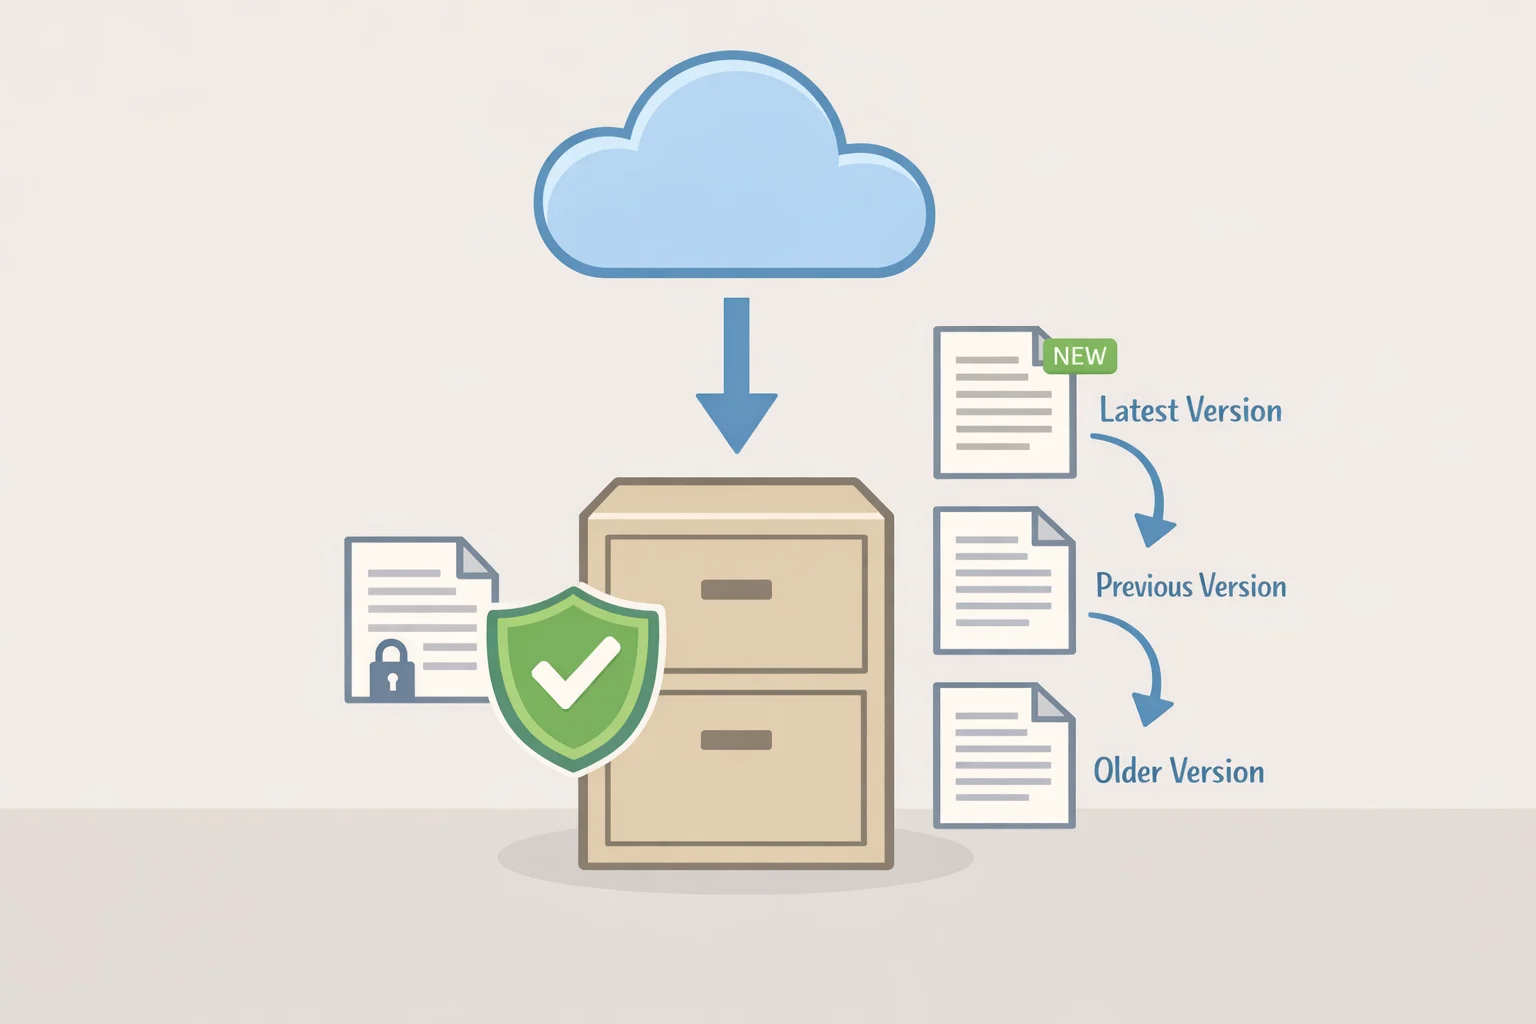
What it covers: Protection against host-coupled failures and a second independent copy outside WordPress's trust boundary when configured correctly.
The important word is isolated. WordPress backup plugins run inside WordPress, which means they share the same file permissions and database credentials as a compromised site. An attacker with database access can read the cloud storage credentials stored in wp_options, delete offsite archives directly, silently disable the plugin, or overwrite archives with empty files while the dashboard continues reporting "Backup complete" (Techearl). The plugin's convenience is real. The structural weakness is equally real. The steps below reduce the exposure.
Step 1: Choose a plugin based on where backups live, not just that they go somewhere. The key question is whether an attacker who compromises the WordPress database can also reach and delete the backups:
- Plugins that store cloud credentials in
wp_optionsUpdraftPlus is the common example are convenient and widely used. They require the mitigations below. - Services that store backups on their own infrastructure with separate authentication, where prior backups remain accessible from an independent dashboard even if the plugin is removed from the site, provide meaningfully stronger isolation (Techearl).
Watch for this: If you use a plugin with cloud credentials stored in the database, treat those credentials as potentially exposed and configure the destination accordingly.
Step 2: Enable object versioning on the destination. S3, Backblaze B2, and Google Cloud Storage all support versioning that preserves overwritten objects. If an attacker replaces an archive, older versions survive (Techearl).
Step 3: Use a dedicated backup account. Create a separate cloud account used only for backup storage. A single compromised credential should not expose both your backup destination and other services (Techearl).
Step 4: Rotate destination credentials quarterly. Any token stored in wp_options should be treated as already exposed. Rotating quarterly limits the window of exposure (Techearl).
Set backup frequency to match how much data loss is acceptable. Two terms worth knowing: RPO (recovery point objective how far back you'd have to rewind) and RTO (recovery time objective how long the site can be down while you restore). For a WooCommerce store, daily backups can miss an entire day of orders, stock changes, refunds, and payment records real-time or near-real-time backups are appropriate. For a low-change content site, daily incrementals are sufficient (BlogVault).
Retention template: A practical baseline is 7 daily, 4 weekly, and 12 monthly backups roughly a rolling month of recent history, three months of weekly snapshots, and a year of monthly checkpoints (Webhost365). For sites with commercial transaction data, extend monthly retention to cover the full year and add at least one yearly snapshot. Recovery from a long-dwell compromise requires a clean reference point that may be many months old (Techearl).
Layer 3: A downloaded offline copy under your direct control
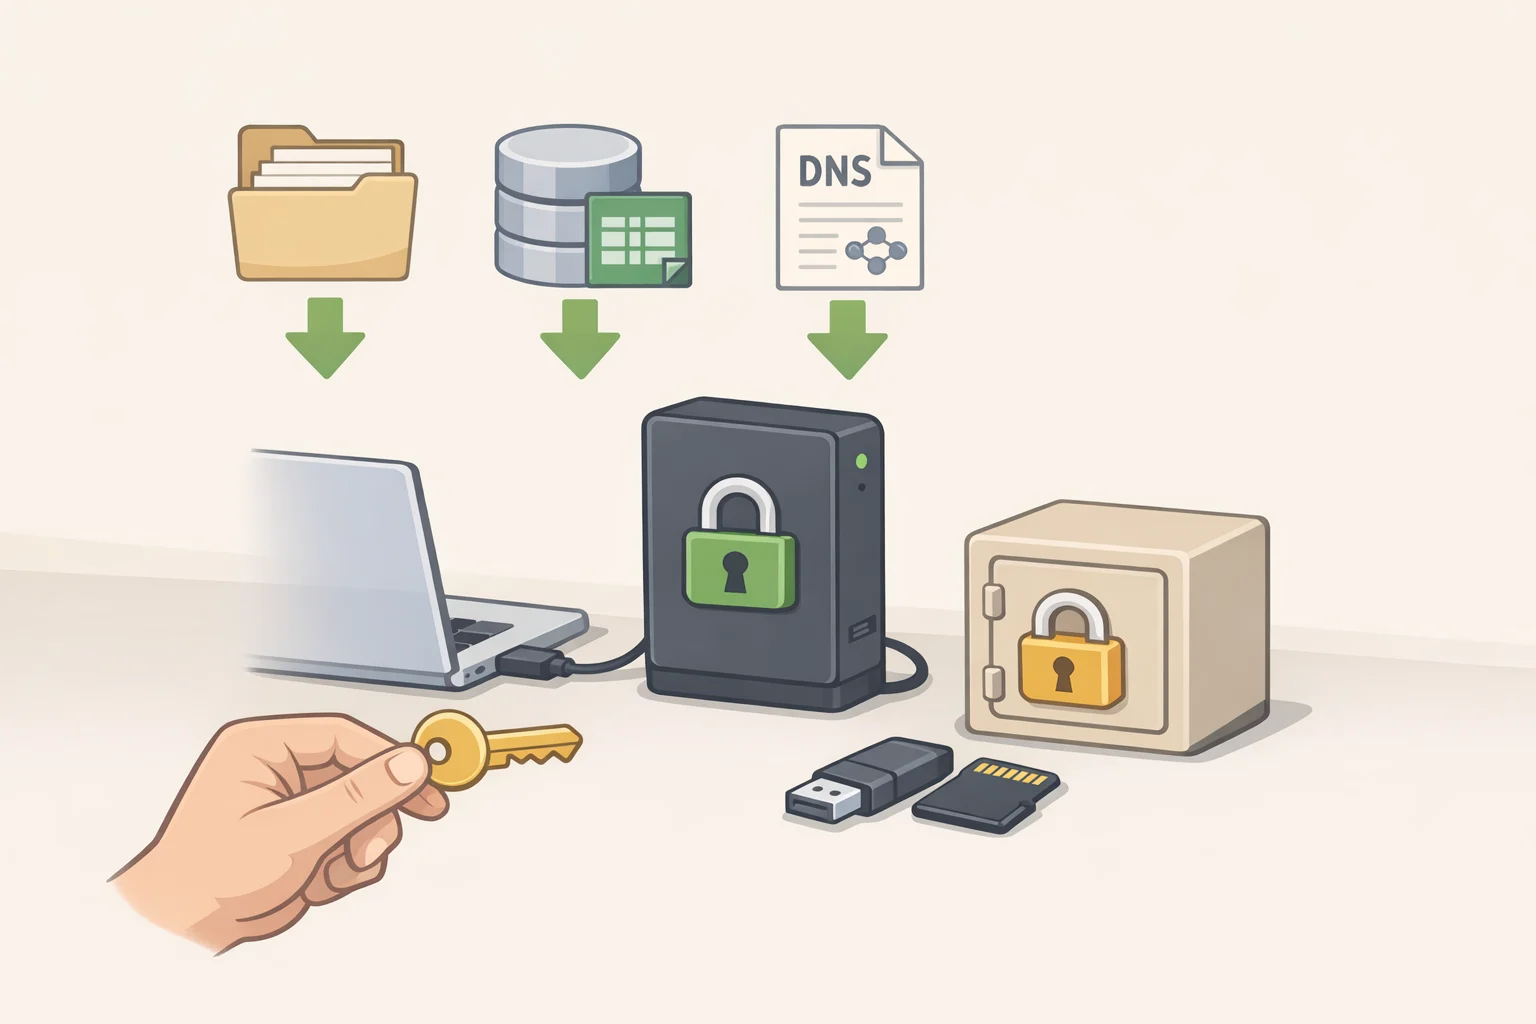
What it covers: The one backup layer an attacker who has fully compromised WordPress cannot reach, because it lives on a device they have no access to.
CISA is direct on this point: keep backups offline, because many ransomware variants are specifically designed to locate and encrypt or delete accessible backup copies (CISA). A downloaded local copy is how site owners without server-level access implement that guidance.
Step 1: Download a copy of your automated backup weekly. From your backup plugin's dashboard or your host's control panel, download the most recent full backup archive to your local machine. Store it on an encrypted external drive or an encrypted cloud folder with credentials that have no connection to the site (Techearl).
Step 2: Export the database directly. Your database is the component that cannot be regenerated from files alone it holds posts, users, orders, settings, and plugin data. Use phpMyAdmin (available on most shared hosts) to export the full database as a .sql.gz file and download it manually (Techearl; BlogVault).
Step 3: Export your DNS zone file. Log in to your DNS provider and export the zone file. This step is routinely overlooked. Re-importing a zone file takes minutes; rebuilding DNS records by hand does not (Webhost365).
Watch for this: A manually downloaded copy has a known timestamp. Before restoring from it after a suspected compromise, verify that the download date predates the earliest possible compromise date. If it doesn't, the archive may already contain attacker-planted files. Layer 3 is the most trusted copy in the stack but only if it's old enough to be clean.
Set a recurring weekly calendar reminder for the download step. This is the one layer that requires manual discipline to maintain, and it will get skipped without a prompt.
The validation step: test a restore before you need one

Restore testing is not a fourth backup method. It's the mechanism that confirms whether the three layers above are actually usable. As ZeonEdge put it earlier this year, a backup that cannot be restored is "a false sense of security."
Step 1: Schedule a restore drill monthly. Pick a date and put it on the calendar. The goal is to catch configuration drift a plugin that quietly stopped running, a credential that expired, a destination bucket that hit a storage limit before it becomes a problem during an actual incident (ZeonEdge).
Step 2: Restore to staging, not production. Bring the site up in a staging environment and work through a checklist:
- Homepage loads correctly
- Admin login works
- Media library is intact
- Forms submit and route properly
- Checkout and order history function (for WooCommerce sites)
- Scheduled tasks and cron jobs are running
- DNS resolves correctly for the staging domain
- SSL certificate is valid
- Plugin licensing is active where required
A backup that produces a broken site under controlled conditions will not produce a working site under pressure (HelpRansomware).
Step 3: During an actual incident, do not restore from the most recent backup first. The most recent snapshot likely contains the compromise. Before restoring, identify the earliest possible date of initial access, then pick the newest backup that predates it. This is why retention depth matters as much as backup frequency (Techearl; HelpRansomware).
Step 4: Assess whether backup infrastructure was also reachable. If cloud storage credentials were stored in wp_options and the site was compromised, treat those backups as potentially modified. Fall back to the offline copy from Layer 3 (CISA).
Your minimum viable backup plan and where to go from here
The default plan, in order of priority:
- Confirm host automated backups are on with maximum retention, and do one test restore this week
- Install a backup plugin configured to send copies to a separate offsite destination with versioning enabled
- Download one offline copy of the full site and database to an encrypted local drive, then repeat weekly
- Restore to staging once a month to confirm all three layers are working
This stack implements the 3-2-1 framework three copies, two systems, one offsite and adds the offline component that CISA identifies as essential for surviving ransomware (CISA; ZeonEdge).
By site type:
- Brochure or portfolio site: Daily automated backups from the host plus a weekly offline download. Monthly restore test.
- Active blog or membership site: Add a plugin with offsite destination. 7 daily / 4 weekly / 12 monthly retention.
- WooCommerce or transaction-heavy site: Real-time or near-real-time plugin backups, extended yearly retention, and a quarterly review of whether plugin-based backups are still reaching an isolated destination or whether SSH access and a server-level backup tool is warranted.
The ceiling of plugin-based approaches: For any site with material commercial value, plugin backups sharing the WordPress trust boundary have a structural limit. Server-level backup tools running as a separate system user outside the WordPress process, with credentials stored outside the webroot provide isolation that plugins cannot match (Techearl). If a current hosting plan doesn't support SSH access and the site has grown in value, that constraint is worth revisiting. Knowing how to create a website backup that survives a full compromise ultimately comes down to where in the stack the attacker can reach and how far out of that reach the trusted copy sits.