
Word doesn't have an option to stretch one image over two pages but creative alternatives do exist like a Word table break or simply print image on multiple pages. Unlike text, graphics are restricted to a single page. However, you can bypass this restriction by duplicating the image and cropping each one. Cutting an image into two halves and positioning them carefully gives the same appearance as a single image that stretches across two pages.
Step 1
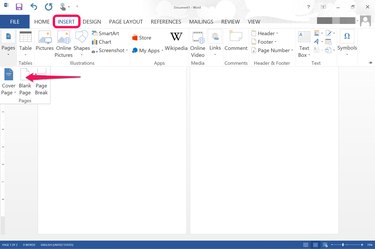
Open a new blank document in Microsoft Word. Add a second page to the document by clicking the "Insert" menu, clicking the "Pages" icon, and then selecting "Blank Page." With two pages in the document, Word automatically zooms out to 70 percent so you can see both pages at the same time.
Video of the Day
Step 2
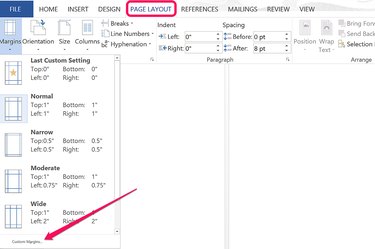
Adjust the margins before placing your picture into the document. To use any of the preset margins, select the "Page Layout" menu, click "Margins" and then click on the preset values you want. To customize your own margins, click the "Custom Margins..." link. For a digital document that you don't plan to print, there is no reason to use margins at all, so you can set them at "0" using custom margins.
Step 3
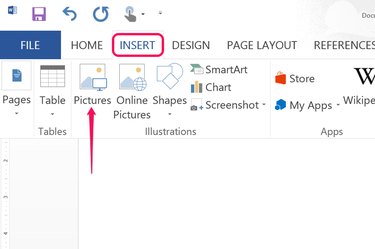
Click the "Insert" menu and select "Pictures" to load an image from your computer into the document. To use free images licensed through Creative Commons, click the "Online Pictures" icon instead.
Step 4
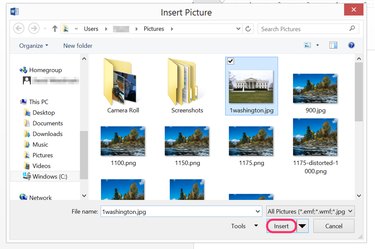
Select the image you want to use and click "Insert." Word accepts most image formats, including JPG, PNG, BMP and GIF.
Step 5
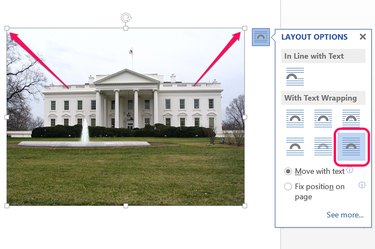
Right click the image, select "Wrap Text," and click the "In Front of Text" option. Even though there's no text in the document, this adjustment makes it easier to work with the image. If you want to add text later, you can place the image "Behind Text" when the image is finished. Resize the image as needed to cover the page by dragging any of the corners.
Step 6
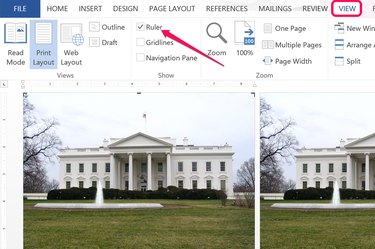
Select the image and press "Ctrl-C" to copy it. Click the top of the second page and press "Ctrl-V" to paste a copy there. If the ruler isn't visible, click the "View" menu and click the "Ruler" check box.
Step 7
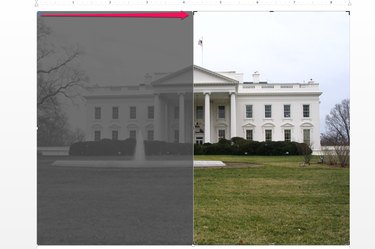
Right click the image on the first page and select "Crop." Watching the ruler, drag the top right corner to the halfway mark on the page so only the left half is visible. On a letter-sized page without margins, this would be at the 4 1/4-inch mark. You'll notice there's a round handle at the top of the image's midpoint, which you can use to crop the image by exactly half. Crop the image on the second page in the opposite direction so only the right half is visible.
Step 8
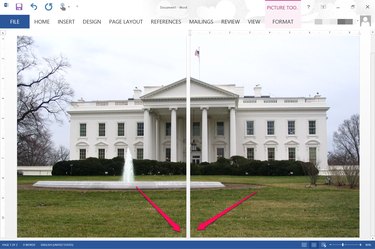
Resize the cropped images by dragging an inside corner toward the gutter between both pages. Zoom in and out of the pages to make sure they line up. Sometimes, a blank line may appear next to either image. To reposition the image, just drag it up over the blank line.
Video of the Day