Microsoft Word 2013 has everything you need to create a professional-looking newsletter, whether for printing or distributing via email. Before getting started, take a look at the templates available within Word. If you find something you like, it's much faster to edit an existing template for your newsletter than to design one from scratch.
Creating a Newsletter From Scratch
Video of the Day
Step 1
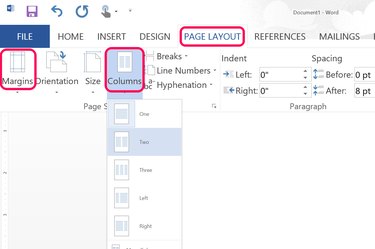
Create a new Word document and click the "Page Layout" tab. Click the "Margins" icon in the Ribbon to reduce the default 1-inch margins to a half-inch. Click the "Columns" icon and then click "Two."
Video of the Day
Step 2
Right-click the top edge of the page and select "Open Header." The header is unaffected by the two columns you set, making it an ideal place to insert the newsletter's title, or masthead.
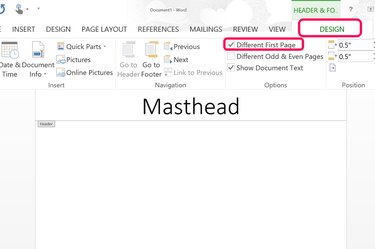
Before editing the header, click the Header & Footer "Design" tab and then click the "Different First Page" check box. This option allows you to put the masthead on the first page without it appearing on other pages.
Step 3
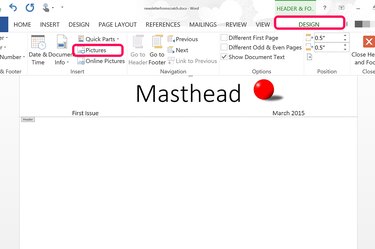
Type the title of the newsletter in the header, using the Home tab options to set the font and alignment. To insert an image in the header, like a company logo, click the Header & Footer "Design" tab and click the "Picture" icon.
Step 4

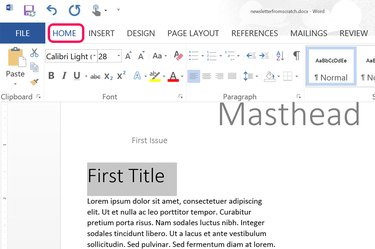
Double-click anywhere near the center of the page to exit the header. Enter the rest of the newsletter just as you would any other Word document. To specify font styles and colors, for example, click the "Home" tab. To insert images and text boxes, click the "Insert" tab. To have text wrap around an image or text box, right-click the object and select "Wrap Text."
Step 5
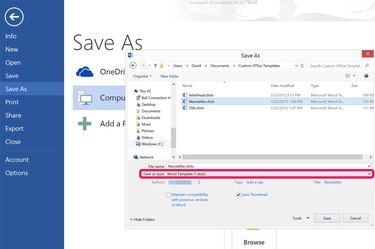
Save a completed newsletter by clicking the "Save" icon in the upper-left corner of the page and use the default DOCX format.
If you want to save the file as a template to write future issues of the newsletter, click the "File" menu and select "Save As." Select "My Computer" and then change the file format to "Word Template (*.dotx)." This saves the file as a template in your Custom Office Templates folder.
Working From a Newsletter Template
Step 1

Launch Word. If Word is already open, click the "File" tab and then click "New." To find a template online from the Microsoft template library, type "newsletter" in the Search field. Select a template and then click the "Create" button.
To create a newsletter based on your own template, click the "Personal" link to open the Custom Templates folder and then click your newsletter template.
Step 2
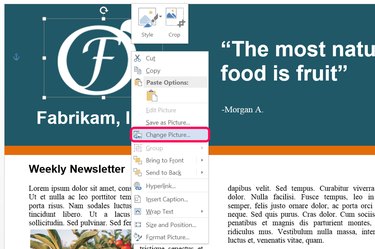
Replace images in the template with your own by right-clicking each image and selecting the "Change Picture" option. When you change the picture, the new image is resized to fit the space used by the previous image, saving you the time and effort of making manual adjustments every time you update the newsletter.
Step 3
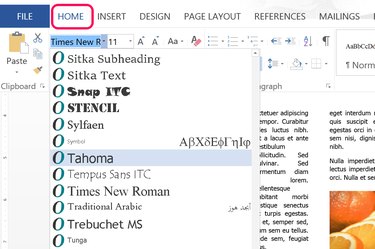
Replace the text in the newsletter with your own. If you want to change the font or font size, click the "Home" tab. Writing content to fit exactly onto a page can be a challenge. If you find yourself with blank lines at the end of a newsletter page, or if the text is two or three lines too long, try tweaking the font size or the paragraph spacing. For example, if the font is 11 points, highlight a few paragraphs and manually type "11.5" to expand the paragraphs, or "10.5" to reduce the size.