Use Microsoft Word 2013 to design and print your own booklets for school events, the services you offer for your new business, or an episode guide for your favorite TV series.
Designing a Booklet Layout
Step 1
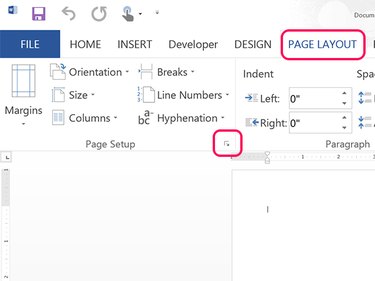
Open a blank document in Word. Click the Page Layout tab and then click the Arrow in the bottom corner of the ribbon's Page Setup section.
Video of the Day
Step 2
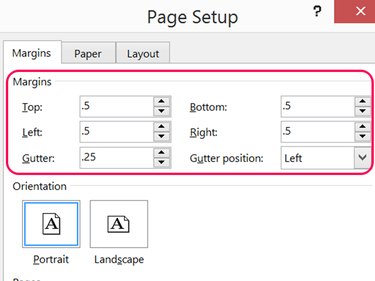
Reduce all four margins from the default 1-inch setting to 0.5-inch or smaller, depending on your printer's capabilities. Use a 0.25-inch gutter.
Step 3
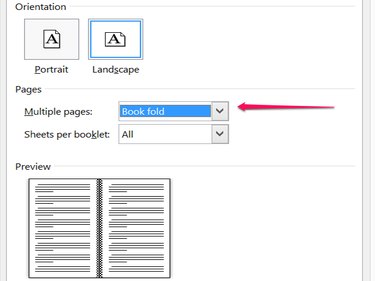
Click the Multiple Pages menu and select Book Fold. This ensures that pages one and four will be printed on one side of the paper and pages two and three will be printed on the other side. Book Fold also sets the Gutter Position to the inside of each page to make room for a fold.
Adding Content to a Booklet
Step 1
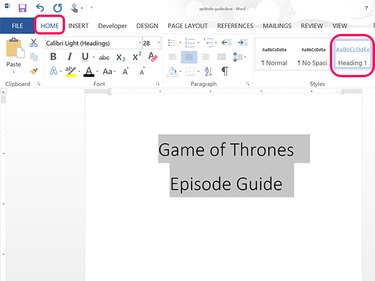
Type the contents of your booklet as you would any other Word document. Put a title on the first page and use the Style and Font options under the Home menu to format the text.
Step 2
Insert illustrations into the booklet using the Insert tab options. Add an image from your computer by clicking the Pictures icon. To add pictures from the Internet, click Online Pictures. To add decorative shapes or borders, click the Shapes icon.
Step 3
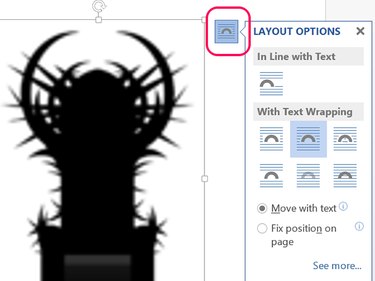
Adjust the size of an image by dragging a corner on its border. To change how the image is aligned with the text, click the Layout Options icon. For example, you can have the image appear in line with the text or in front of the text, or make the text wrap around the image. To use a photo as a background image, use the Behind Text option.
Step 4
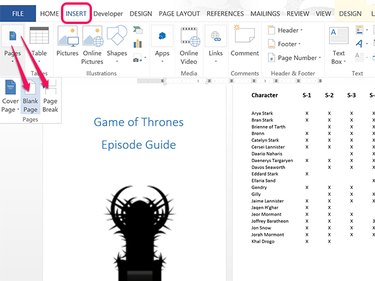
Continue adding content until you get to the bottom of the page and a new page is added automatically. To insert new pages manually, click the Insert tab and select New Page or Page Break from the Pages icon.
Step 5
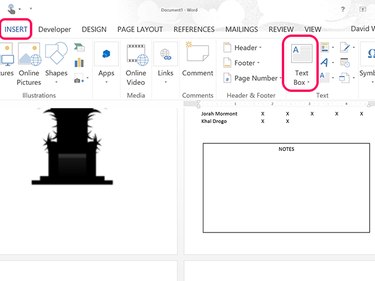
Add text boxes to the booklet if they suit the layout by clicking the Insert tab and then clicking Text Box. Drag the cursor over the page to draw the box and then highlight the filler text inside and enter your own words. To change the text box border and fill, click the border and then click the Drawing Tools' Format tab.
Printing a Booklet
Video of the Day
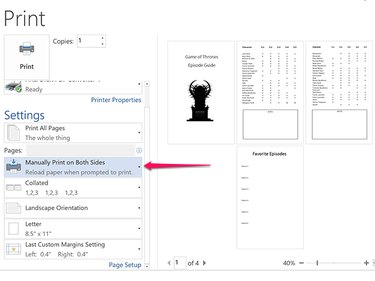
Click the Save icon to save the booklet as a DOCX file. When you're ready to print the booklet, click the File tab and select Print. Review the layout in the Preview and select your printer.
If your printer can't print two sides in one pass, select Manually Print on Both Sides in the Settings section. After the first side is printed, you're prompted to insert the pages again to print the other side.