Creating a contract template is a real time-saver when it comes to creating new contracts for different clients that all use the same clauses. Often called boilerplates, these templates can be quickly modified by inserting dates and the client's name before printing.
Step 1
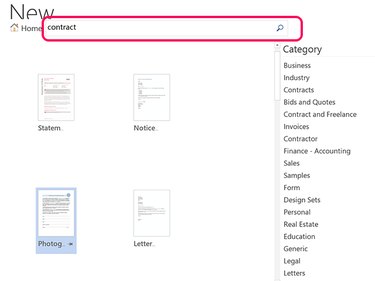
Launch Word. If Word is already open, click the File tab and select New. Type contract in the Search For Online Templates field. Scroll through the results to find a template that suits your needs or click on any of the categories in the left menu to filter your search results. If you can't find a template here, there are many templates to be found on blogs, forums and other websites in a variety of different areas. In this example, we are using a model release form intended for photographers.
Video of the Day
Step 2
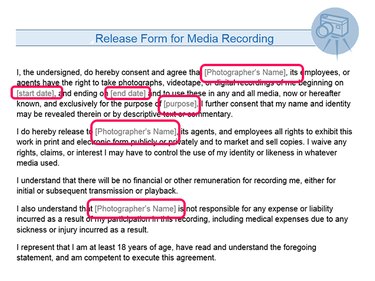
Read the contract carefully. Fill in any blank fields and change any words as required for your template. For example, in the template shown here, the Photographer's Name field should be filled in before saving the template so you don't have to fill it in every time you create a new contract. Dates and customer information fields can be left blank as they will be different for each contract. Words like she, he or it should be modified for your own needs.
Step 3
Insert underlines, or filler text in all caps -- like DATE and CLIENT -- to indicate text that needs to be modified. When you create a new contract from this template, you can simply double-click the line to select it and then replace it with the appropriate text. When it comes time to enter a date, you can use the Date icon under the Insert tab to insert the current date or to specify a date format like mm-dd-yy.
Step 4
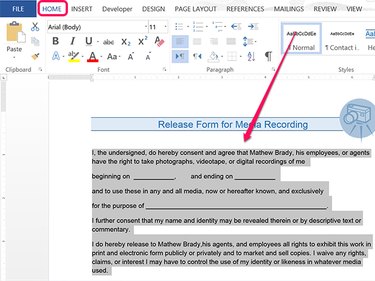
Change the Style of text, the Font or the Font Size as desired. Highlight the text and then click the Home tab to see the formatting options in the Home ribbon.
Step 5
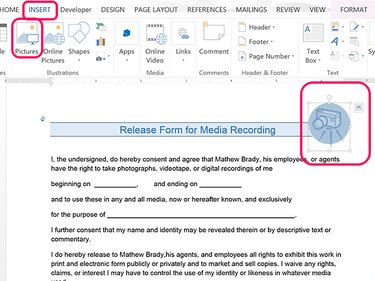
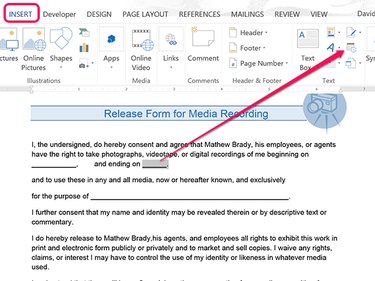
Remove images from a template by clicking them and then pressing the Delete key. To add your own images, like a company logo, click the Insert tab and then click the Pictures icon.
Step 6
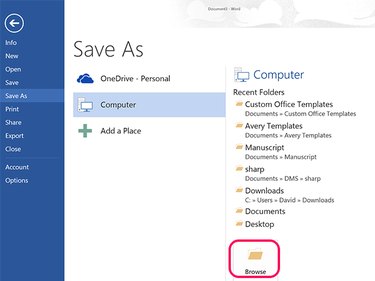
Proofread the contract carefully. To run Spell Check in Word 2013, click the Review tab and then the Spelling & Grammar icon. Click the File tab, select Save As and then click the Browse icon.
Step 7
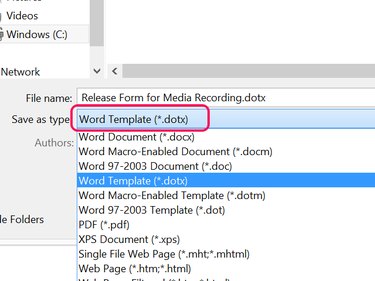
Click the Save as Type menu and select the Word Template (*.dotx) option. Select a file name and click the Save button. The file is saved in template format in your Custom Office Templates folder, located in the Documents folder.
Step 8
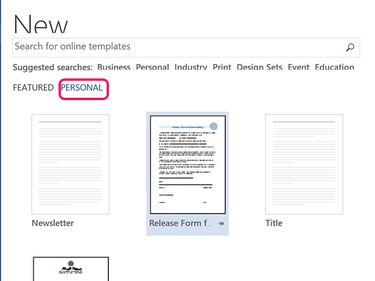
Click the File tab and select New to open the template when you want to draft your first contract. Click the Personal option and then select the contract you saved in the Custom Office Templates folder.
Video of the Day