Design and print your own baby shower invitations using Word 2013. Word includes a baby shower template that you can customize for your own event. The card can be printed on standard letter-sized paper or card stock and then folded in quarters. If you prefer, you can also create invitations from scratch in Word for cards of any size.
Customizing the Template
Video of the Day
Step 1
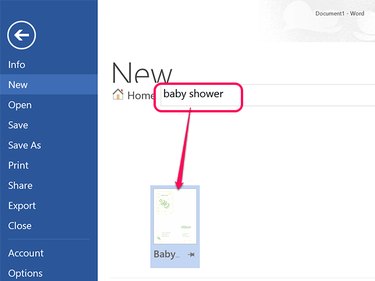
Open Word, click the File tab and select New. Type baby shower in the Search for Online Templates text field. Click the Baby Shower template and then click the Create button.
Video of the Day
Step 2
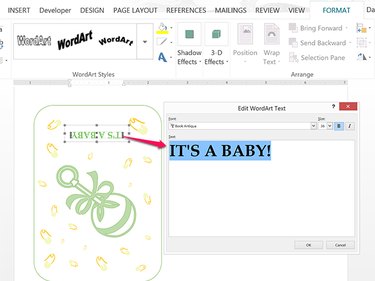
Right-click the words It's a Baby if you want to change the title and select Edit Text. This title is WordArt text, so a dialog box opens where you can change the words, font and font size as desired. To apply a different WordArt style to the text, use the options that appear in the WordArt Format ribbon.
Note that the front of the card is upside-down in the document layout — when you print and fold the invitation, it will be right-side up.
Step 3
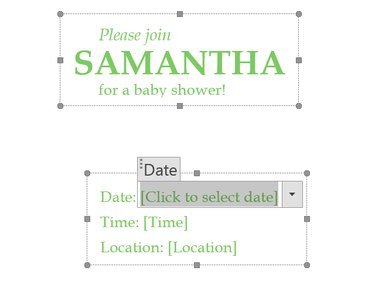
Click each Text Box to change the contents. In this template, the information that needs to be inserted appears in square brackets, including the [Name], [Time] and [Location]. However, you can change any other words by highlighting them and typing over them.
Step 4
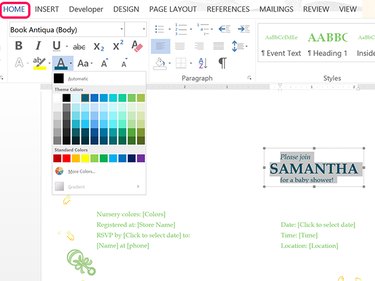
Change the appearance of any text in a Text Box by highlighting the words and clicking the Home tab, and selecting new options from Font, Font Size and Font Color.
Replacing Illustrations
Step 1
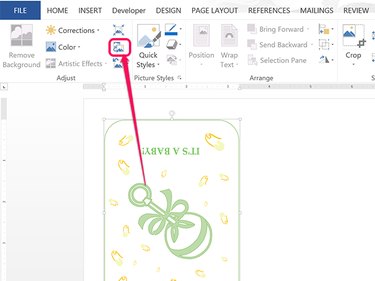
Click on an illustration and then click the Picture Tools' Format tab. Click the Change Picture icon that appears in the ribbon's Adjust section. From the dialog box that opens, you can select an image from your computer or search online using Bing Image Search. The new image is automatically sized to fit the same space as the image it replaces — it is right-side up, however, and you need it to be upside-down to match the format of the card.
Step 2
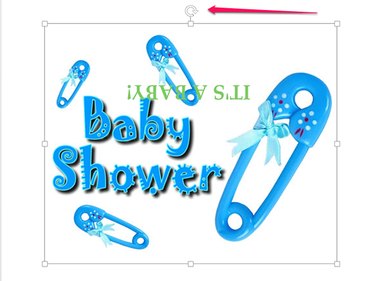
Hold down the Shift key and drag the Rotate Handle that appears at the top around the image until the image is upside-down.
Step 3
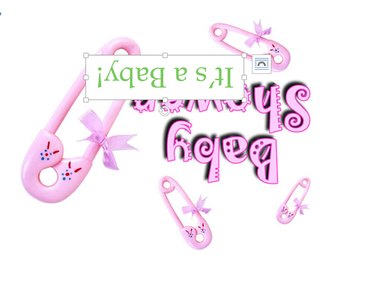
Click the WordArt box and drag it to a new position that doesn't obscure the new image. To resize the WordArt box, drag any corner handle. To delete the WordArt box, click it with the mouse and press Delete.
Adding a New Text Box
Step 1
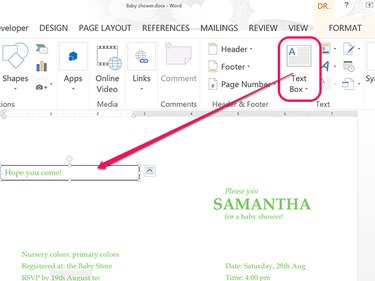
Click the Insert tab, click the Text Box icon and then select any Text Box that appears in the drop-down menu. Drag the cursor over the filler text and type your own text in its place. By default, the text appears in the same style as the rest of the card, but you can change by using the options under the Home tab. Remove any Text Box by clicking it and pressing Delete.
Step 2
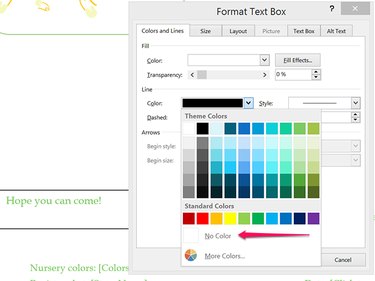
Change the Text Box border by right-clicking the border and selecting Format Text Box. Click the Line Color menu and select No Color to make the border invisible. Alternatively, choose any color you like for the border. You can also change the appearance of the border's line by clicking the Line Style menu.
Printing the Invitations
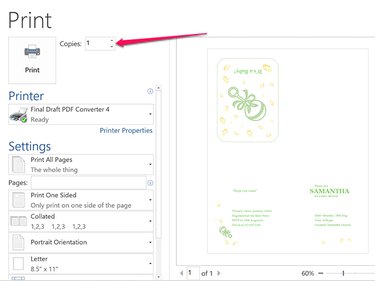
Insert standard, letter-sized paper in your printer. Click the File tab in Word and select Print. Look at the preview to ensure the card looks the way you want it to. Select the number of copies you want to print, select your Printer and click Print.