By developing your own templates, you can save a lot of time when you want to create the same kind of documents. After creating your own letterhead template, your name, company name and important contact information will already be in the document the next time you want to write a letter.
Step 1: Open the Header
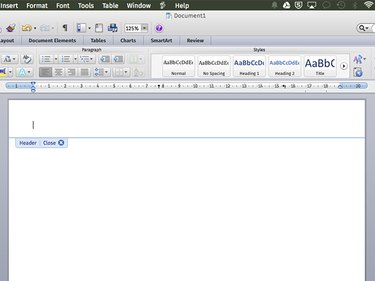
Open a new blank document in Word. Click the very top of the page to open the header. If you want the letterhead to appear at the bottom of the page, click the very bottom to open the Footer.
Video of the Day
Step 2: Insert the Text
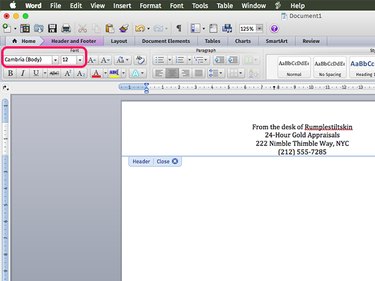
Specify a Font, Font Size and Alignment in the Toolbar. It's okay to use two different fonts in the letterhead, but using more fonts than that usually doesn't look appealing.
Step 3: Change the Font Color
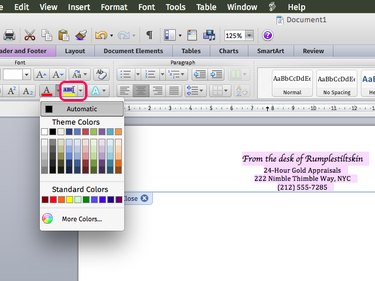
Highlight the text by dragging the cursor over it. Click the Font Color icon and select a color. If you have a black and white printer, you can use a specific shade of gray if desired by selecting the More Colors option.
Step 4: Insert a Shape, Photo or Logo
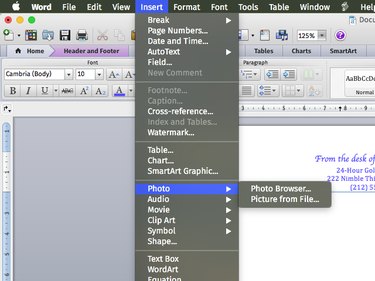
Click the Insert menu to add any kind of design to the letterhead. To insert a company logo, select Photo and then Photo Browser to locate it. To add a shape to the letterhead, or a line beneath the letterhead, select a line from the Shapes option. In this example, we'll add a banner to go behind the text.
Step 5: Change the Shape Color
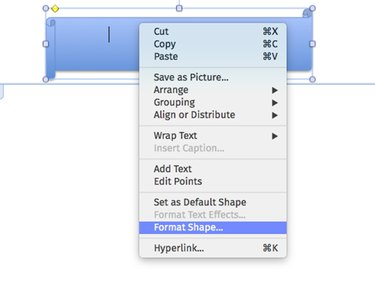
Drag the shape or picture so it appears where you want it in the letterhead. Resize it if needed by dragging a corner Handle. If you're using a shape, right-click it and select Format Shape.
Step 6: Change the Shape's Color
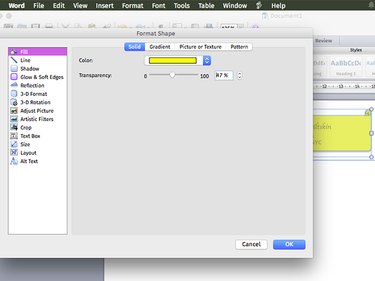
Select a Fill color and a Line color that suits your letterhead and click OK. Note that you can also customize shapes as gradients by clicking the Gradient tab.
Step 7: Move the Shape Behind the Text
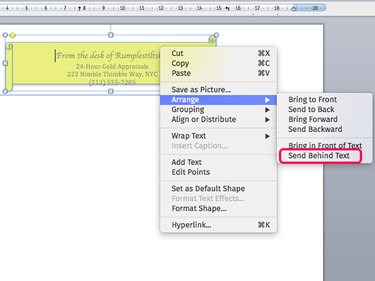
Right click the shape if you want it to appear behind the text. Select Arrange and then click Send Behind Text.
Step 8: Review the Letterhead
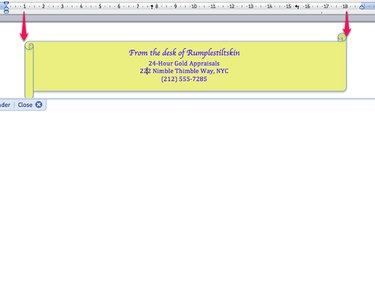
Zoom in and out of the page to ensure that the letterhead looks the way you want. To ensure that a shape is placed in the right position, look at the ruler above to gauge its position from the page edges.
Step 9: Save Your Template
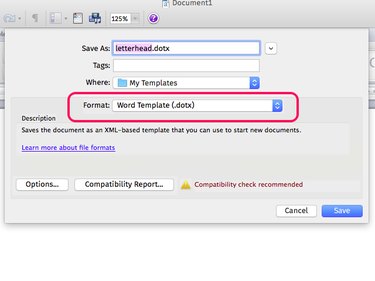
Select Save As from the File menu. Click the Format menu and select Word Template (.dotx). In the Save As text field, name the file letterhead.dotx. Click Save. The letterhead is automatically saved to your My Templates folder.
Step 10: Write a Letter
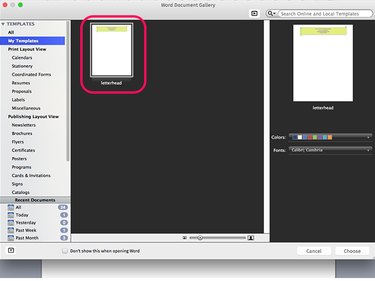
Select New from the File menu. In the window that opens, click My Templates. Click your letterhead template to open it as a new document.
Video of the Day