Adding a copyright symbol is a common task when working with Photoshop. In Photoshop CC 2014, the Custom Shapes gallery includes a copyright symbol which creates a vector-based copyright symbol graphic that you can scale to any size. If you want to use a text-based copyright symbol so that its font matches the text in your document, use the Windows character map.
Using Photoshop's Copyright Symbol
Video of the Day
Step 1
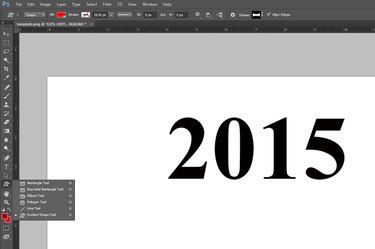
Select the "Custom Shape Tool" in the Photoshop Toolbar. If it's not visible, click and hold the shape tool that is visible, like the Rectangle Tool or Ellipse Tool, to reveal the Custom Shape Tool.
Video of the Day
Step 2
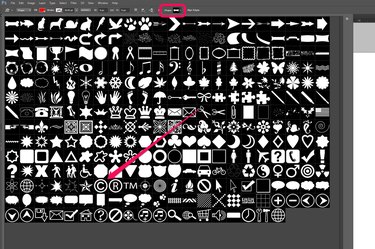
Click the "Shape" menu on the right side of the Options bar to reveal the Custom Shape gallery. Scroll through the shapes, or expand the gallery's window by dragging its corner. Click the "Copyright Symbol." Note that a Registered and Trademark symbol are also available here.
Step 3
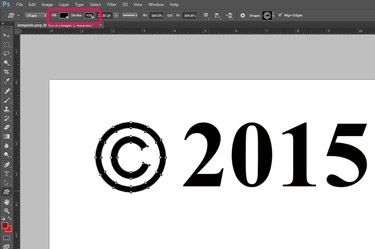
Click the "Fill" and "Stroke" menus in the Options bar to specify a color for the copyright symbol. Note that if you recently selected a color for another shape or font, it appears in the "Recently Used Colors" section of each menu. Drag the cursor over the canvas to draw the symbol, holding down the "Shift" key to preserve its aspect ratio.
Step 4
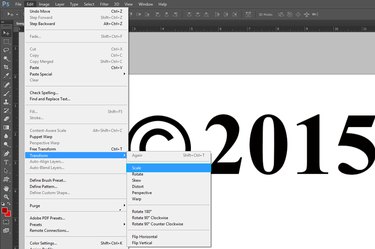
Resize the copyright symbol if needed by selecting "Transform" from the Edit menu and clicking "Scale." To move the symbol, drag it using the "Move Tool" from the Toolbox just as you would any other shape.
Step 5
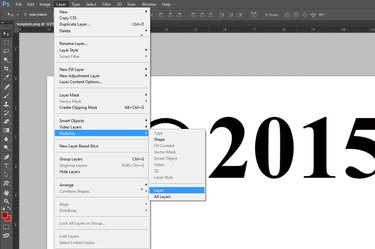
Rasterize the vector-based copyright symbol if you want to merge its layer with another layer. To do this, select "Rasterize" from the Layer and select "Layer" or "Shape." This transforms the vector to a pixel-based shape. If you want to merge the symbol with text, you need to rasterize the text layer as well.
Using the Windows Character Map
Step 1
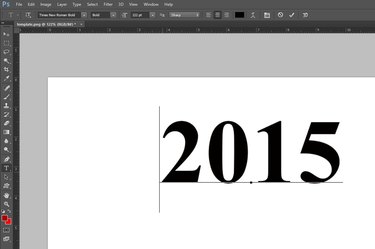
Select the "Text Tool" from the Toolbox and drag the cursor over the canvas where you want the copyright symbol to appear. Type any other text you want to appear with the copyright symbol and specify a font, font size and color using the menus in the Options bar.
Step 2
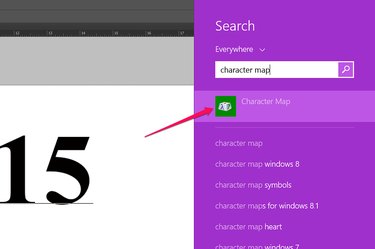
Open Windows Search by moving the cursor upwards from the bottom-right corner of the screen and clicking the "Search" icon. Type "character map" in the Search field and click "Character Map." On Windows 7, click the "Start" button, type "character map" in the Search field and and select "Character Map."
Step 3
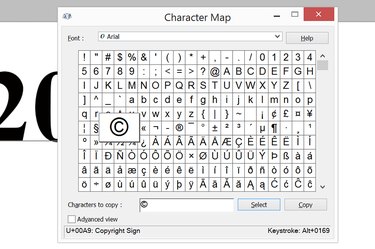
Click the "Copyright" symbol in the Character Map window. Click the "Select" and then the "Copy" buttons. Close the Character Map window.
Step 4
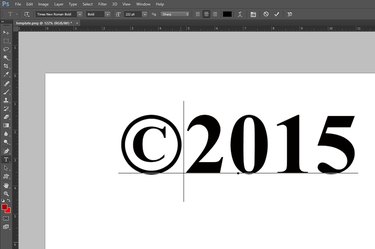
Press "Ctrl-V" to paste the copyright symbol in your Photoshop text box.