Most computers save files in the Documents section unless you specify a separate directory. However, if you attach an external hard drive to your computer, you can change a program's default save directory. Unfortunately, you have to do this with each program you're using, as there is no general way to change every program's default save directory at once.
Step 1
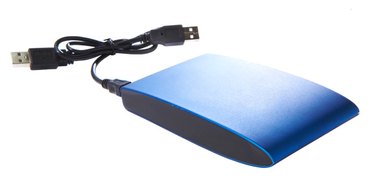
Connect your portable hard drive to your computer using either a USB cord or a firewire, depending on the type of portable hard drive you have.
Video of the Day
Step 2
Start whichever program you want to use to create and save files to your external hard drive. Note that not every program -- such as Notepad, for example -- can automatically save files to an external hard drive.
Step 3
Check the "Options" or "Preferences" section of the program. Look for a button or tab that says "File Locations" or something similar; this notation varies depending on the computer program. In Microsoft Word, for example, click "Tools," "Options," then "File Locations."
Step 4
Change the default directory for saved files. Again, this varies depending on the program you're using. If you're using Microsoft Word, click "Modify," then browse to the hard drive and click "OK."
Video of the Day