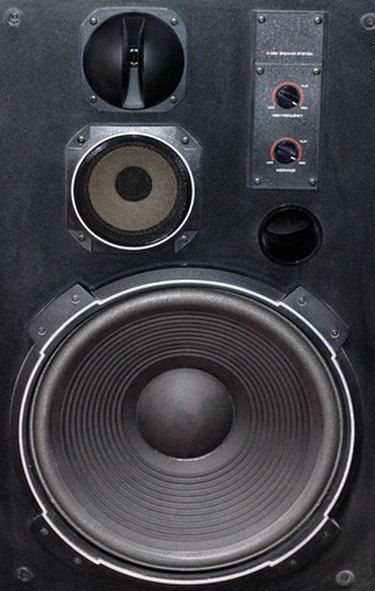
Powered speakers are speakers that have an amplifier built within the cabinet. Powered speakers are most often seen in subwoofers, where the power amplifier is matched to the low frequency driver. Just as DIY plans and software abound in the Internet age, so do plans for various powered speakers. In general, you can build the boxes yourself, or buy them ready-made from a number of sources. Similarly, there are driver/amplifier combinations that can be purchased. Always try to buy the best quality components.
Step 1
Choose the size of the loudspeaker that will be used in the cabinet. Then, equipped with the Thiele/Small parameters that dictate the electro-mechanical measurements for that speaker, choose the cabinet material.
Video of the Day
Step 2
Choose a plate amplifier. A plate amplifier powers the speaker. A plate amp is therefore compact and convenient. Choose one with power output that matches the power handling capacities of the loudspeaker being used.
Step 3
Buy a small sheet of 1-inch thick Medium Density Fiberboard (MDF). MDF is denser than quality plywood. Have it cut to size where you buy it, as MDF throws off lots of dust when being sawed.
Step 4
Use PVC pipe for a port. A port lowers the low frequency response of the speaker box. Ported or vented designs also offer lower distortion and higher power handling, but their sound can be looser than the same speaker used in a sealed box.
Step 5
Download winISD (or other software design program) to aid the design of your cabinet.
Step 6
Construct the basic box. Dry fit pieces to ensure a good fit, then glue the sides to the top, bottom and brace. Apply glue to both sides of the pieces to be joined.. Reinforce the bond with wood screws driven into the top, bottom and brace through the sides. Clamp the box with furniture clamps for 60 minutes, remove the clamps, and allow enough time for the glue to completely dry, generally six to eight hours.
Step 7
Attach the back panel to the box. Glue and screw down the back piece in place, clamp it and let the cabinet dry at least eight hours. Cut the hole for the plate amp with a jigsaw, and notch out a bit of bracing if the amp needs more room, once the back panel is attached.
Step 8
Prepare the front panel, marking the position of the loudspeaker. Also, mark the ports if building a ported subwoofer. Cut the holes for the speaker (and port) with a circular saw or router. Before attaching the front panel, apply silicone caulk to all inside seams of the box. Glue, screw and clamp the front panel as you have done with the previous pieces (without the loudspeaker attached). Allow eight hours for the box to dry. During drying, caulk the front panel (use the openings for the plate amp hole and speaker for access) and allow 24 hours for the caulking to dry. Silicon caulking emits gases while drying that damages speaker surrounds.
Step 9
Attach the plate amplifier to the rear of the box with glue and/or screws. Apply silicon caulk around the amplifier perimeter within the box.
Step 10
Connect the 12-gauge speaker wire between the plate amp and the loudspeaker. Allow at least 8 extra inches of cable length to easily attach the cable to the speaker. Attach the loudspeaker with wood screws. Apply a bead of non-drying caulk around frame of the speaker.
Step 11
Apply wood putty to all screw holes. Hand sand, and finish with any veneer you like.
Video of the Day