Keeping your PC running cool requires the use of fans. In order to get the fans running, however, you must first properly install them into your case. Luckily, installation is easy and will ensure all parts are properly cooled when using your computer. If you’re connecting your fans via a Molex connector, look no further.
Step 1
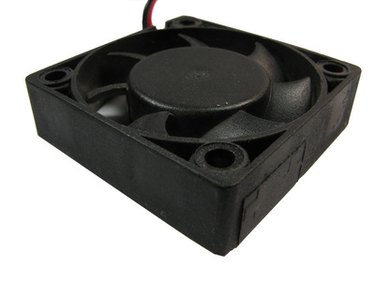
Test the fan to determine the direction of airflow. To do this, plug the fan into your computer’s power supply. The fan will contain either a male or female Molex connector, and sometimes both. The male connector is larger and slides over the female connector. If your fan has both types of connectors, you need only connect one of the two to the power supply. Plug the connector into the opposite power supply connector (e.g. male to female or female to male) and turn the power on. Note which way the air flows through the fan. Once complete, disconnect the Molex cable and unplug the power supply.
Video of the Day
Step 2
Install the fan in the desired location. You’ll generally want to place a fan where it’ll provide optimal airflow, and work in tandem with your other case fans, such as the CPU fan. To install a fan, simply secure it in place with four screws in a proper location in your case.
Step 3
Reconnect the fan’s Molex connector to the power supply. You may plug the power supply back in and test to ensure the fan runs properly.
Video of the Day