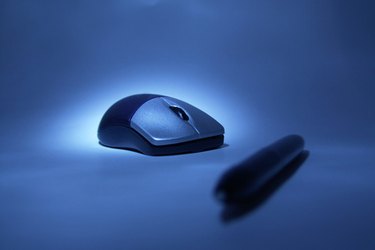
Connecting the Microsoft Wireless Optical Mouse to a receiver is integral to its functioning. Wireless mice work by transmitting a signal from the mouse to a receiver, which is connected via USB to your computer. It is necessary to ensure a good signal between the mouse and receiver in order for the mouse to work. Since the Microsoft Wireless Optical Mouse consists only of two components, connecting it to the receiver is simple.
Step 1
Insert fresh batteries in the Microsoft Wireless Optical Mouse by pressing on the button with the star symbol on the back of the mouse, while at the same time prying up on the mouse shell. Good working batteries will cause the LED on the underside of the mouse to illuminate.
Video of the Day
Step 2
Plug the receiver into a working USB port. Some USB ports may not respond to the wireless receiver, so it may be necessary to test several USB ports to find one that works. Your computer should make a noise when the receiver is properly connected.
Step 3
Press and hold the "Connect" buttons on the underside of the receiver and the mouse for several seconds. The "Connect" button sets up the wireless connection between the mouse and the receiver.
Video of the Day