PowerPoint's default date and time formats allow you to choose a layout when you insert a date in the main body of a slide or in its footer. After you've chosen the type of date you want to use, you can format its text and appearance. If you're working in the footer, you can also change the date's position on the slide.
Add a Date to a Slide
Video of the Day
Step 1
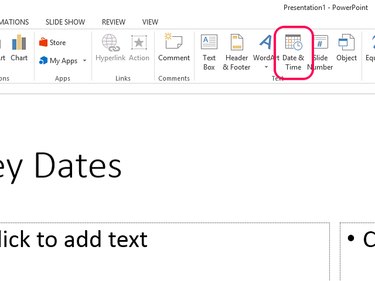
Click on the place in the slide where you want to insert the date. Select the Insert tab and then Date & Time.
Video of the Day
Step 2
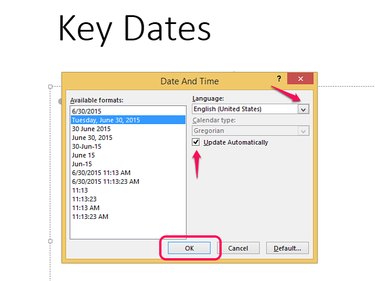
When the Date and Time dialog box opens, scroll through the list to see available date and date and time formats. Click on one you want to use. If you have enabled additional foreign languages in PowerPoint, choose a language from the Language drop-down menu and an option from the Calendar Type drop-down menu, if available.
By default, PowerPoint inserts a fixed date that will not change unless you edit it. To make the date update whenever you open the presentation or print it, check the box next to Update Automatically. Select OK to apply the changes.
Add a Date to the Footer
Step 1
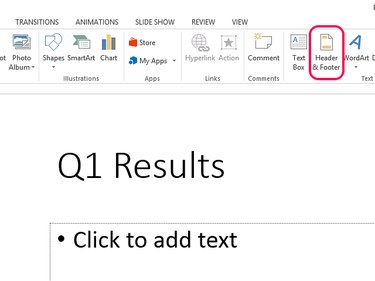
Open the Insert tab and select Header & Footer.
Step 2
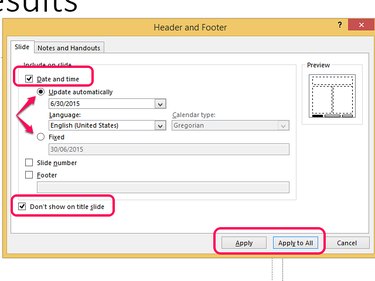
Check the Date and time box. Click the Update Automatically radial button to create a date that updates when you open or print the presentation in the future. Choose a format from the drop-down menu and change the options in Language and Calendar Type if necessary. To use a fixed date, select Fixed and enter the format you want to use in the box.
To stop the date showing on the presentation's title slide, check the Don't show on title slide box. Select Apply to add the date to the current slide; select Apply to All to display it on all slides. Apply to All will not display the date on the title slide if you've disabled this setting.
Customize the Date
Use Font tools to customize the date's design. If you've added a date to a footer, you can also change its placement on the slide.
Step 1: Format the Text
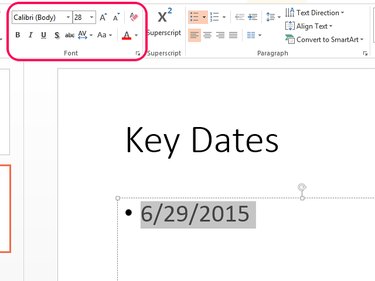
Select the date in the slide or double-click the footer to enable the text box before selecting the text. Open the Home tab and use the Font tools to change the font, color and size of the text. You can also add bold, italics or an underline.
Step 2: Reposition the Date
To move the date in the footer area or to place it elsewhere on the slide, edit its placement in the presentation's slide master. If you change the position on a regular slide, it will only move on that slide; editing the slide master applies the change to all slides.
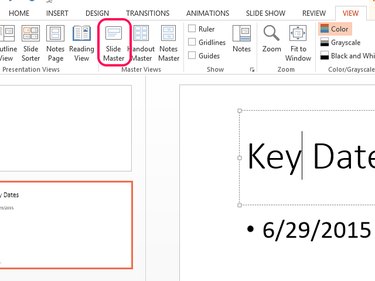
Select the View tab and then Slide Master.
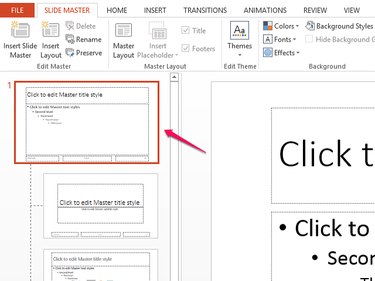
Select the first slide in the master list to open it in the main screen.
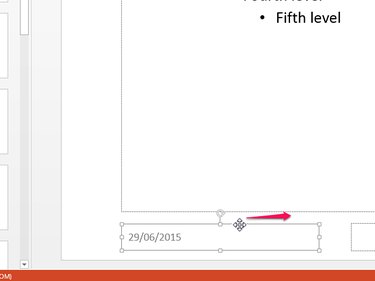
Select the date box in the footer area. Hold the mouse over one of its lines until it turns into a cross. Drag the date box to its new location and release it.