You may be presented with a situation where you need to keep an eye on activity in your home when you cannot be present. Often the best solution is to use one of the new breed of wireless micro spy-cams. They are relatively inexpensive, and thanks to their tiny size and wireless capability can be easily positioned very discreetly in any number of locations.
Step 1
Choose a suitable AC duct in the room you wish to survey. Position the monitor close to the AC duct so you are able to clearly see the screen when standing by the duct. Install the battery in the camera or connect to an external battery pack; consult the user manual for the correct method for your camera.
Video of the Day
Step 2
Connect the wireless receiver to the monitor using the AV cable supplied. Connect the two or three color-coded terminals on the cable to the correspondingly colored "AV-Out" terminals on the receiver. Connect the other end of the cables to the "AV-In" sockets on the monitor; match the color of the plugs on the cable to the color of the sockets.
Step 3
Remove the cover from the AC duct by removing the screws at each corner and prying off with a flat bladed screwdriver; put the screws to one side. Use a mild solution of soap and water to clean the cover thoroughly inside and out and then leave to dry.
Step 4
Fix the wireless spy-cam to the inside of the air conditioning duct cover using poster putty and switch it on. Position the camera as close to a corner as possible so it is less noticeable, but not so close that it will touch the inside of the duct, as this could cause undesirable vibrations when the air-conditioning unit is switched on.
Step 5
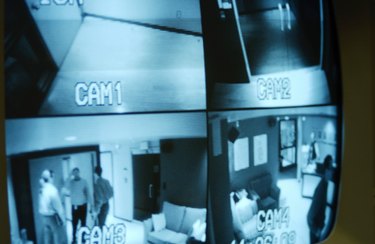
Check that the lens is not obscured by the slats of the duct by viewing the image on the monitor. When the camera is roughly in position, hold the AC cover in place and check the monitor again to see where the camera is pointing.
Step 6
Adjust the position of the camera until you are happy that it will capture footage of the area you wish to survey. When you are satisfied with the image on the monitor, reattach the cover to the duct using the original screws, taking care not to knock the camera out of alignment as you do so.
Step 7
Take the wireless receiver, CCTV-DVR (this is your recording device) and monitor to an inconspicuous place, such as the garage. Ensure that it is receiving images correctly using the monitor. Unplug the receiver from the monitor and connect the cable to the "AV-In" terminals on the DVR; ensure that the color of each plug corresponds to the color on its socket.
Step 8
Set the DVR to record when it senses movement, and set how long you wish it to record each time. Using the motion-sensing option saves disk space and reduces time spent searching through footage to find the subject of your surveillance. Consult the user guide that came with your DVR for model-specific instructions.
Video of the Day