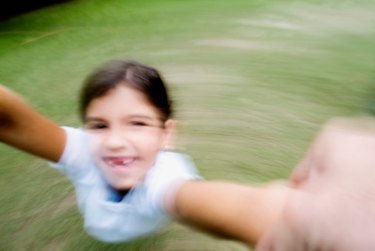
Effects that give the illusion of "shaky" images are blur effects or motion effects. Blurs and other motion effects give an image focus and minimize background distractions. An image of a pedestrian standing in the middle of a busy street may appear clear and sharp while the cars and trucks driving by are blurred or shaken. This focuses the viewers attention on the pedestrian, who is in the foreground, while blurring the busy background. However, the background of an image can remain sharp while a motion effect or blur is applied to the biker speeding by, making it the focus of the image. As with any effect, knowing the emphasis of your composition is important before changing it.
Photo Pos Pro
Video of the Day
Step 1
Go to "File" and "Open." Locate the image, click on it and select "Open."
Video of the Day
Step 2
Select "Effect," "Motions," then "Slow Motion Earthquake" or "Fast Motion Earthquake." The effect resembles the static effect of an earthquake. The dialog box provides a side-by-side view of the original image and a preview of the motion effect.
Step 3
Click on the Level Slider and move it to the right to increase the intensity of the effect. Moving it to the left will decrease it.
Step 4
Select the Angle Slider and move it to the right to increase angled movement. Moving the slider left decreases it. The Frequency Slider is defaulted at "3"
GIMP
Step 1
Select "File" and "Open." Click the image and select "Open."
Step 2
Click "Effect," "Blur" and "Motion Blur."
Step 3
Click "Zoom" in the Blur Type section of the dialog box. The zoom type creates a blur from the center outward. Giving the illusion of forward movement. Length is the only blur parameter for the zoom type.
Step 4
Click on the slider for the "Length" parameter in the Blur Parameters section. Moving the slider to the right increases the distance of the pixels. This setting gives the illusion of speed.
Step 5
Select "OK" when the motion blur editing is complete.
Photoshop CS4
Step 1
Click "File," "Open" and select the image then click "Open."
Step 2
Go to "Filter," "Blur" and "Motion Blur."
Step 3
Click on the Distance slider and move it to the right to increase the distance of the pixels in the image.
Step 4
Click the inside of the Angle field and type a direction between -360 degrees and 360 degrees. The Angle controls the direction of the motion blur.
Step 5
Select "OK."