Sony sells various accessories for the company's Bravia line of high-definition televisions, including remotes, cables and TV stands. Every Bravia comes with a TV stand joint attachment. So TV stand setup requires little technical knowledge whether you are putting together a new stand or setting up the Bravia for the first time.
New Stand
Video of the Day
Step 1
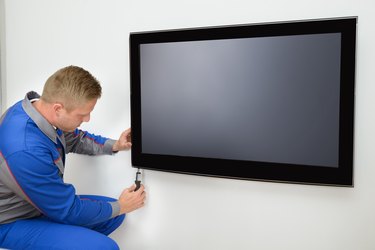
Position your Bravia screen-down on a cloth to prevent scratching. Locate the stand joint on the rear of the TV to the right of the power cord.
Video of the Day
Step 2
Remove the three screws from the stand joint using your Phillips screwdriver. The joint loosens from the Bravia.
Step 3
Pull the stand joint downward to remove it. Slide the new stand joint into place, aligning the holes of the joint with the vacant holes left when you removed the screws.
Step 4
Secure the stand joint by screwing the three supplied screws into place with the Phillips screwdriver. Place the Bravia onto the stand. Notice the three screw holes on the neck of the TV stand.
Step 5
Screw the three stand neck screws into the neck of the Bravia's stand.
Step 6
Fit the two stand covers on the rear of the stand, located to the left and right of the stand's neck.
Original Stand
Step 1
Place the stand upright on a sturdy table.
Step 2
Lift the Bravia over the stand and align the TV's stand joint, located on the rear, with the stand's neck.
Step 3
Tighten the stand's three supplied screws into the Bravia's neck using the Phillips screwdriver. This secures the stand to the Bravia.