How to fix the soap opera effect on your TV
Press Home or Settings on your remote, find Picture Mode or Picture Preset, and look for Filmmaker Mode, Cinema, or Movie. Select it. On most TVs made in the last few years, that single step clears the problem. If those modes aren't available, or the image still looks wrong, the brand-specific steps below will get you to the right setting directly.
Quick reference:
| Brand | Setting to find |
|---|---|
| Samsung | Auto Motion Plus |
| LG | TruMotion |
| Sony | Motionflow |
| TCL | Action Smoothing / MEMC / Motion Clarity |
Not on this list? The universal search method near the end works for any manufacturer.
What's making your TV look like this
Video of the Day
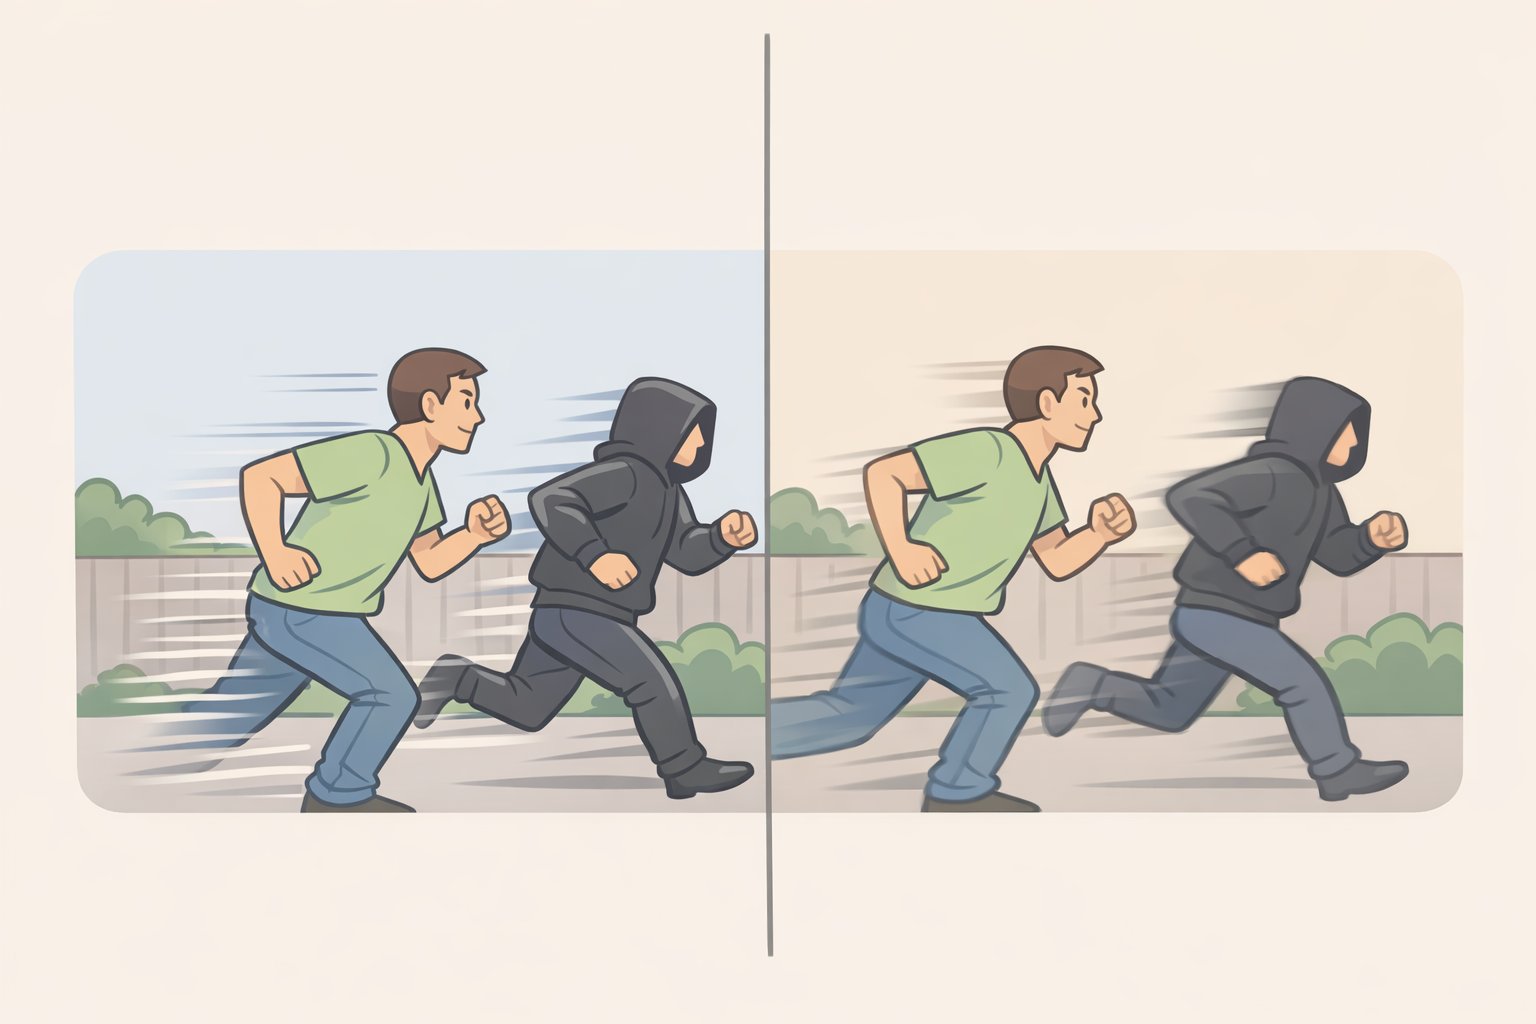
Most televisions ship from the factory with motion smoothing turned on. The effect has a name: the soap opera effect, because the hyper-fluid motion it creates resembles daytime television shot on video rather than cinema. If a movie looks weirdly glossy, filmed at a mall rather than on a set, motion smoothing is almost certainly the cause.
The technical mechanism is called motion interpolation, marketed under brand-specific names like Motionflow (Sony), TruMotion (LG), Auto Motion Plus (Samsung), and MEMC or Motion Clarity (TCL). The TV analyzes consecutive frames and generates artificial ones in between, turning 24-frames-per-second film into something closer to 60 or 120fps. Cinema's slight motion blur and 24fps cadence are intentional craft. Interpolation erases both.
The backlash has reached filmmakers directly. Directors Christopher Nolan and Paul Thomas Anderson reportedly issued a joint statement in 2018 calling on manufacturers to make motion smoothing easier to disable, arguing it misrepresents their films. The setting persists because smooth, bright images attract buyers on a showroom floor. At home, in the dark, watching a film, the effect reads as wrong.
Video of the Day
The fastest fix: try Filmmaker Mode or Cinema Mode first
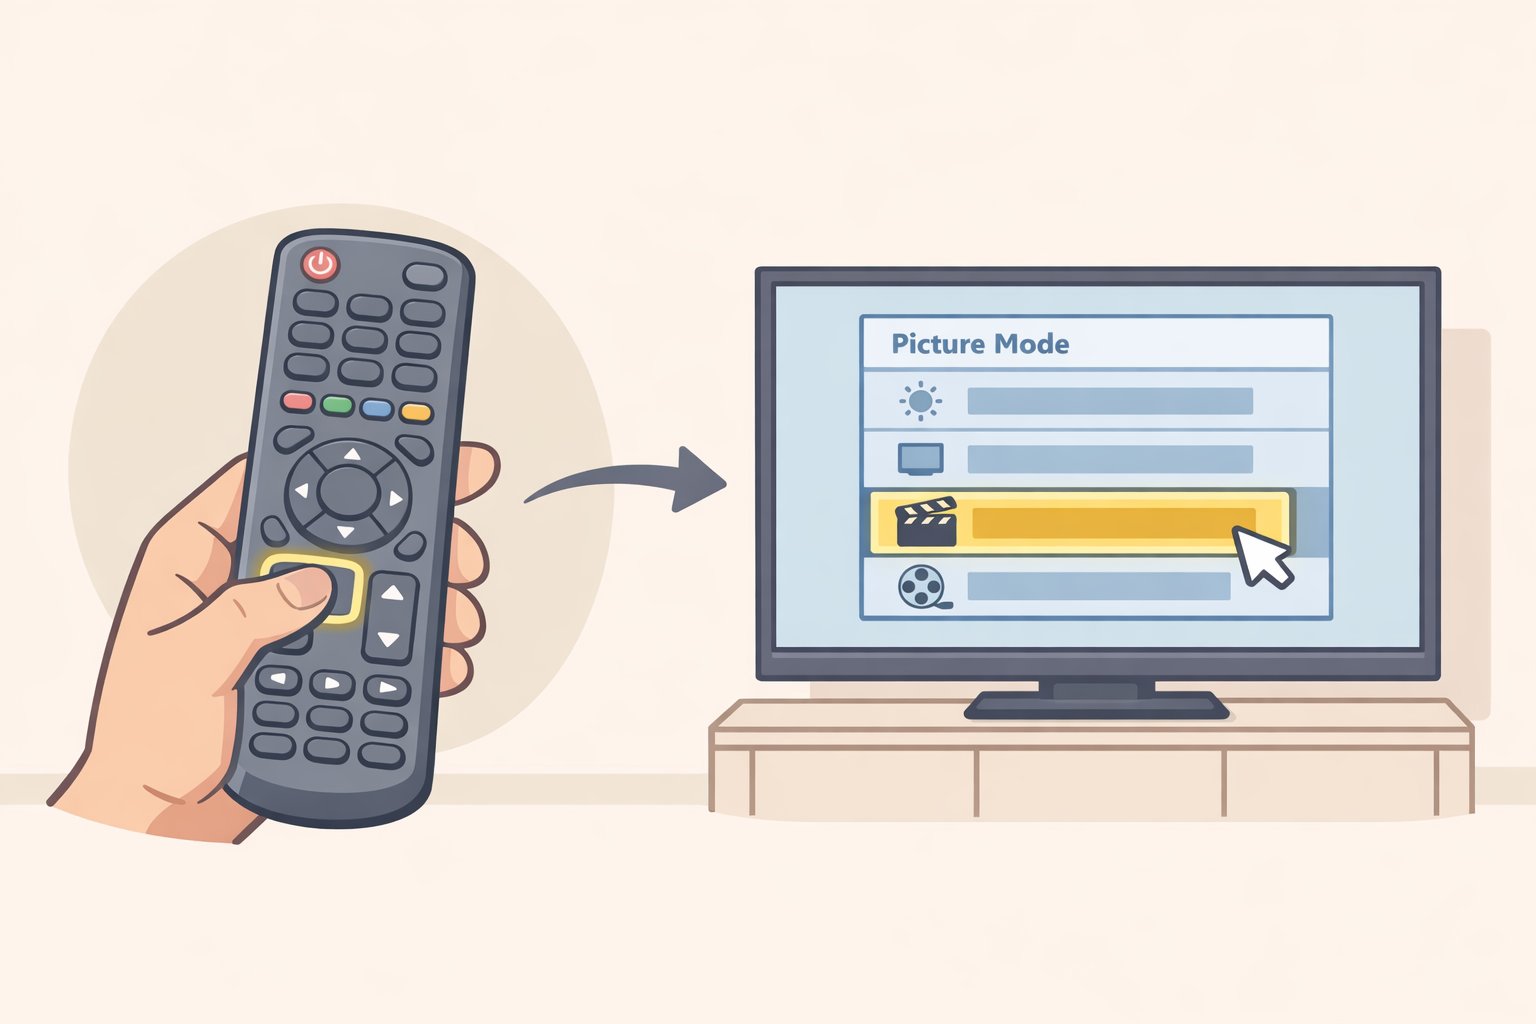
Filmmaker Mode was developed by the UHD Alliance and is endorsed by a coalition of directors and cinematographers as the setting closest to how content was mastered. Switching to it is intended to disable motion interpolation, reduce artificial sharpening, and adjust color and brightness toward studio reference standards in one step.
Steps:
- Press Settings or Home on your remote.
- Go to Picture or Display & Sound, then Picture Mode or Picture Preset.
- Look for Filmmaker Mode, Cinema, or Movie. Select it.
- Watch a few minutes of content you know well and check whether the motion still looks artificially smooth.
If it looks right, stop here.
What to expect: The picture will likely look less vivid and somewhat darker than the factory default. Colors will appear less saturated. That's the showroom-friendly processing coming off, and your eyes will adjust quickly to a more natural image.
One honest caveat: Cinema and Movie modes are not consistent across brands or even across model years from the same brand. They don't always disable interpolation completely. If the image still looks artificially smooth after switching, the manual steps below put you directly in control of the specific setting.
Brand-by-brand steps: how to disable motion smoothing manually
Use these steps when a picture mode preset didn't resolve the problem, or when you want direct control over the setting rather than relying on a preset. Menu labels shift between model years and firmware versions, so if a path below doesn't match your TV exactly, use the brand's own term as a search target within Picture → Advanced Settings or Picture → Additional Settings.
Samsung: look for "Auto Motion Plus"
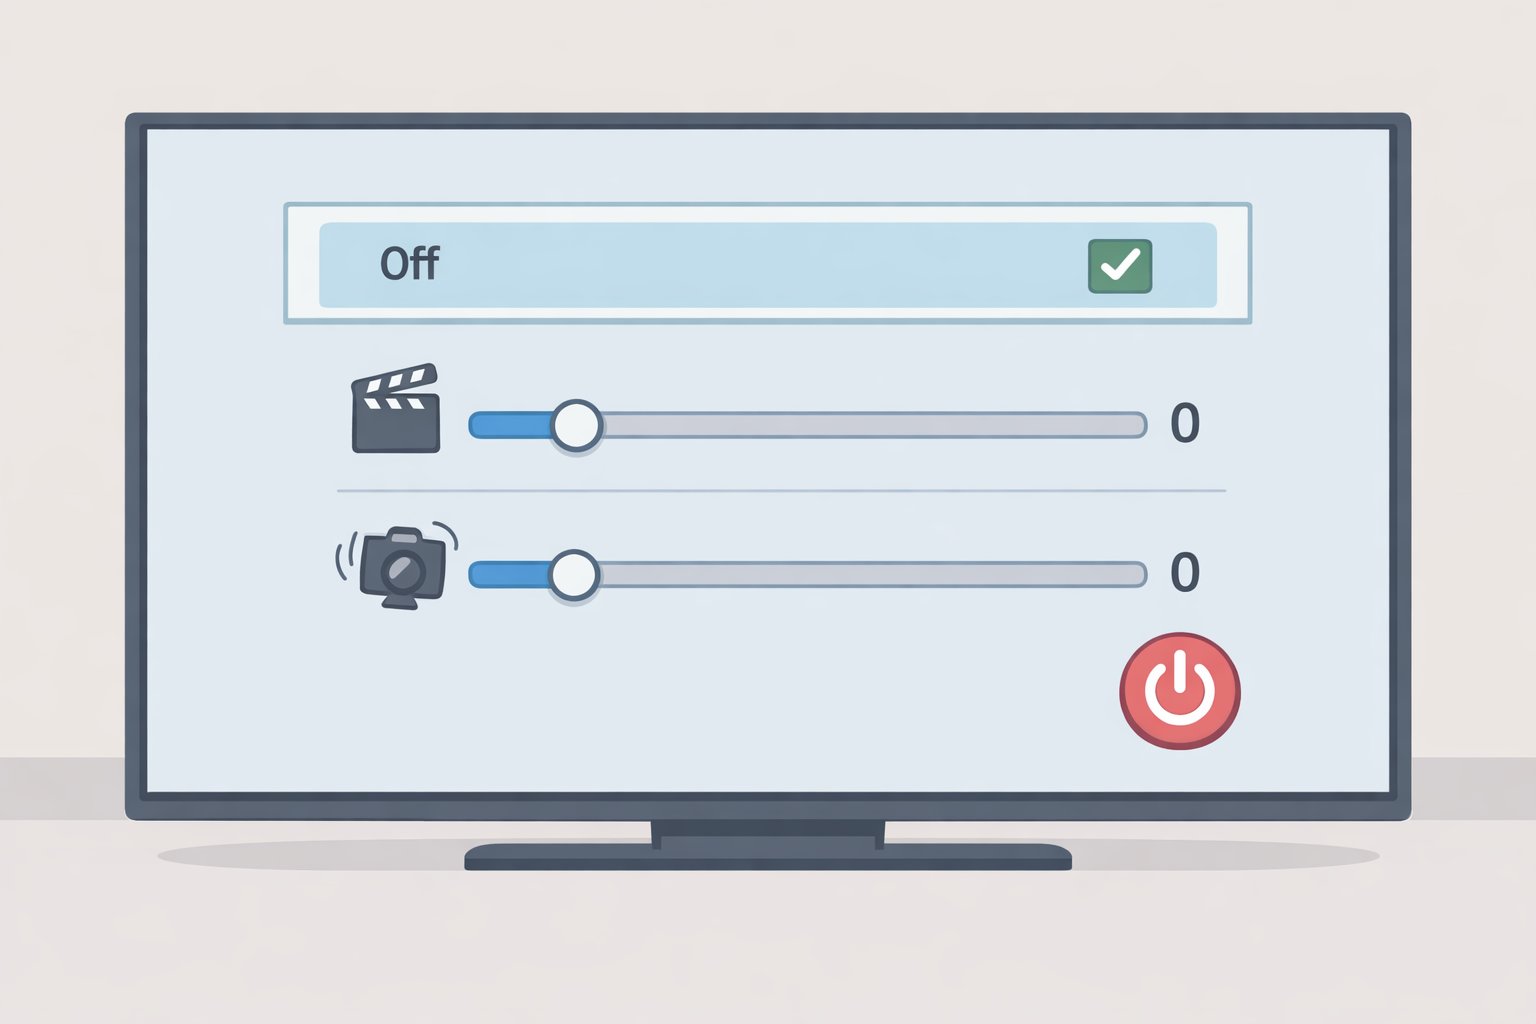
- Press Home to open Smart Hub.
- Go to Settings (gear icon) → Picture → Expert Settings.
- Select Auto Motion Plus Settings.
- Set Auto Motion Plus to Off.
The Auto Motion Plus submenu also includes separate Blur Reduction and Judder Reduction sliders. Setting both to 0 removes the most processing. If you share the same input with live sports and want to retain some motion handling for that use case, setting Blur Reduction to 0 while leaving Judder Reduction at a low value is a reasonable starting point.
Gotcha: Samsung's Game Mode disables motion interpolation automatically. If the picture looks fine while gaming but wrong during movies, Auto Motion Plus is the setting to address.
LG: look for "TruMotion"
LG's motion smoothing feature is called TruMotion and appears in the advanced picture menu on webOS-based models, per LG's support documentation.
- Press Settings (gear icon) on your Magic Remote.
- Go to All Settings → Picture → Additional Settings (or Advanced Settings on some models).
- Find TruMotion and set it to Off.
LG also offers a Cinematic Movement option within TruMotion that reduces interpolation without eliminating it entirely. If Off feels jarring on live content, that preset is worth trying as a middle ground.
Gotcha: On some LG webOS versions, TruMotion appears greyed out depending on the active picture mode. If you can't find it or it won't respond, switch to Cinema or Expert picture mode first, then return to Additional Settings.
Sony: look for "Motionflow"
Sony's interpolation engine is called Motionflow, and the menu path follows a broadly similar structure across Bravia Android TV and Google TV models, though some label names shifted when Sony transitioned to Google TV. For the most current path on your specific model, check Sony's support pages.
- Press Home on your remote.
- Go to Settings → Display & Sound (or Picture on older models) → Picture → Advanced Settings or Motion.
- Find Motionflow and set it to Off or True Cinema.
True Cinema is worth trying before defaulting to Off. Sony describes it as a mode designed to preserve the natural cadence of film content without inserting artificial frames. Some users report occasional stutter on film content with Motionflow fully disabled, particularly on Bravia XR hardware; if that happens, True Cinema is the better choice over turning interpolation back on.
Gotcha: If you notice a faint stutter on 24fps content with Motionflow set to Off, switch to True Cinema. It addresses the stutter without reintroducing the soap opera effect.
TCL: look for "Action Smoothing," "MEMC," or "Motion Clarity"
TCL televisions run two different operating systems, Roku TV and Google TV, and the menu paths differ between them. TCL's terminology for motion smoothing is also less consistent than the other brands here, so treat these terms as search targets if the paths below don't match exactly.
On TCL Roku TV models:
- Press Home → Settings → TV Picture Settings. (Alternatively: highlight your active input, press the **asterisk ()** button, and go to Advanced Picture Settings.)*
- Find Action Smoothing and set it to Off.
On TCL Google TV models:
- Press Home → Settings → Display & Sound → Picture → Advanced.
- Look for MEMC, Motion Clarity, or Action Smoothing.
- Set the relevant option to Off or the lowest available level.
Note: On panels with a 60Hz native refresh rate, disabling motion smoothing can make fast horizontal pans look somewhat softer than on higher-refresh displays. That's the panel's actual behavior without processing layered on top, not a sign that something went wrong. Interpolation off on a 60Hz display still tends to look more accurate to the source than interpolation on.
If your brand isn't listed: how to find the setting yourself
Search for any of the following terms within your TV's Picture → Advanced or Picture → Additional Settings menu:
Motion, Smooth, Smoothing, Clarity, MEMC, Judder, Blur Reduction, Action Smoothing, Frame Interpolation, Motion Enhancement, Clear Motion
If none of those appear in the advanced settings, go to the picture preset menu. Switching to Cinema, Movie, or any mode described as "low processing" or "director's intent" will often disable interpolation implicitly, even without a dedicated toggle.
Still looks wrong? A short troubleshooting check
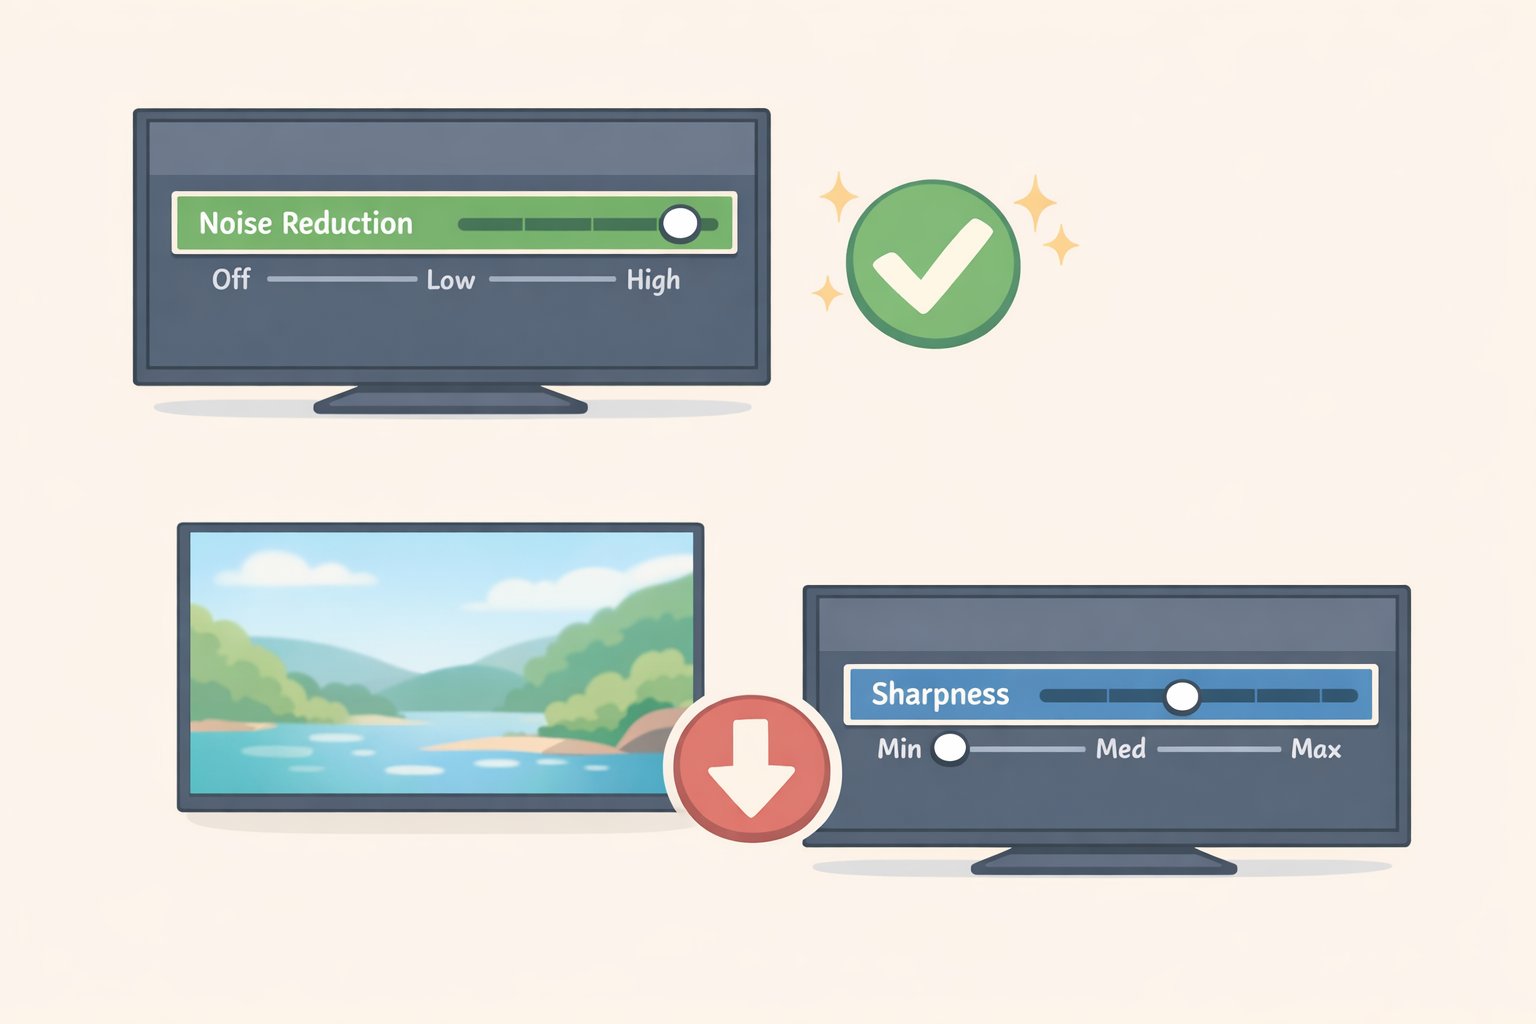
Motion smoothing isn't the only setting that contributes to an overly processed image. If the picture still feels artificial after disabling it, two others are worth checking:
- Noise Reduction / Digital Noise Reduction: Often elevated by default. Set it to Low or Off.
- Sharpness: Factory defaults tend to run this high. Dial it back until edges stop looking artificially crisp. The right value varies by panel, so go by eye rather than by number.
Neither of these is a motion setting, but both affect how processed the image feels overall. Adjusting them after disabling motion smoothing is usually enough to land somewhere that looks natural without further calibration.
What to do next
The more useful question once motion smoothing is off is whether those settings should apply to everything you watch. Movies and scripted TV generally benefit from the changes above. Live sports is a different case: broadcast content is typically shot at higher frame rates to begin with, and some motion processing may serve it better than hurt it.
Most TVs support input-specific picture settings, which means a calibrated movie configuration on one HDMI port doesn't touch the settings on another. Set each input once, and the TV remembers the difference.