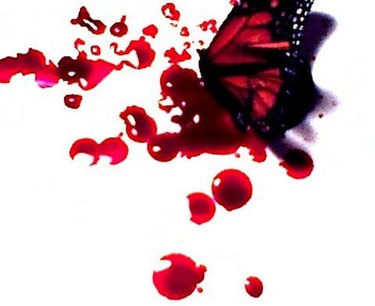
Blood simulation is displayed over every media resource. The creation of fake blood may not be for the weak of heart (or stomach), but this form of art is everywhere you look. On the Internet, you will certainly find Gothic groups and gore hounds that have altered every type of picture you can think of, turning it into a macabre trophy for others to enjoy. Don't forget, however, you will also find this same art form in the television shows and movies that you love to watch.
Step 1
Open Adobe Photoshop, and select a picture to which you want to add blood.
Video of the Day
Step 2
Create a second layer. Select the "Window" drop-down menu and choose the "Layers" submenu option. This option allows you to create a new layer on top of the old picture.
Step 3
Click on the "Lasso" tool from the tool bar and create an area outline on the picture where you want to add the blood. Click the "Fill" option and fill the outlined area you created with a dark red color. Deselect the selected area.
Step 4
Select the "Color Burn" option from the drop-down menu on the "Layers" tab.
Step 5
Click the "Smudge" tool from the tool bar and select a small brush size. Using the Smudge tool, slowly brush the "blood" in a downward motion to give the impression of bleeding.
Step 6
Click the "Burn" tool from the tool bar and darken the center of your wound. This helps give the wound a look of openness.
Step 7
Click "Filter," submenu "Texture" and then subsubmenu "Texturizer." In the "Texture" drop-down menu select "Burlap." Change the "Scaling" to 200 percent. With these final touches you have created realistic-looking blood that you can add to all your favorite pictures.
Video of the Day