
Computer-generated text typically has a smooth, even appearance, completely unlike that of old typewritten text. Making the former look like the latter in Photoshop is a fairly complicated process, involving multiple layers, smart objects, filters and masking.
Step 1
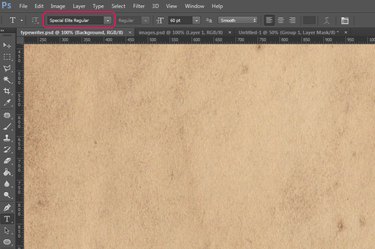
Open your paper image in Photoshop and press "T" to select the Type tool. Using the "Font" drop-down menu, set the font to a typewriter-style font -- more specifically, one designed to resemble the characters from an old typewriter, such as Special Elite or Underwood Champion. Many such fonts are available for free on the Internet (see Resources), some even with licenses that allow you to use them in commercial projects without paying a fee. Although the "Courier New" font that comes installed by default on your computer does resemble typewriter text, the result won't be very realistic if you use it.
Video of the Day
Step 2
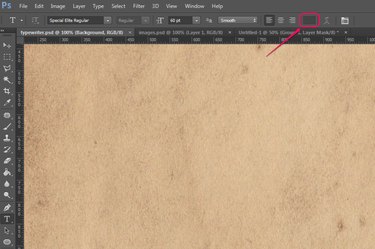
Adjust the other settings in the Options bar -- font size, anti-aliasing and text alignment -- to your liking and then click the "Text Color" box to bring up the color picker.
Step 3
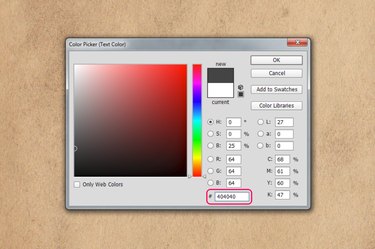
Type "404040" in the "#" field and click "OK" to set the text color to a dark gray.
Step 4
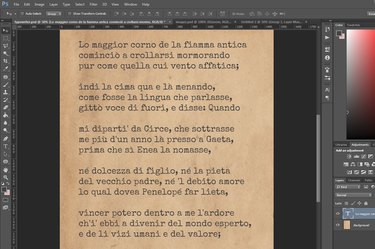
Click on the image, type your text and then press "Ctrl-Enter" to confirm and exit text editing mode. Press "V" to select the Move tool and drag the text to position it where you want it.
Step 5
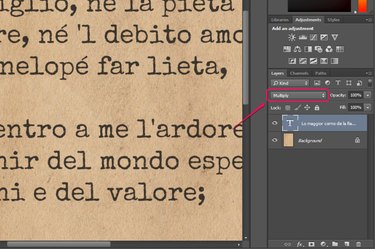
Set the blending mode for the text layer to "Multiply" using the drop-down menu in the Layers pane. This overlays the text on the paper image, giving it a darker and slightly textured appearance.
Step 6
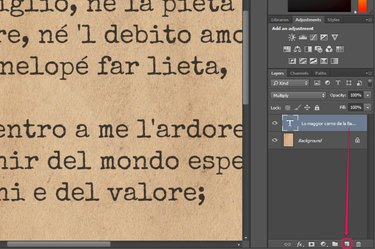
Drag the text layer to the "New Layer" button in the Layers pane to duplicate it.
Step 7
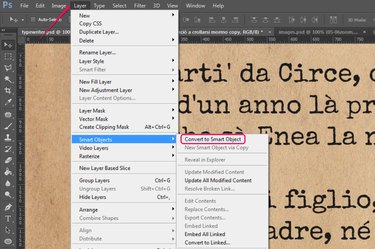
Click "Layer," hover over "Smart Objects" and select "Convert to Smart Object." This turns the newly-created layer into a smart object which, like rasterizing the layer, allows you to apply filters to it. The difference is that you can edit the settings for filters you have applied to a smart object at any point in time, as well as edit the contents of the smart object -- so you won't have to start completely from scratch if you notice a typo near the end of the process.
Step 8
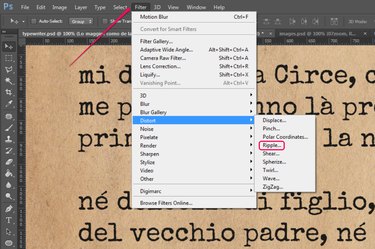
Click "Filter," hover over "Distort" and select "Ripple."
Step 9

Set the amount to "100" and the size to "Medium." Click "OK." This adds some distortion to the text on the layer.
Step 10
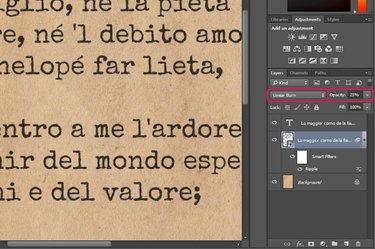
Drag the layer in the Layers pane to reposition it between the original text layer and the paper background. Change its blending mode to "Linear Burn" and its opacity to 25 percent. This makes the distorted copy of the text very faint, giving it the appearance of ink bleeding or smeared on the paper.
Step 11
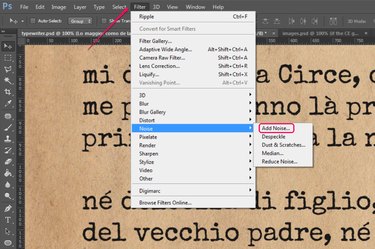
Duplicate the original text layer again and convert the newly-created layer to a smart object. Click "Filter," hover over "Noise" and select "Add Noise."
Step 12
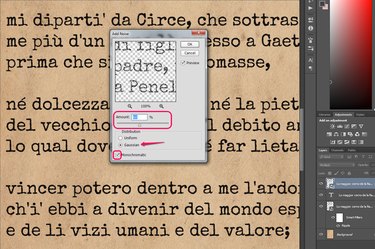
Set the amount to "60," select the "Gaussian" option and ensure the "Monochromatic" check box is enabled. Click "OK." This adds black-and-white noise to the text on this layer.
Step 13
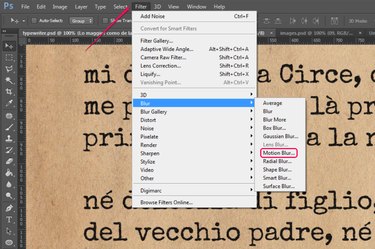
Click "Filter," hover over "Blur" and select "Motion Blur."
Step 14
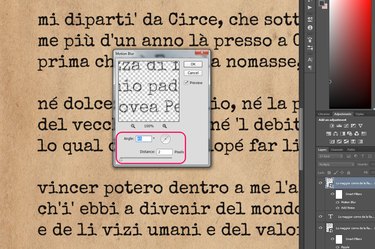
Set the angle to "45" and the distance to "2." Click "OK." This adds a small amount of diagonal blur to this layer.
Step 15
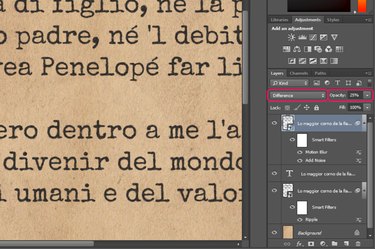
Set the layer's blending mode to "Difference" and its opacity to 25 percent. The result is light, randomized spots over the text, making it appear as if it were uneven ink.
Step 16
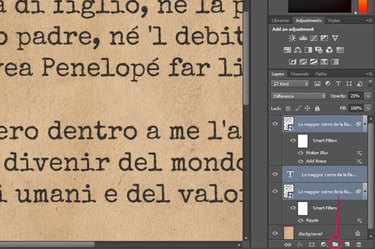
Select all three text layers in the Layers pane and drag them to the "New Group" button. This creates a layer group containing the three layers.
Step 17
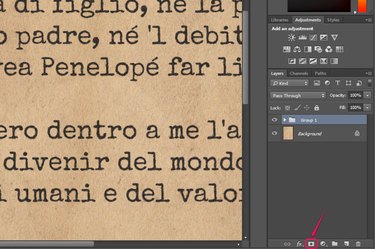
Click the "New Layer Mask" button to add a mask to the group. When you do this, your foreground and background colors are automatically set to black and white. The layer mask is completely white when first created, meaning the contents of the group are completely visible; painting with black on the layer mask hides the area you paint over.
Step 18
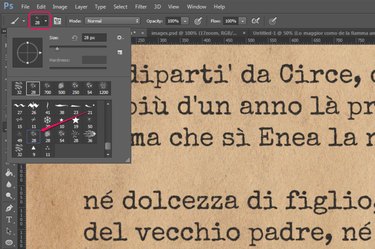
Press "B" to switch to the Brush tool, open the brush preset picker menu in the Options bar and select the "Texture 1" brush. If this brush doesn't appear in the list, click the gear icon, select "Assorted Brushes" and then click "Append" when prompted to add the brush set that contains it to the list of brushes.
Step 19
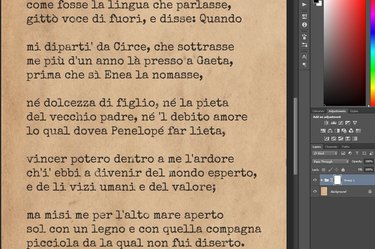
Paint randomly with the brush on the layer mask, keeping the brush tip at its original size. Because the brush you're using is patterned and isn't completely opaque, it only partially hides the areas you paint over. This results in a distressed appearance for the parts of the text you paint over, as if the typewriter keys didn't strike the paper cleanly, leaving a fainter or incomplete impression.
Video of the Day
- Adobe: Photoshop Help -- Layer Basics
- Adobe: Photoshop Help -- Selecting, Grouping and Linking Layers
- Adobe: Photoshop Help -- Work With Smart Objects
- Adobe: Photoshop Help -- Masking Layers
- Adobe: Photoshop Help -- Filter Effects Reference
- Adobe: Photoshop Help -- Blending Modes
- Font Squirrel: Typewriter Fonts
- Dafont: Typewriter Fonts
- Lost and Taken: Gallery -- Paper