For those who have Digital Subscriber Line (DSL) Internet access, connecting a laptop computer to the DSL modem is as easy as connecting a desktop computer to the modem. If your laptop has an Ethernet port, you don't need to have any extra equipment. If your laptop doesn't have an Ethernet port (but does have a wireless card), then you'll need a wireless router to connect to the modem. You may also choose to use a router if you have multiple computers connecting to the Internet, or if you simply prefer to use a wireless connection.
With Ethernet Cable
Video of the Day
Step 1
Connect the DSL modem to your phone line by plugging a standard phone cable from the DSL modem to the phone jack on the wall. Depending on the phone line you have, you may need a filter. A filter looks like a phone jack extension and is provided by the DSL provider if needed.
Video of the Day
Step 2
Connect the DSL modem to the power supply and connect the power supply to a power outlet. Once the modem is connected, make sure it is powered on.
Step 3
Connect an Ethernet cable from the DSL modem to your laptop computer. There should be an Ethernet port on one side of your laptop, usually the left side, or the side without the disk drive. The Ethernet port on the DSL modem will be easy to differentiate from the phone jack on the back of the modem because the Ethernet port is larger than the phone jack.
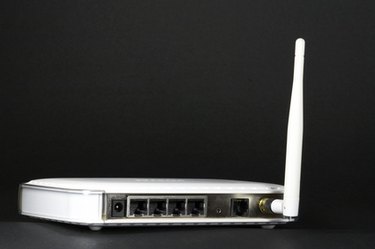
With a Router
Step 1
Connect the DSL modem to the wireless router using an Ethernet cable. The Ethernet port for the modem on the router will be set aside and colored differently from the Ethernet ports for the computers that will be sharing the connection. Make sure you plug the modem into the correct Ethernet port.
Step 2
Create a local area network (LAN) using the network wizard that comes with your router. Each router has its own way of setting up a network, so using the software disk that comes with the router is important.
Step 3
Go into your laptop and connect to the network you have just created. To connect to a network click on the "Start" button, then click "Control Panel." In the Control Panel window click "Network and Internet" then click "Connect to a Network." Select the network you just created and click "Connect." Once the laptop connects to the network, it will automatically be assigned an Internet Protocol (IP) address that will allow your laptop to navigate the Internet wirelessly.